Bolt Action AAR 7th April 2019

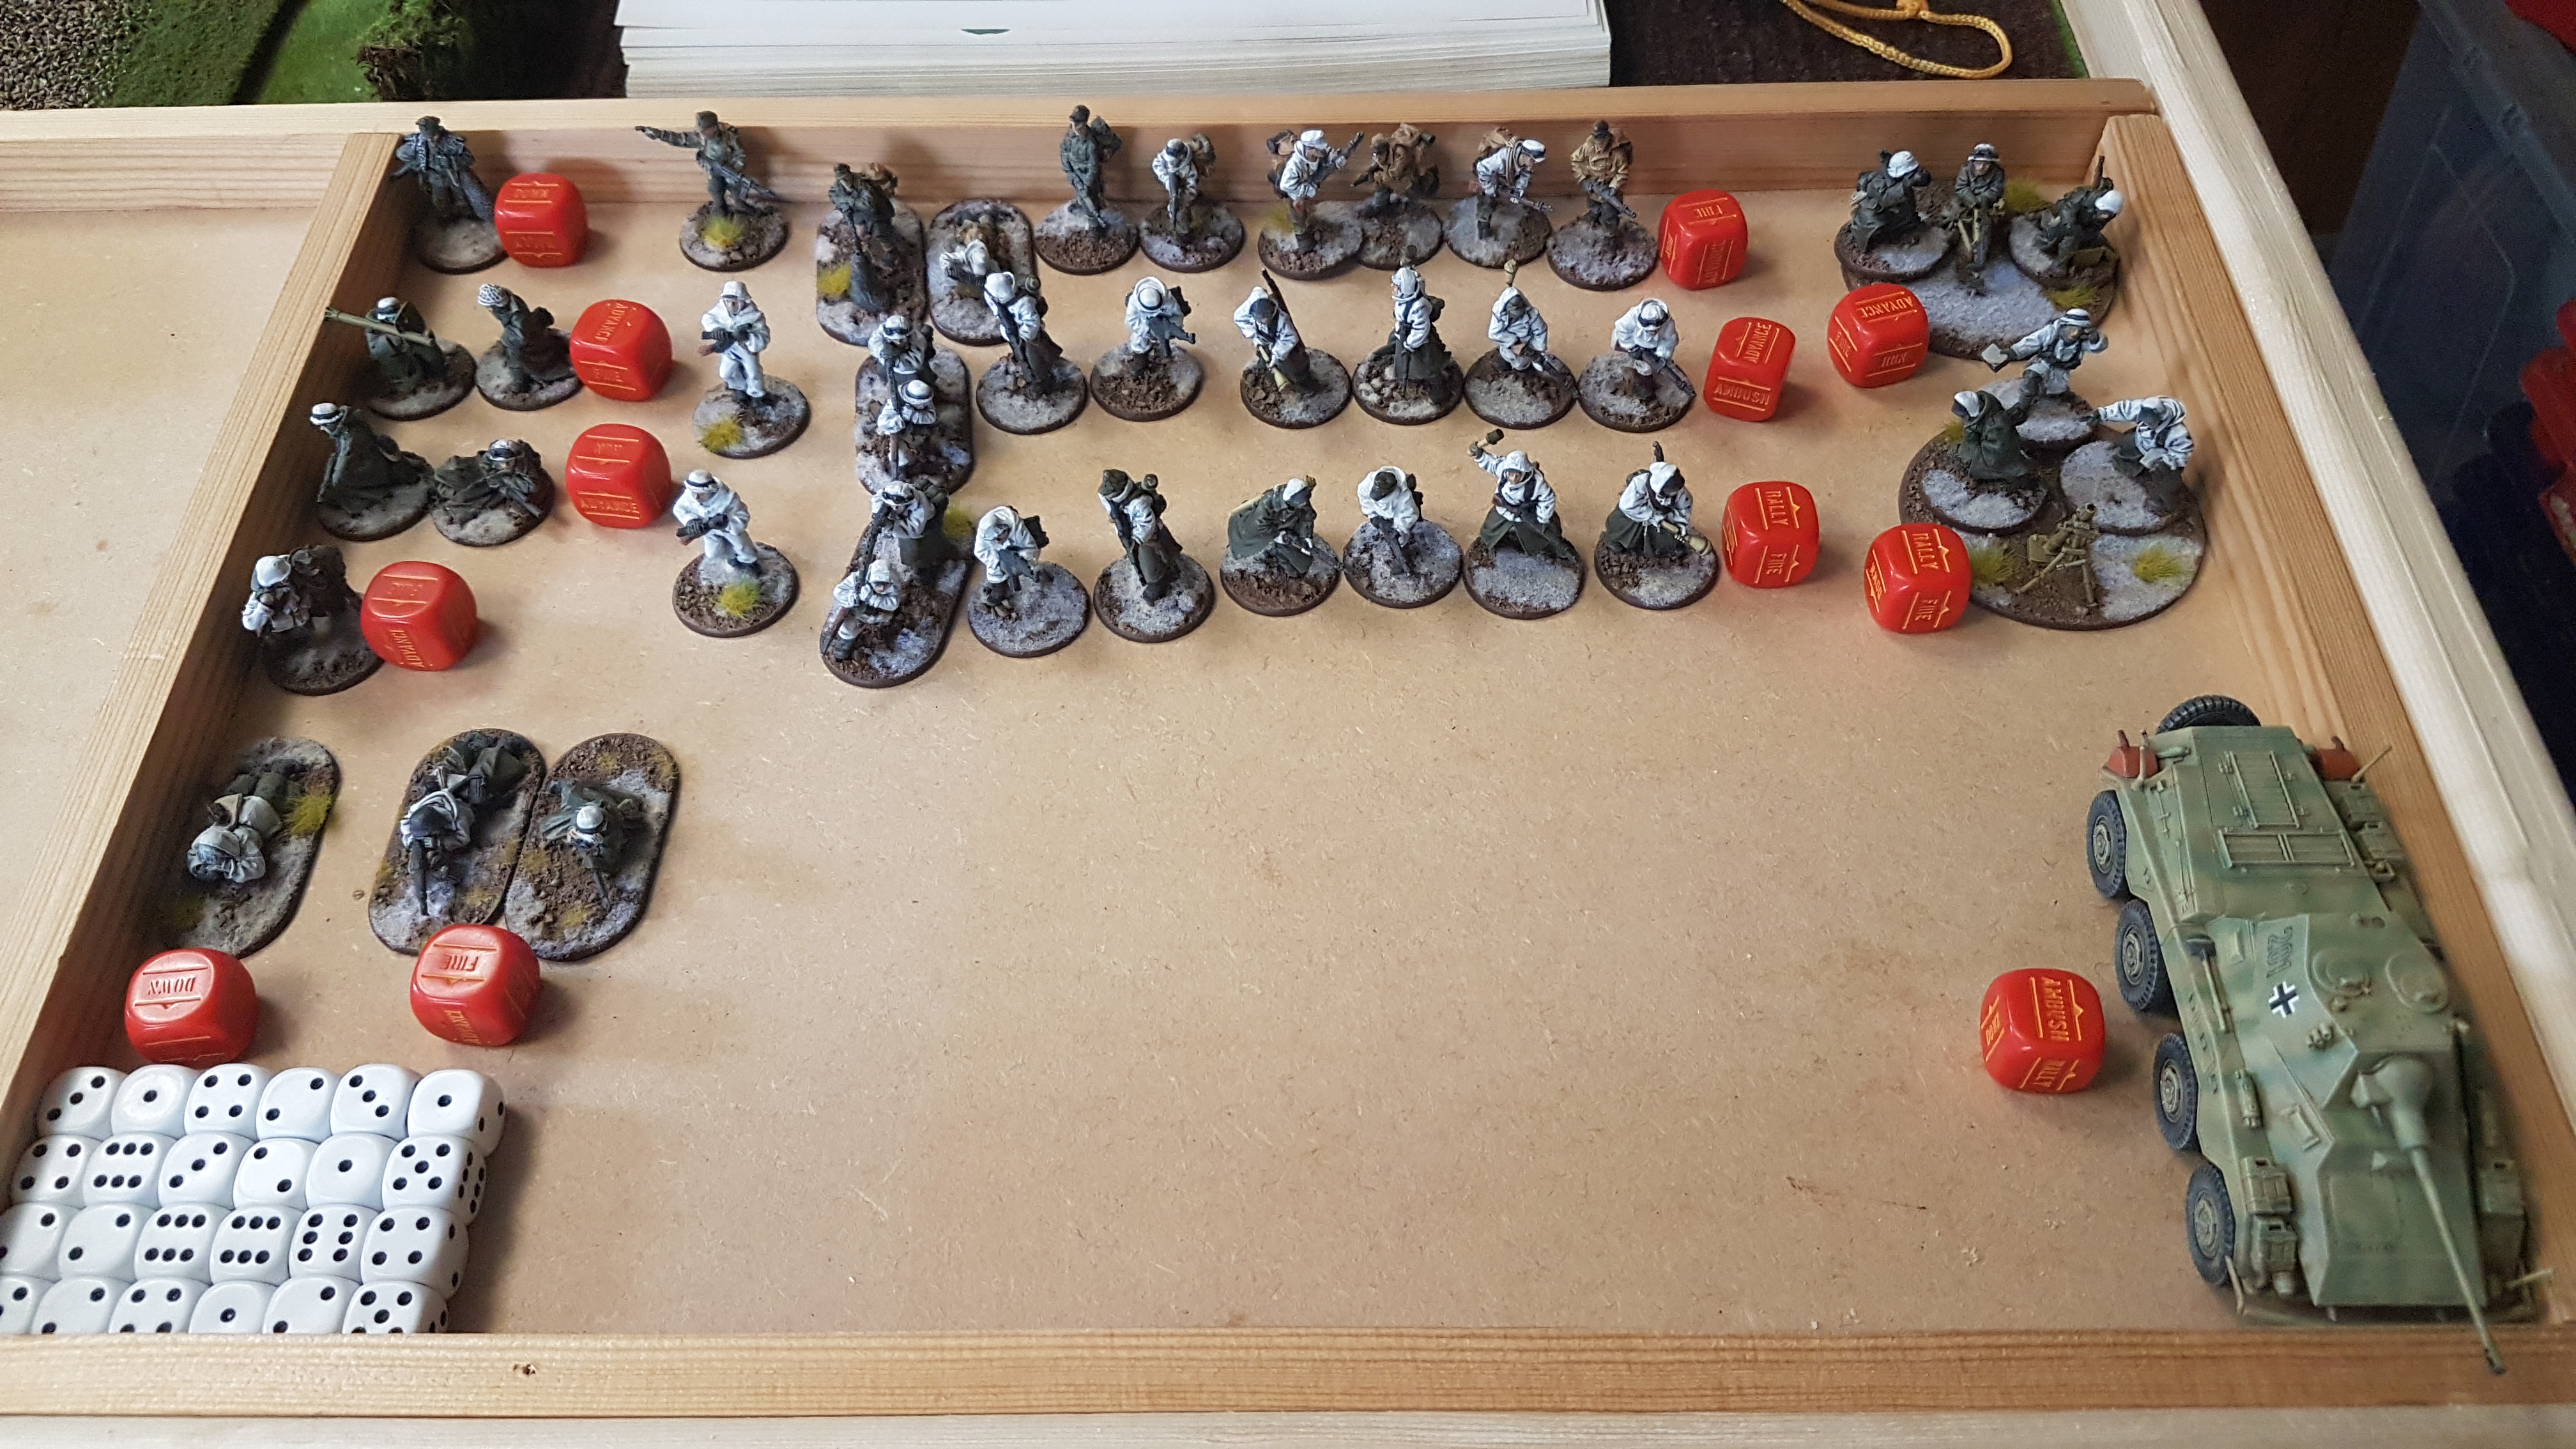
For our second Bolt Action Game Colin and I chose to field a larger army, this time at approx 1000 points. Unfortunately I didn’t take notes about the game again so this is really more of a picture gallery of the game with captions where I remember what happened.
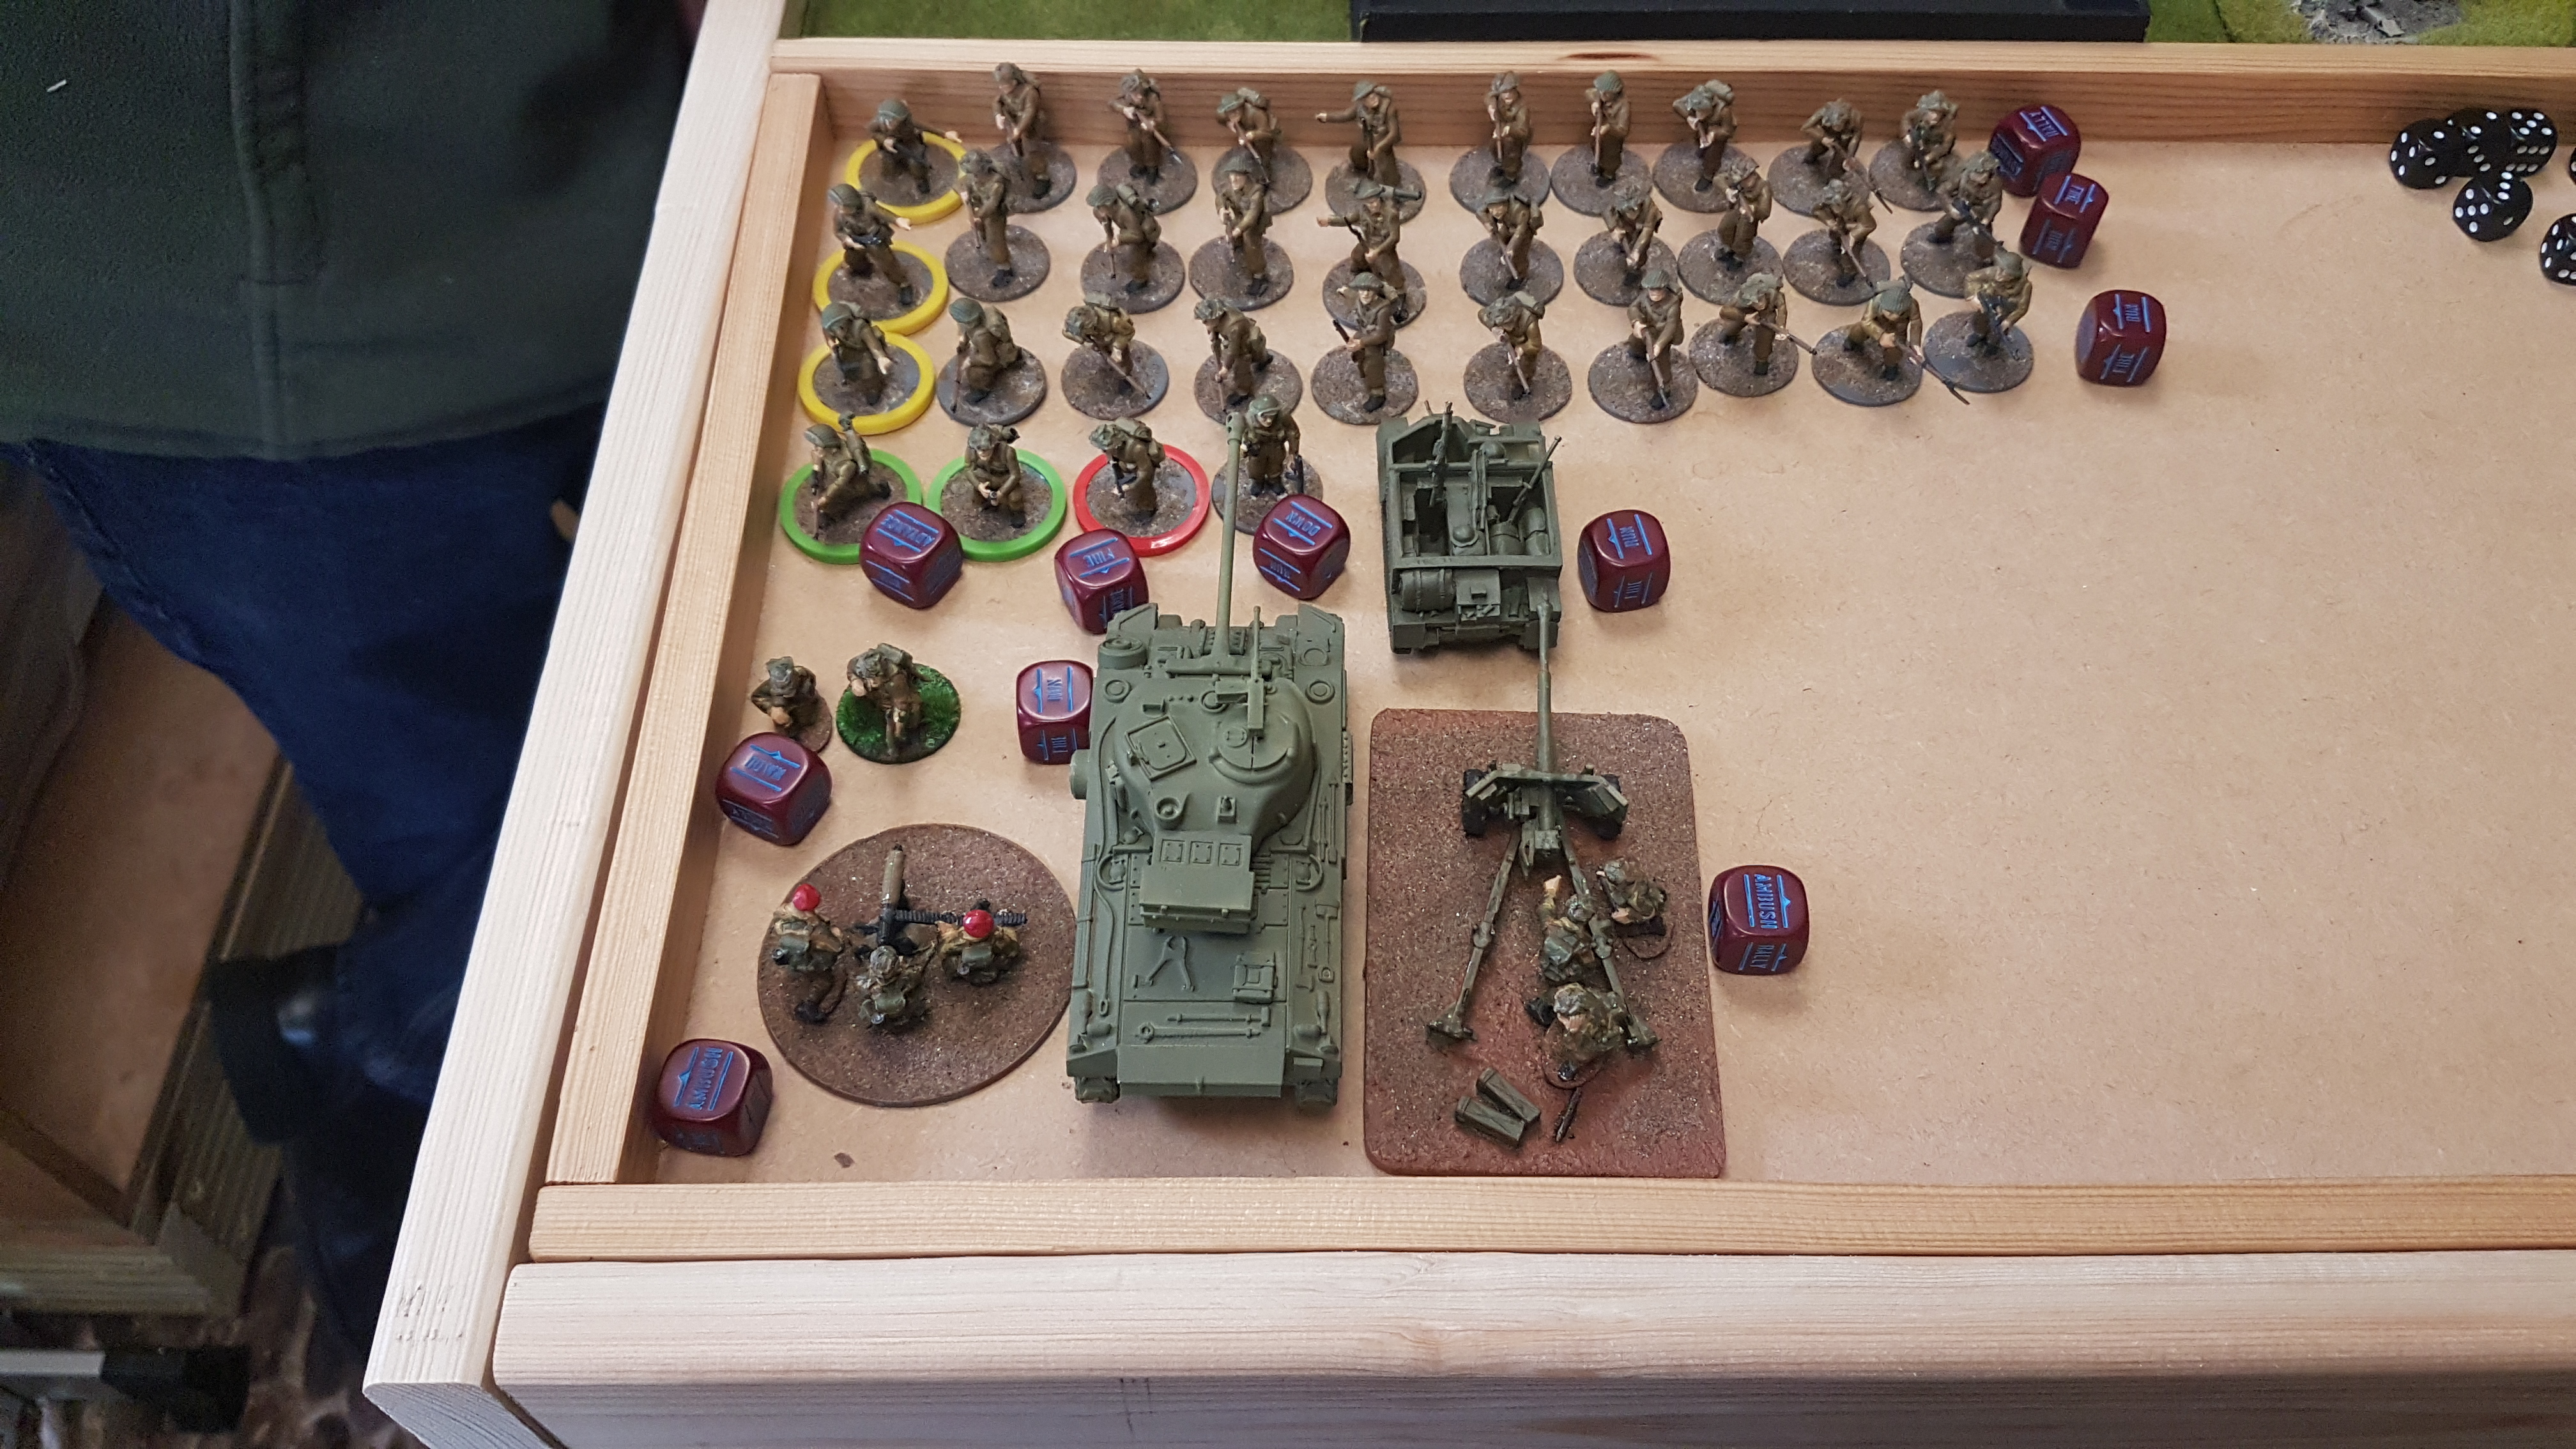
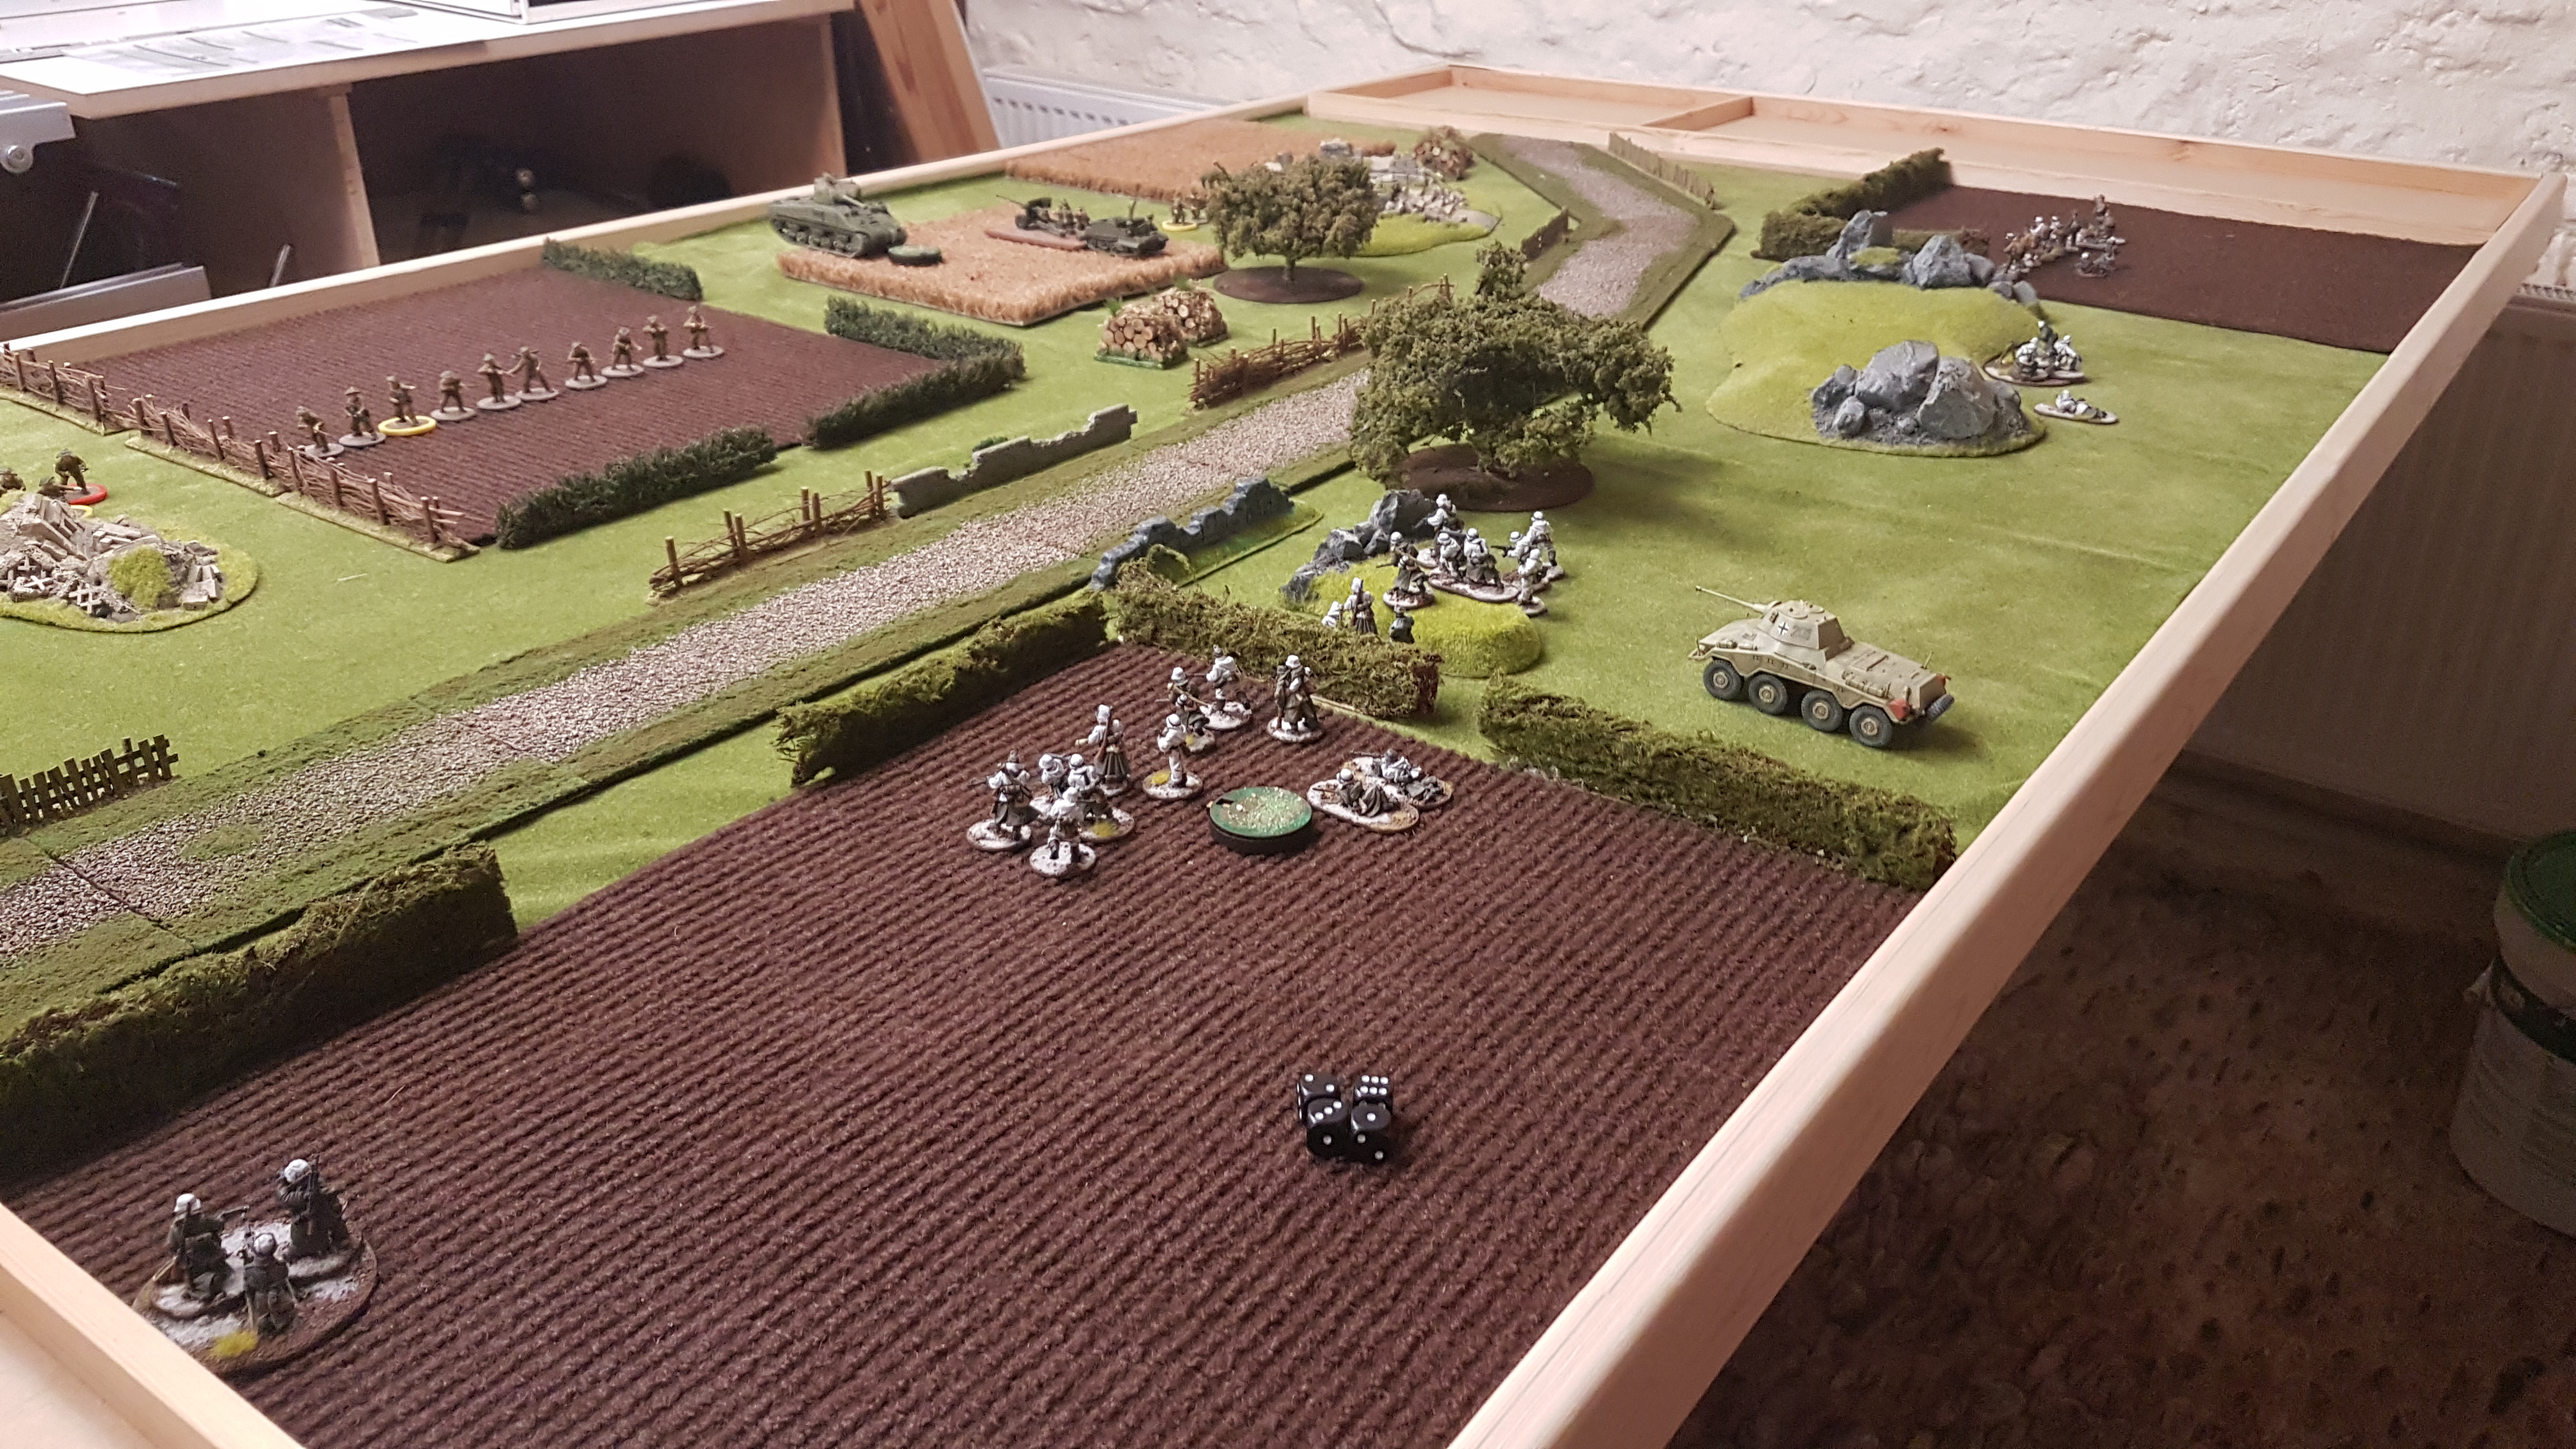
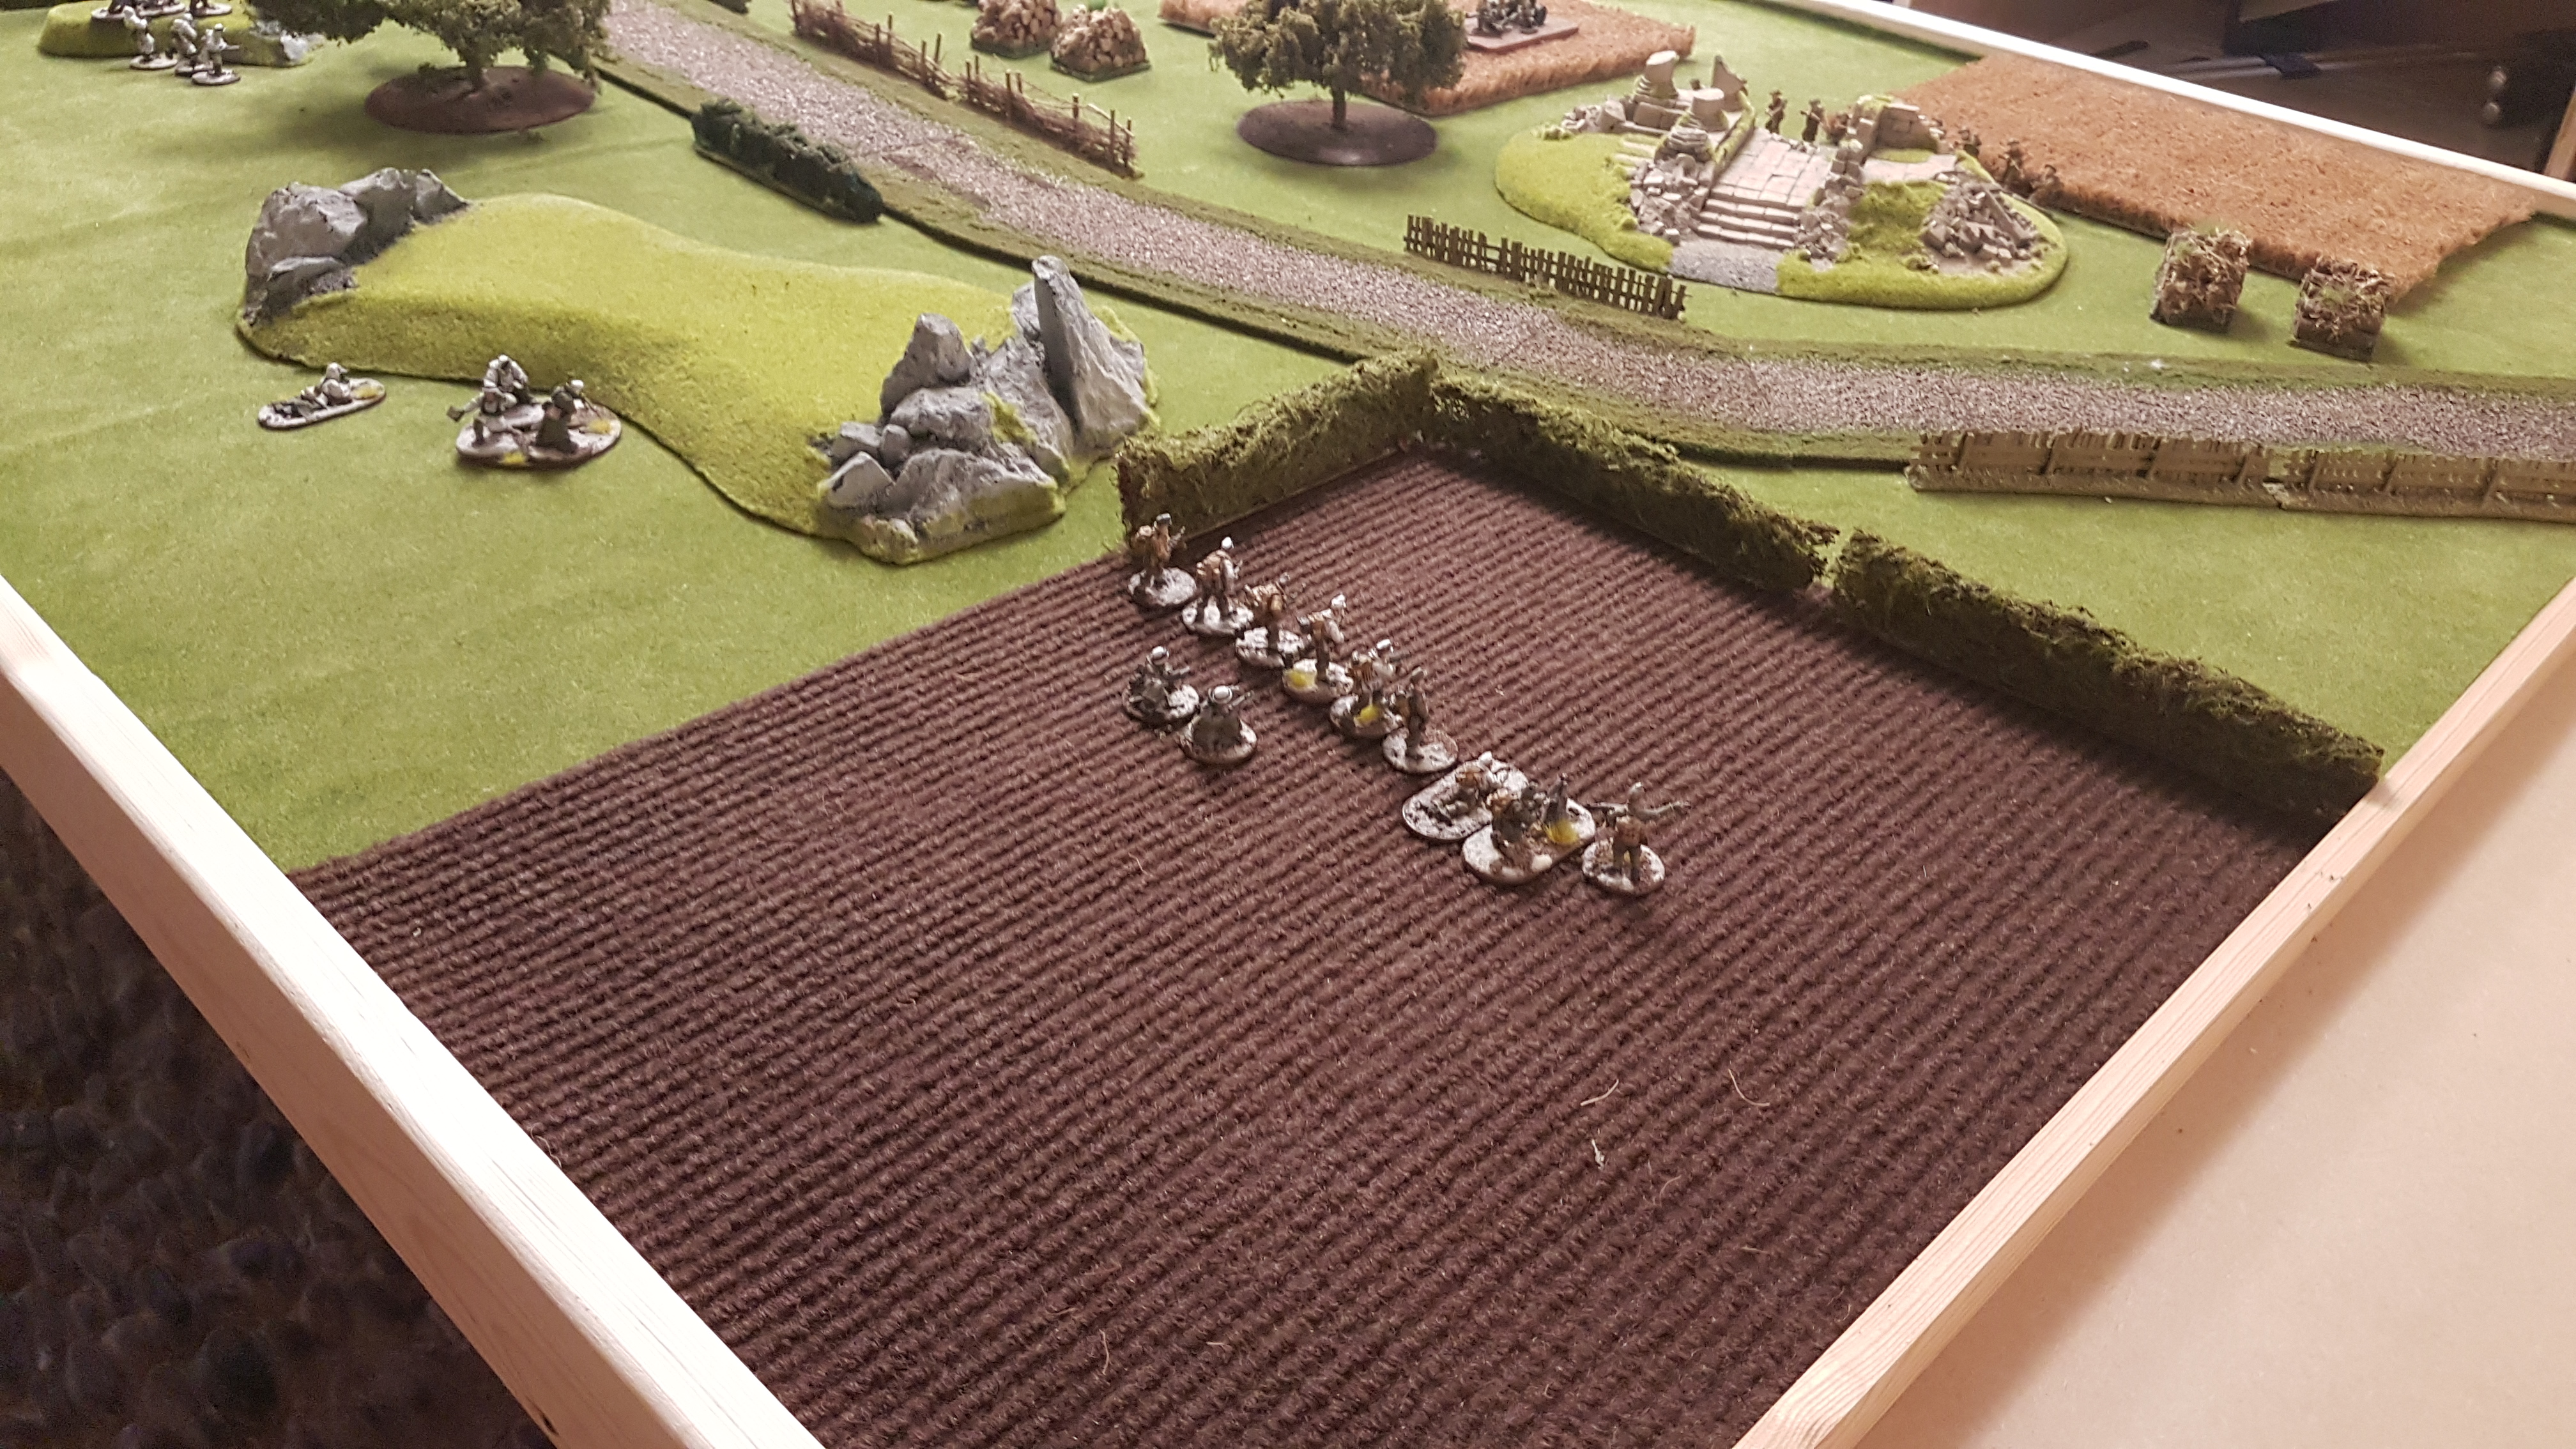
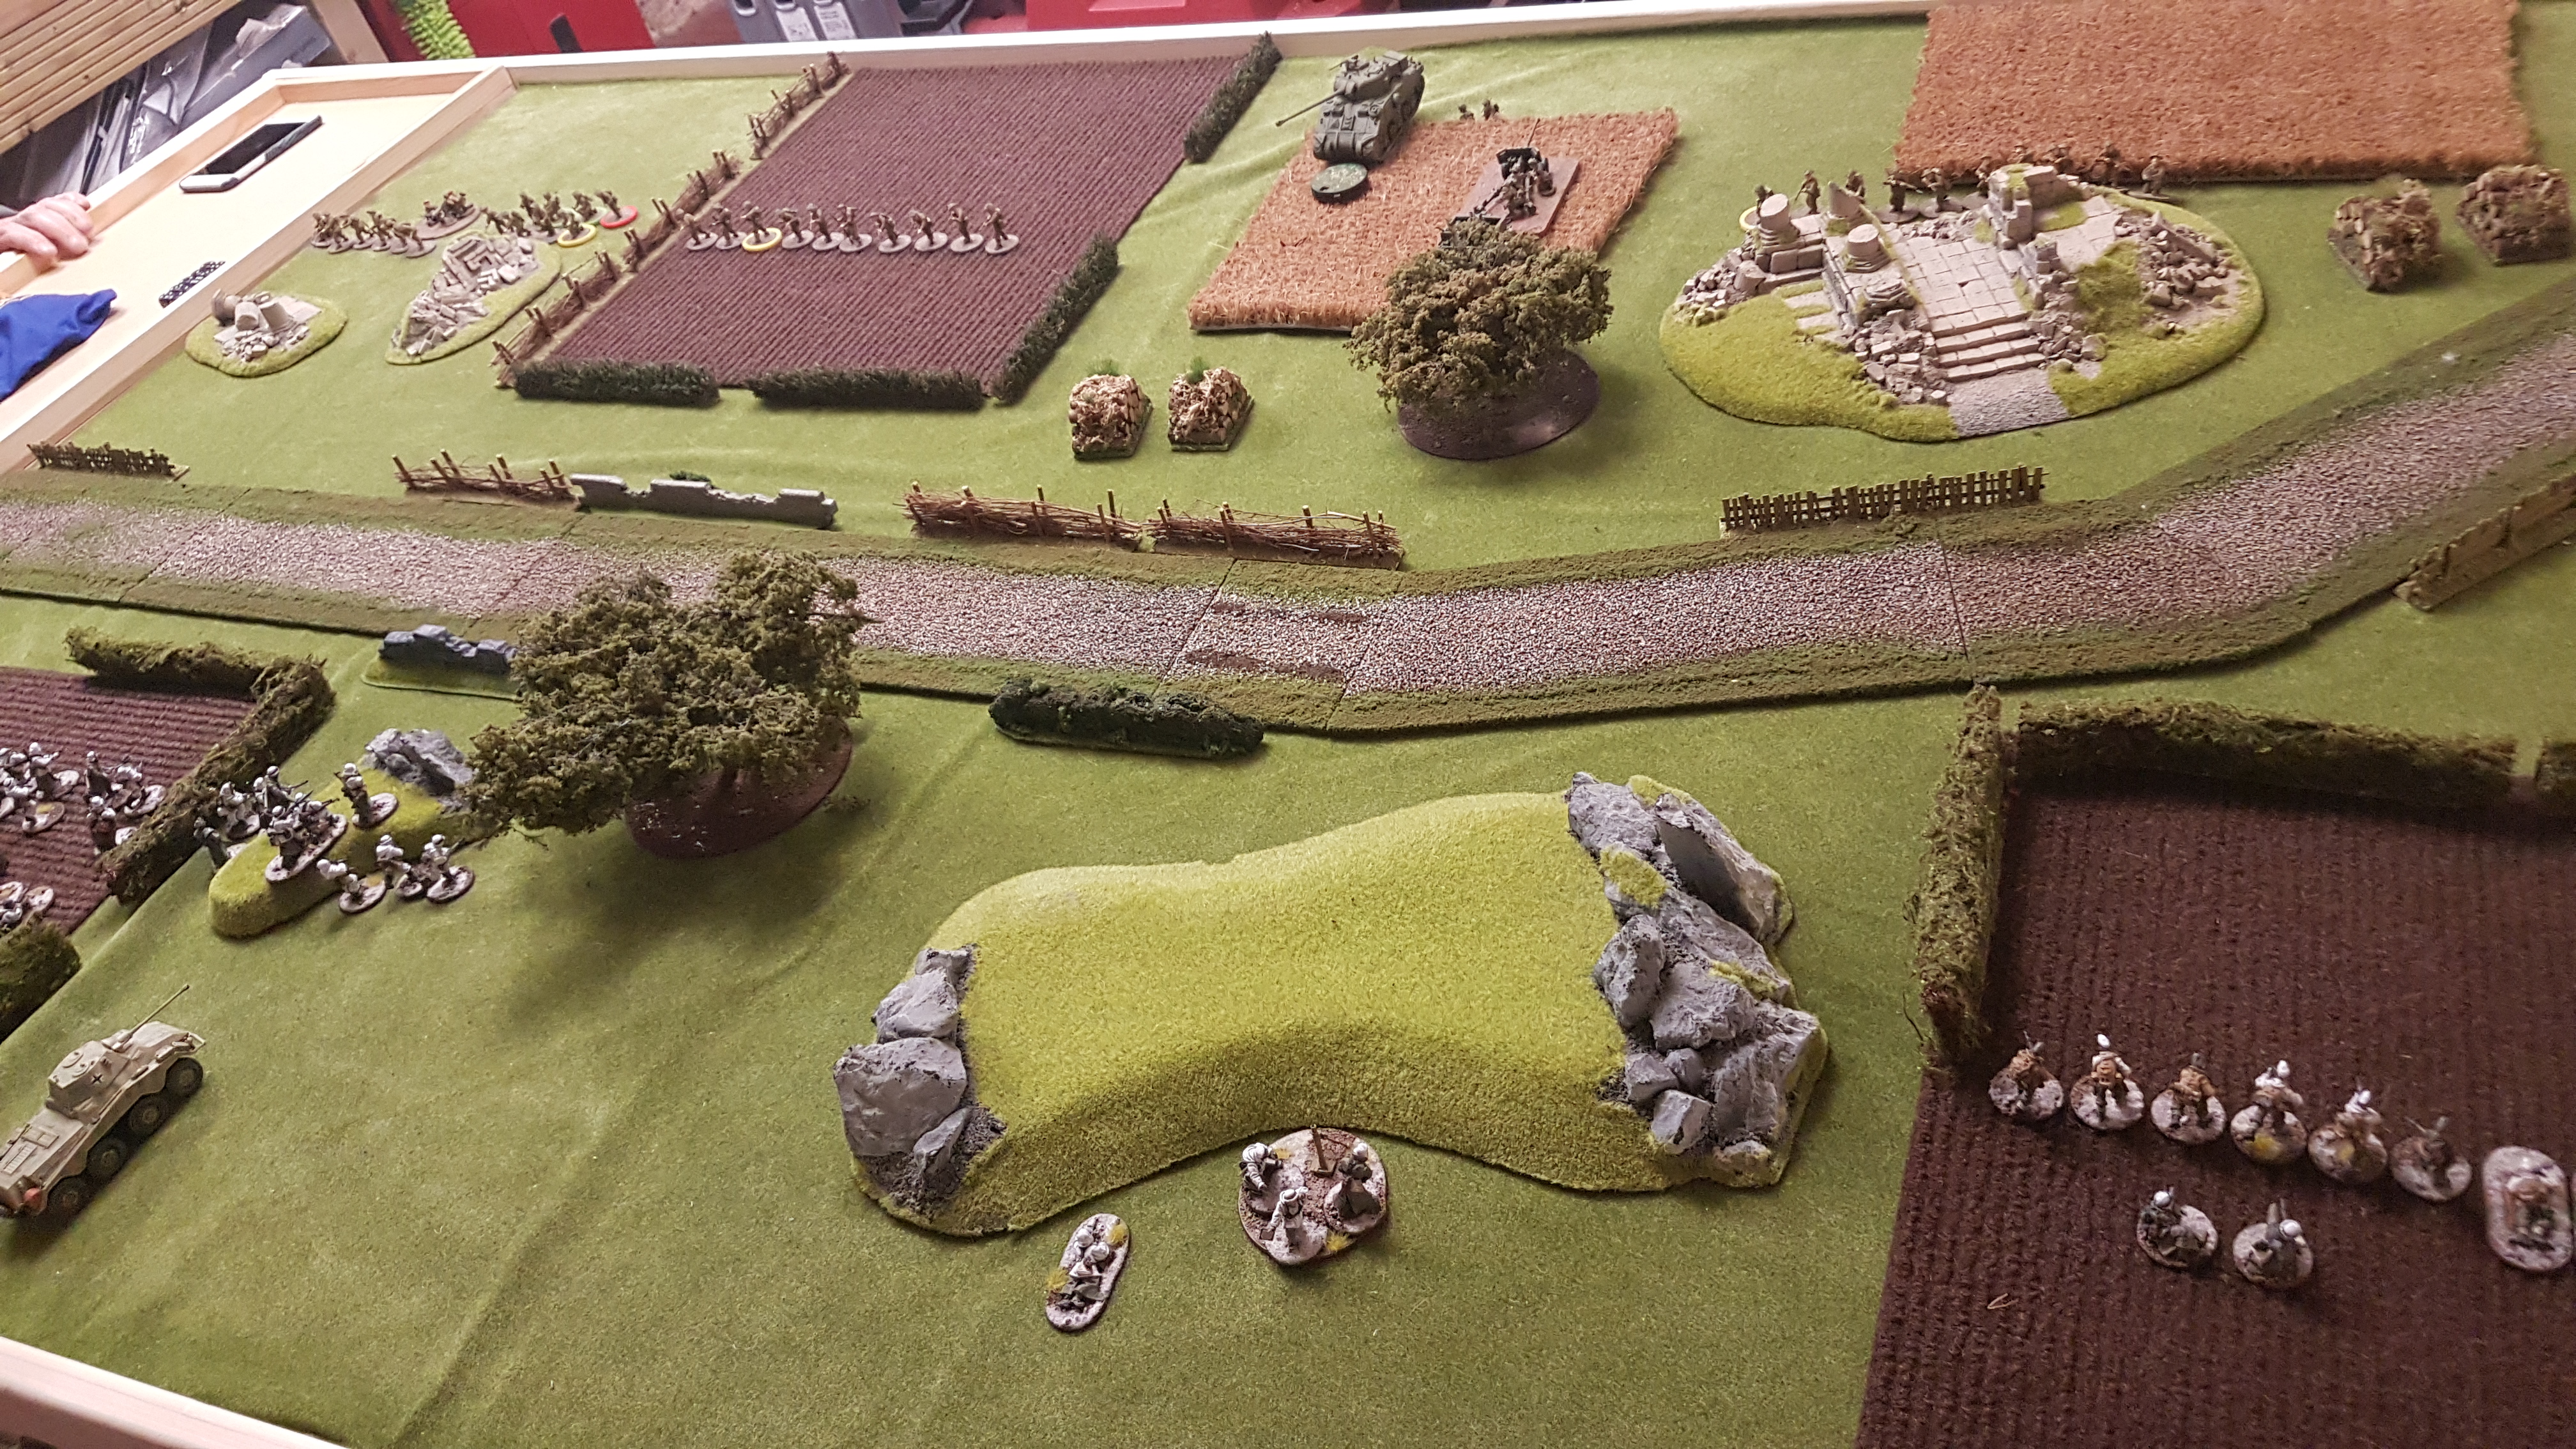
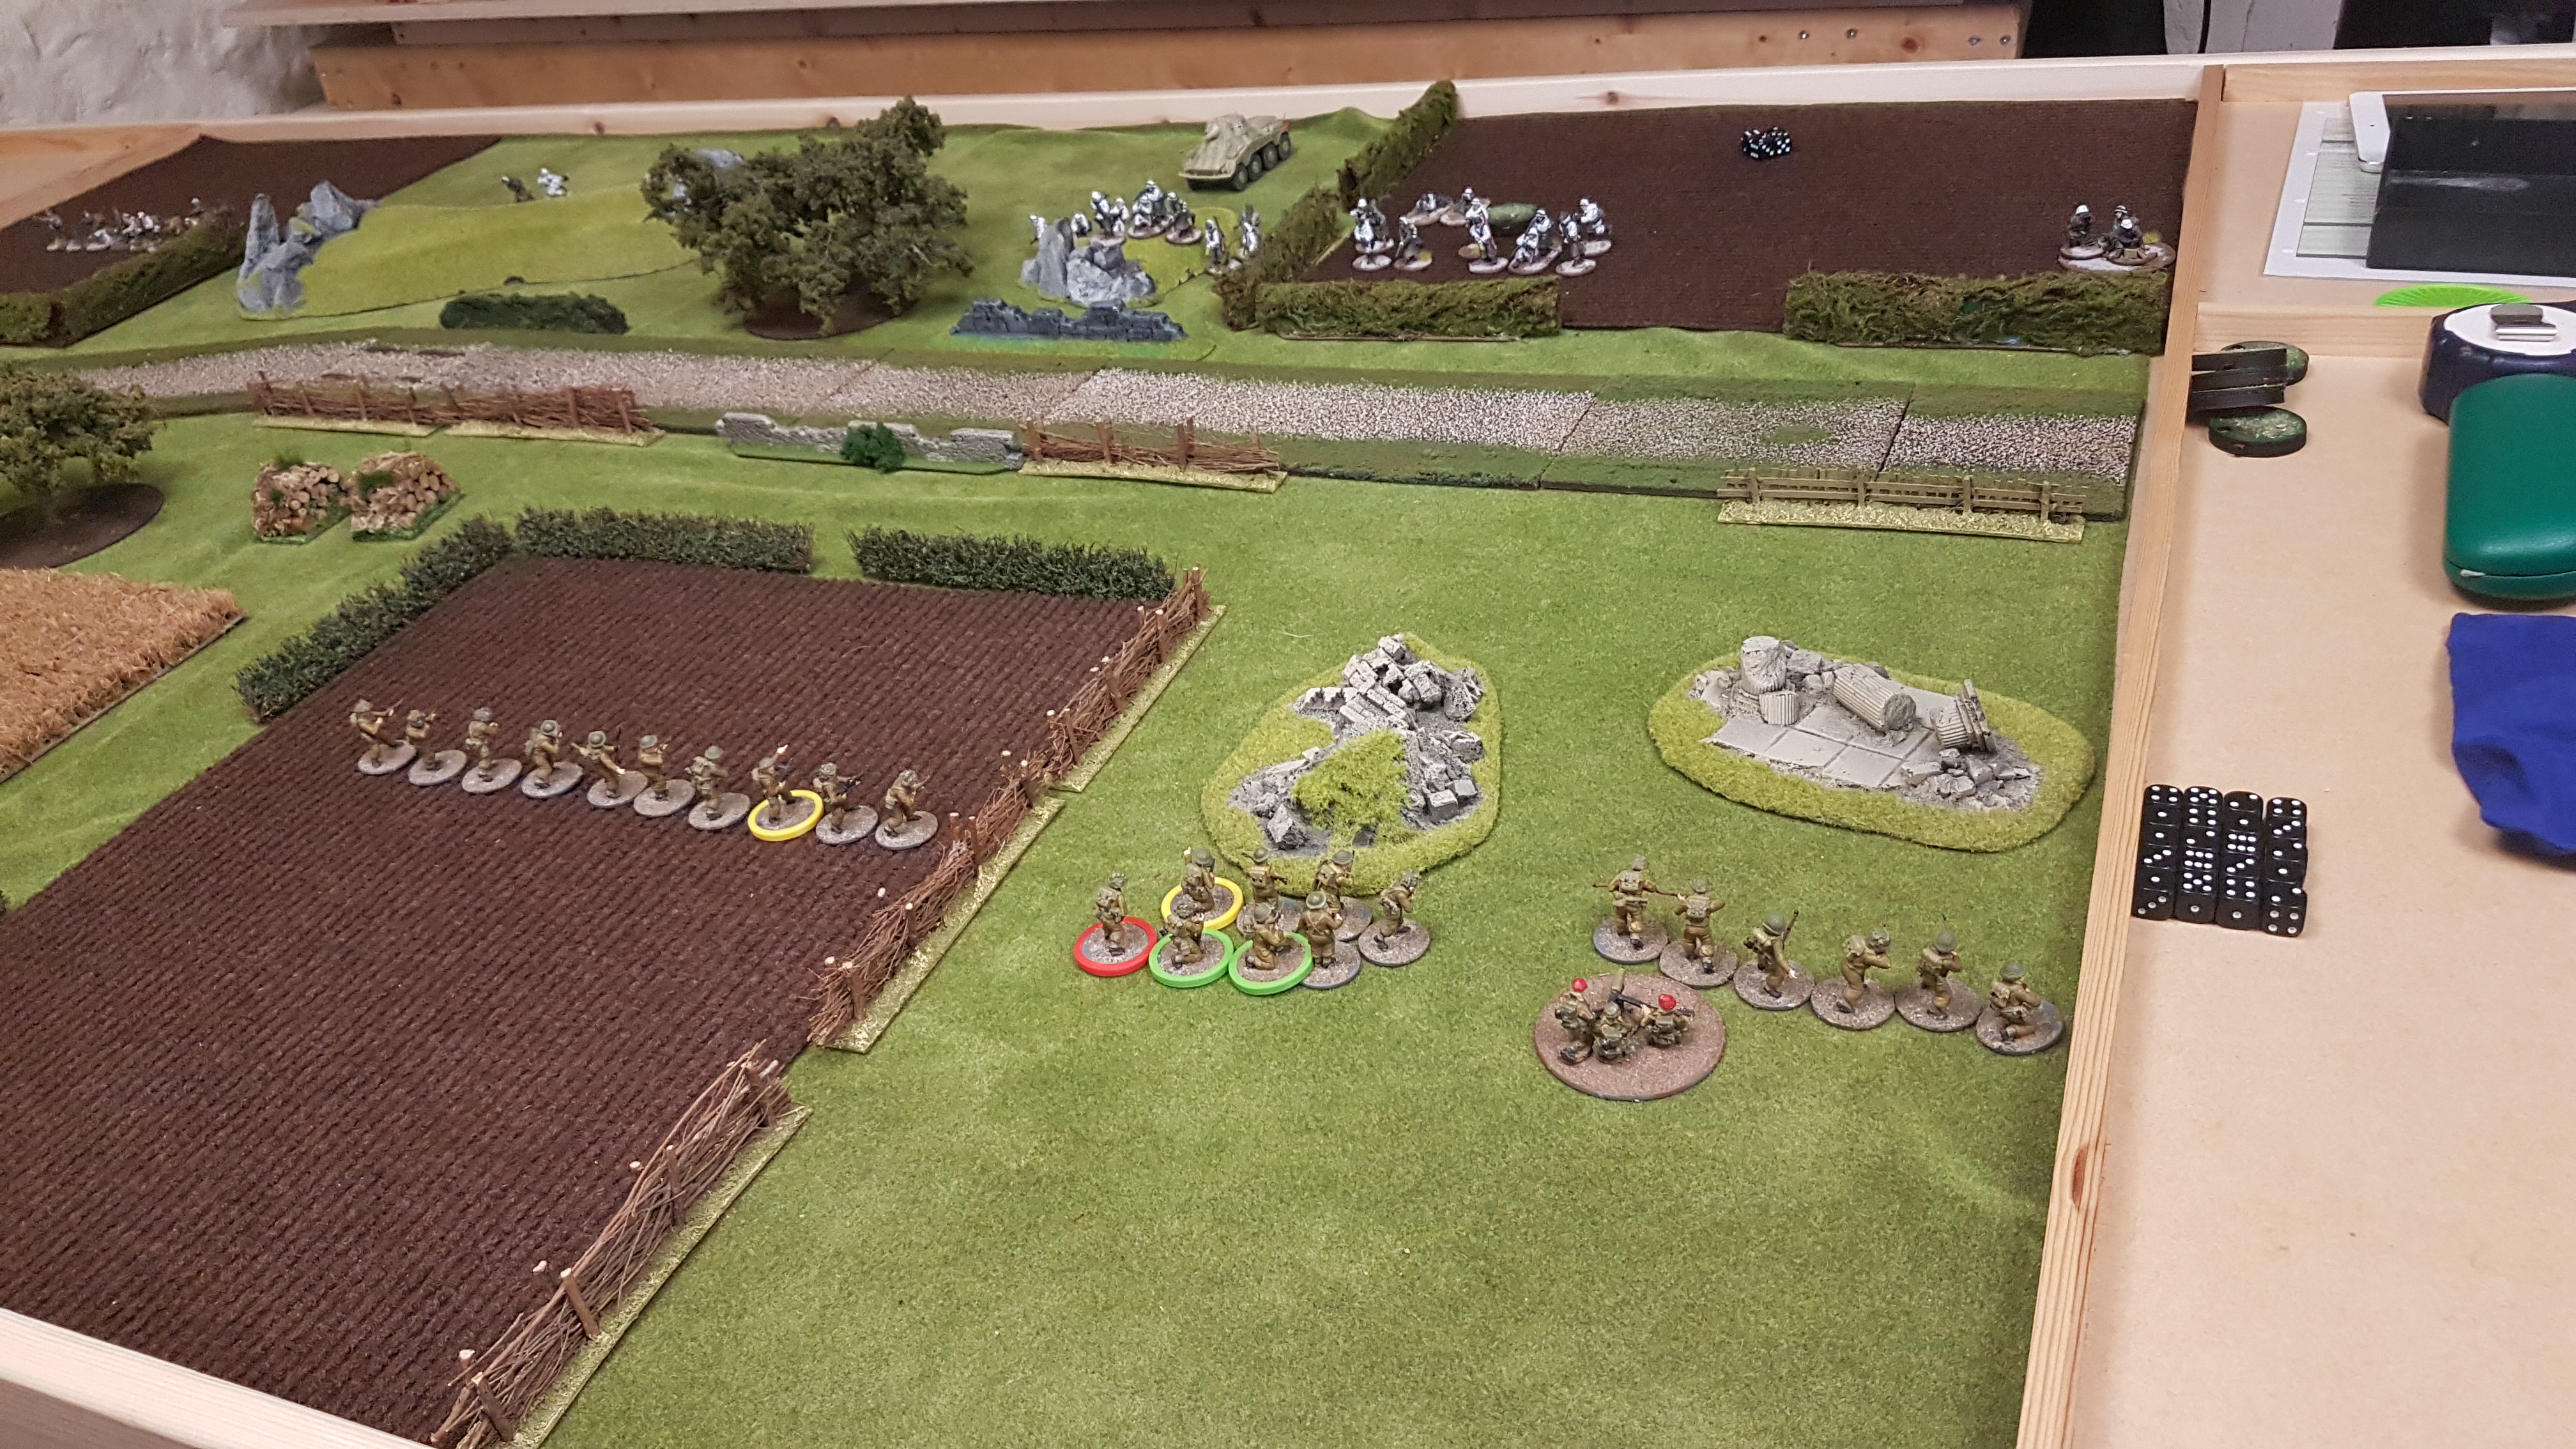
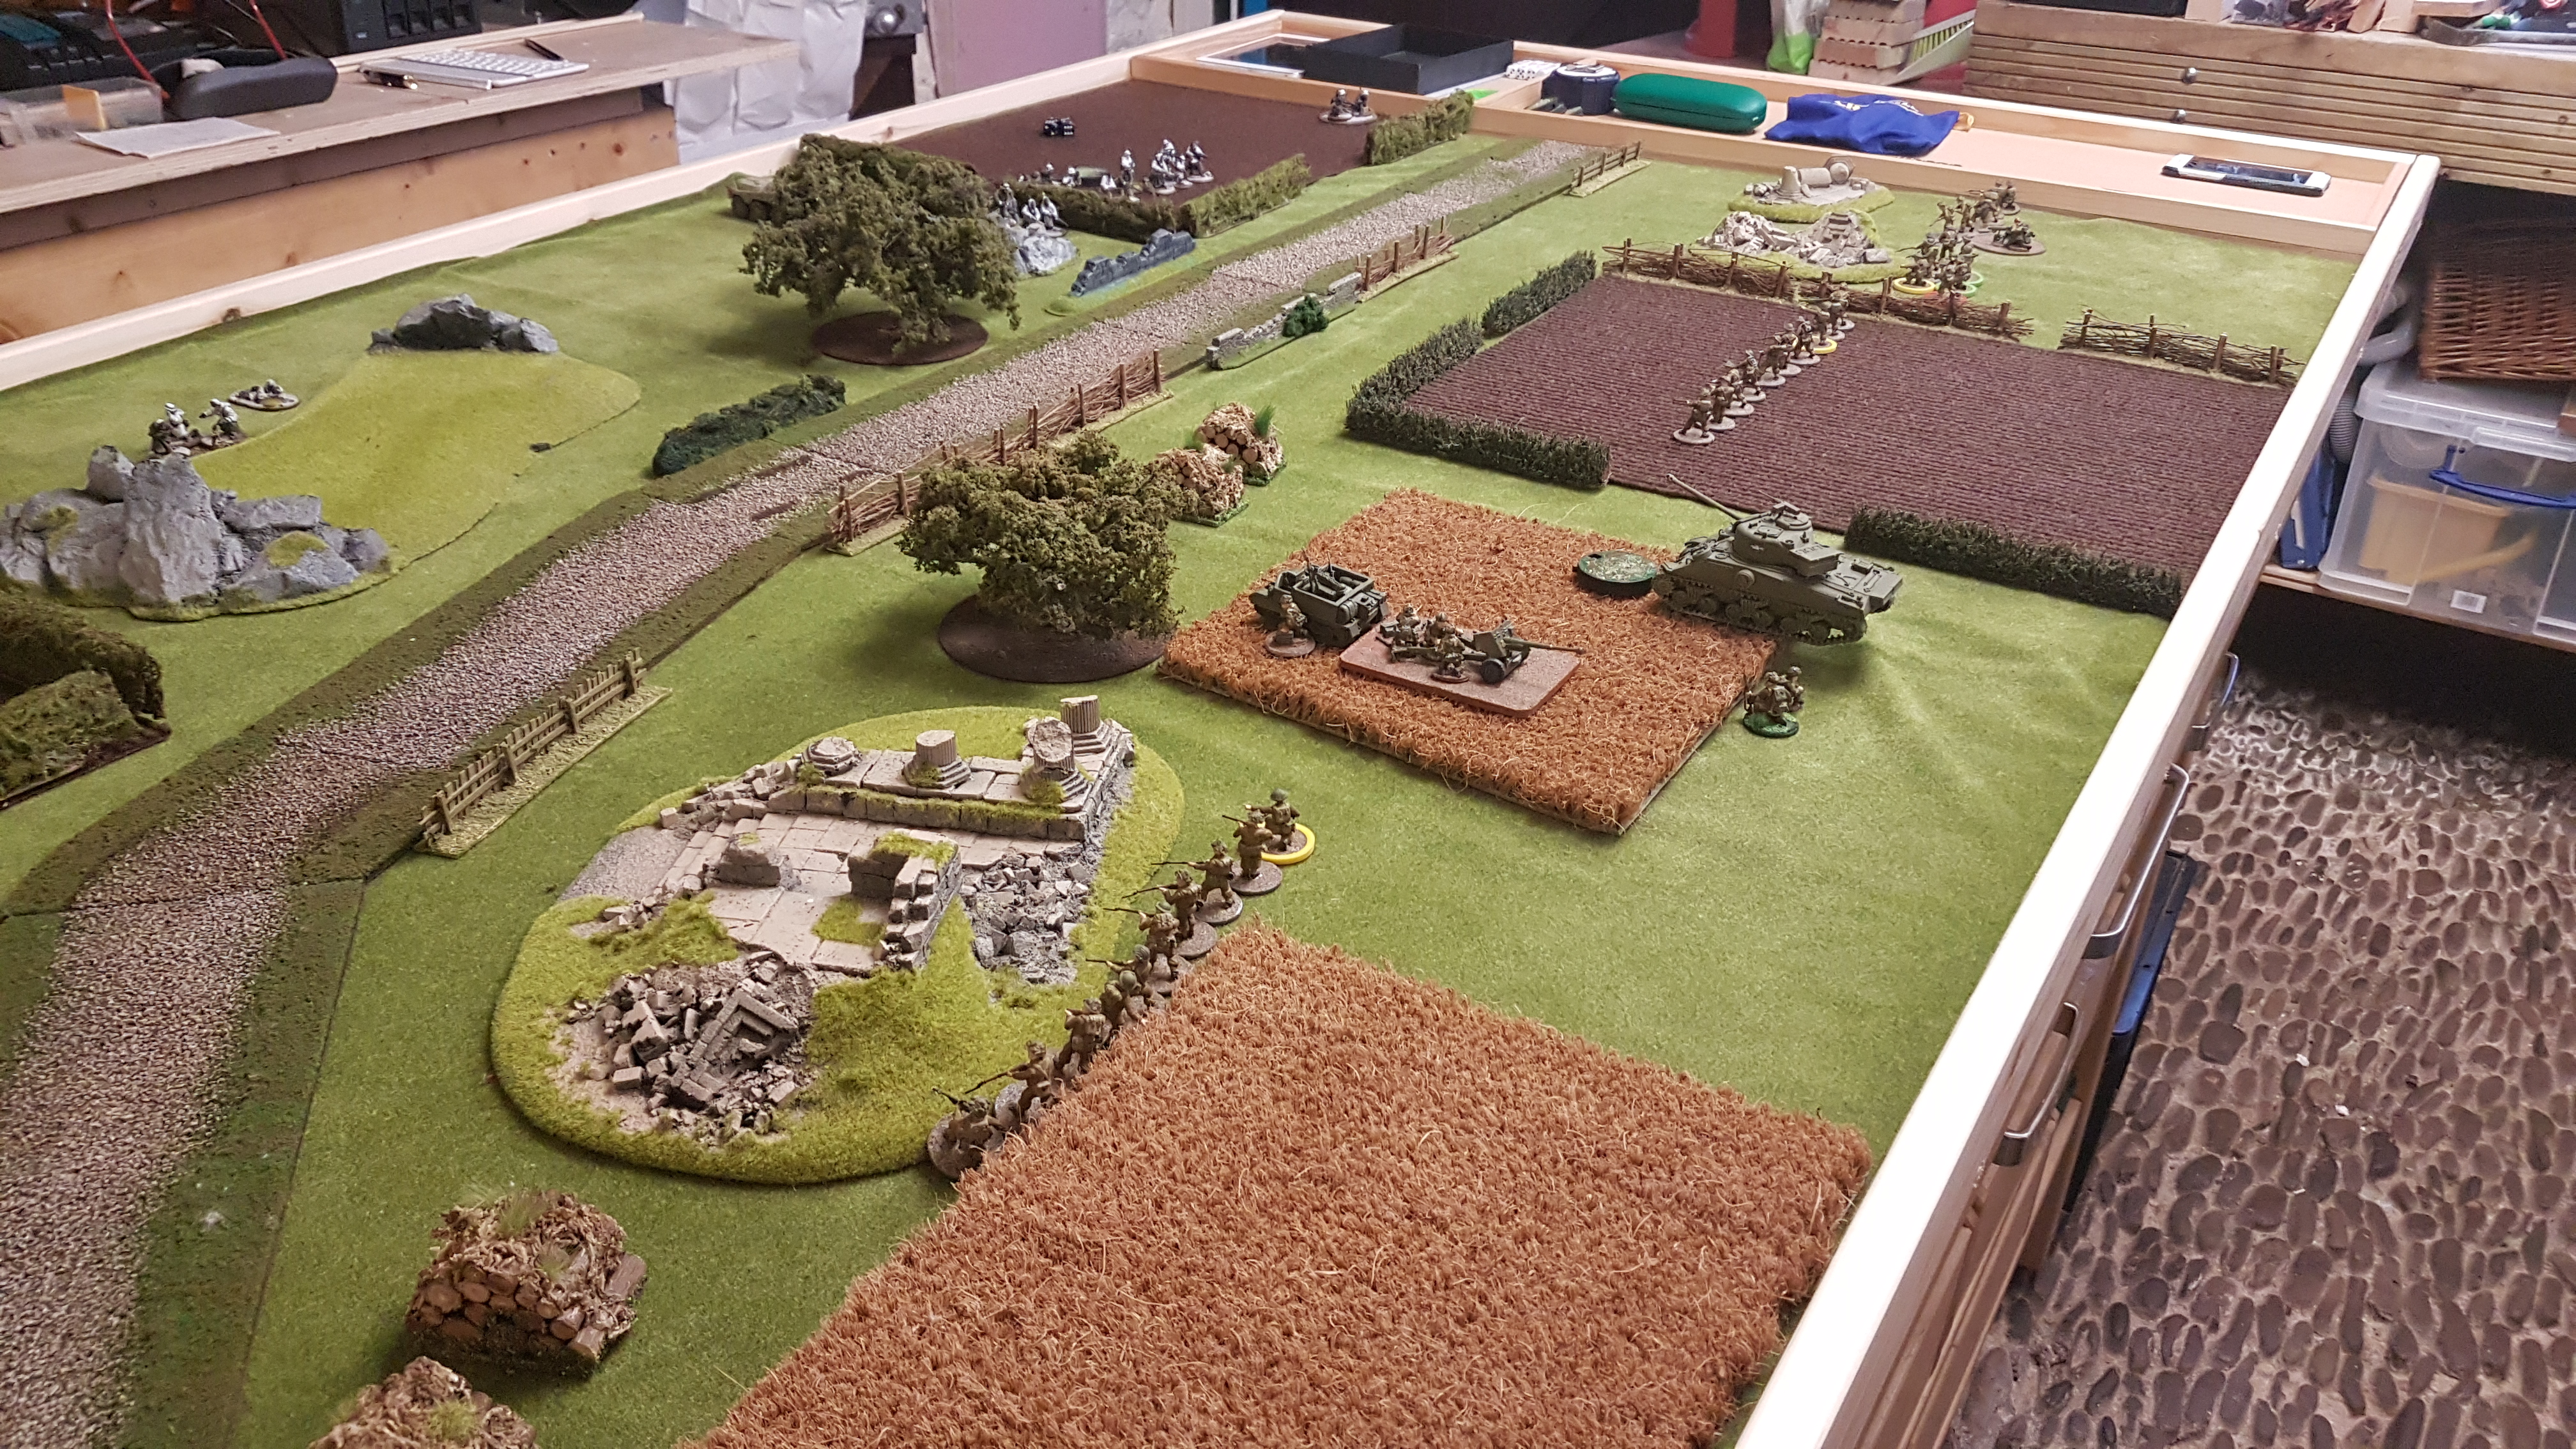
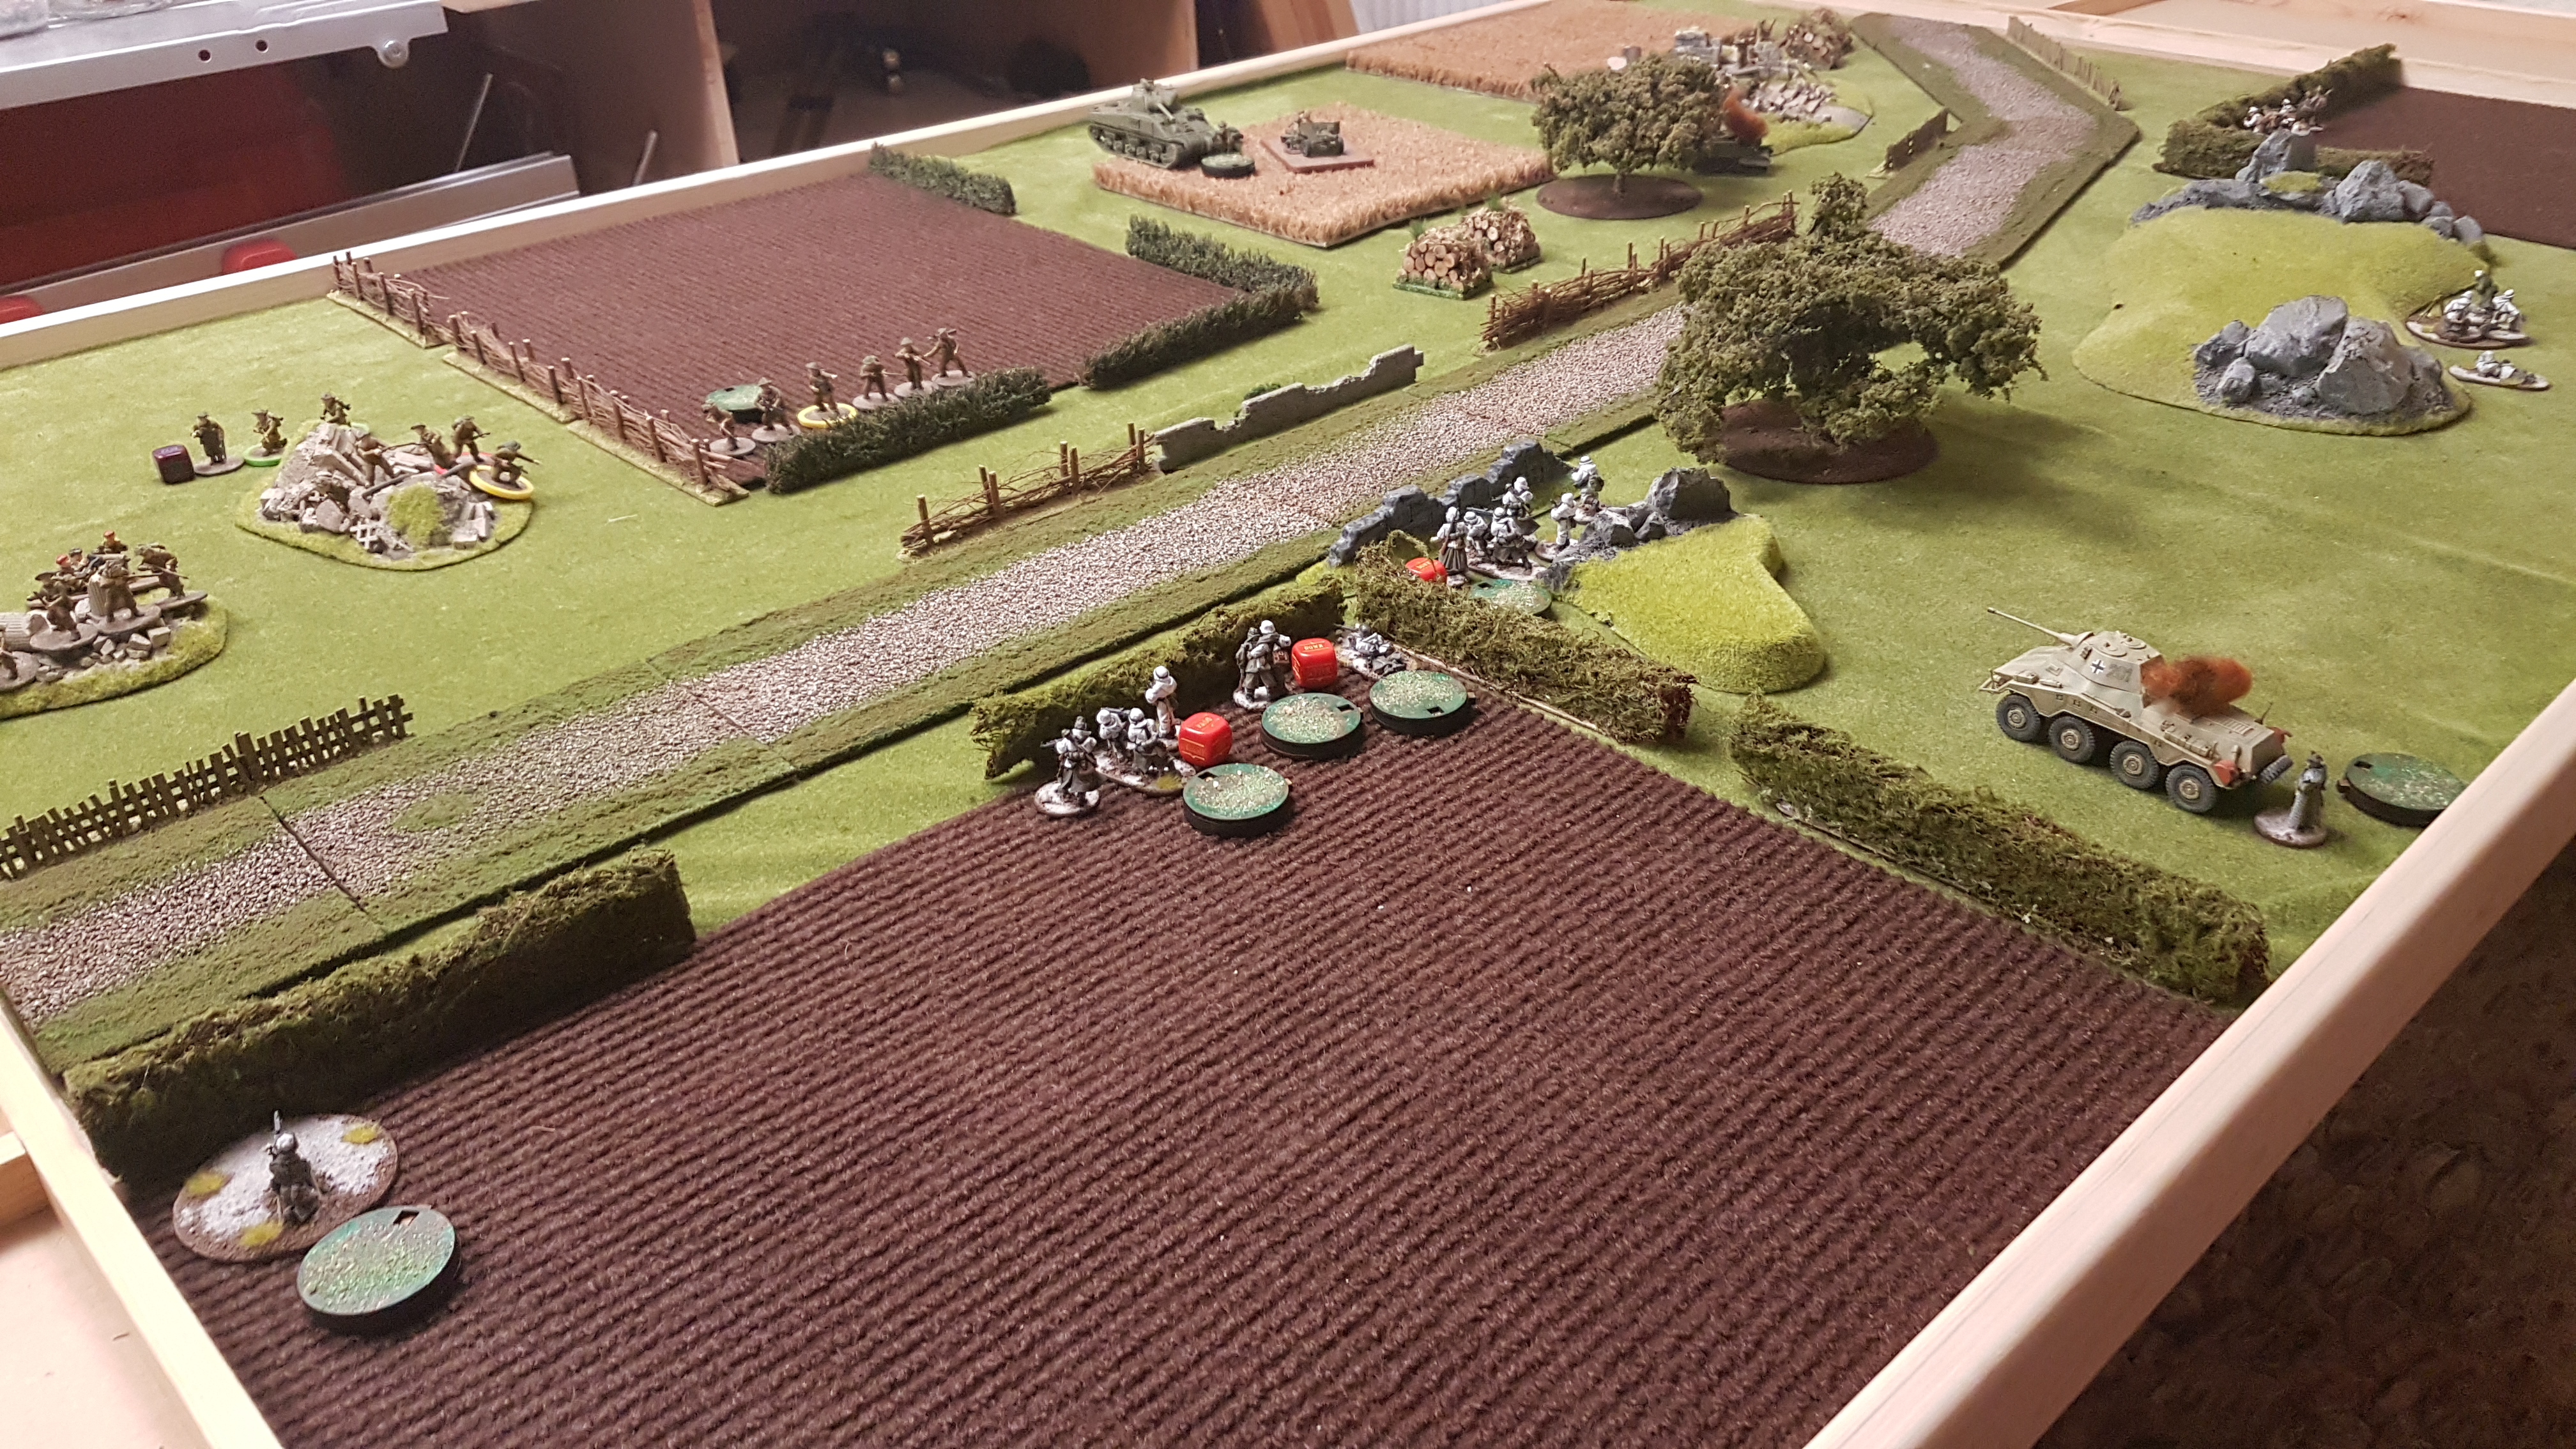
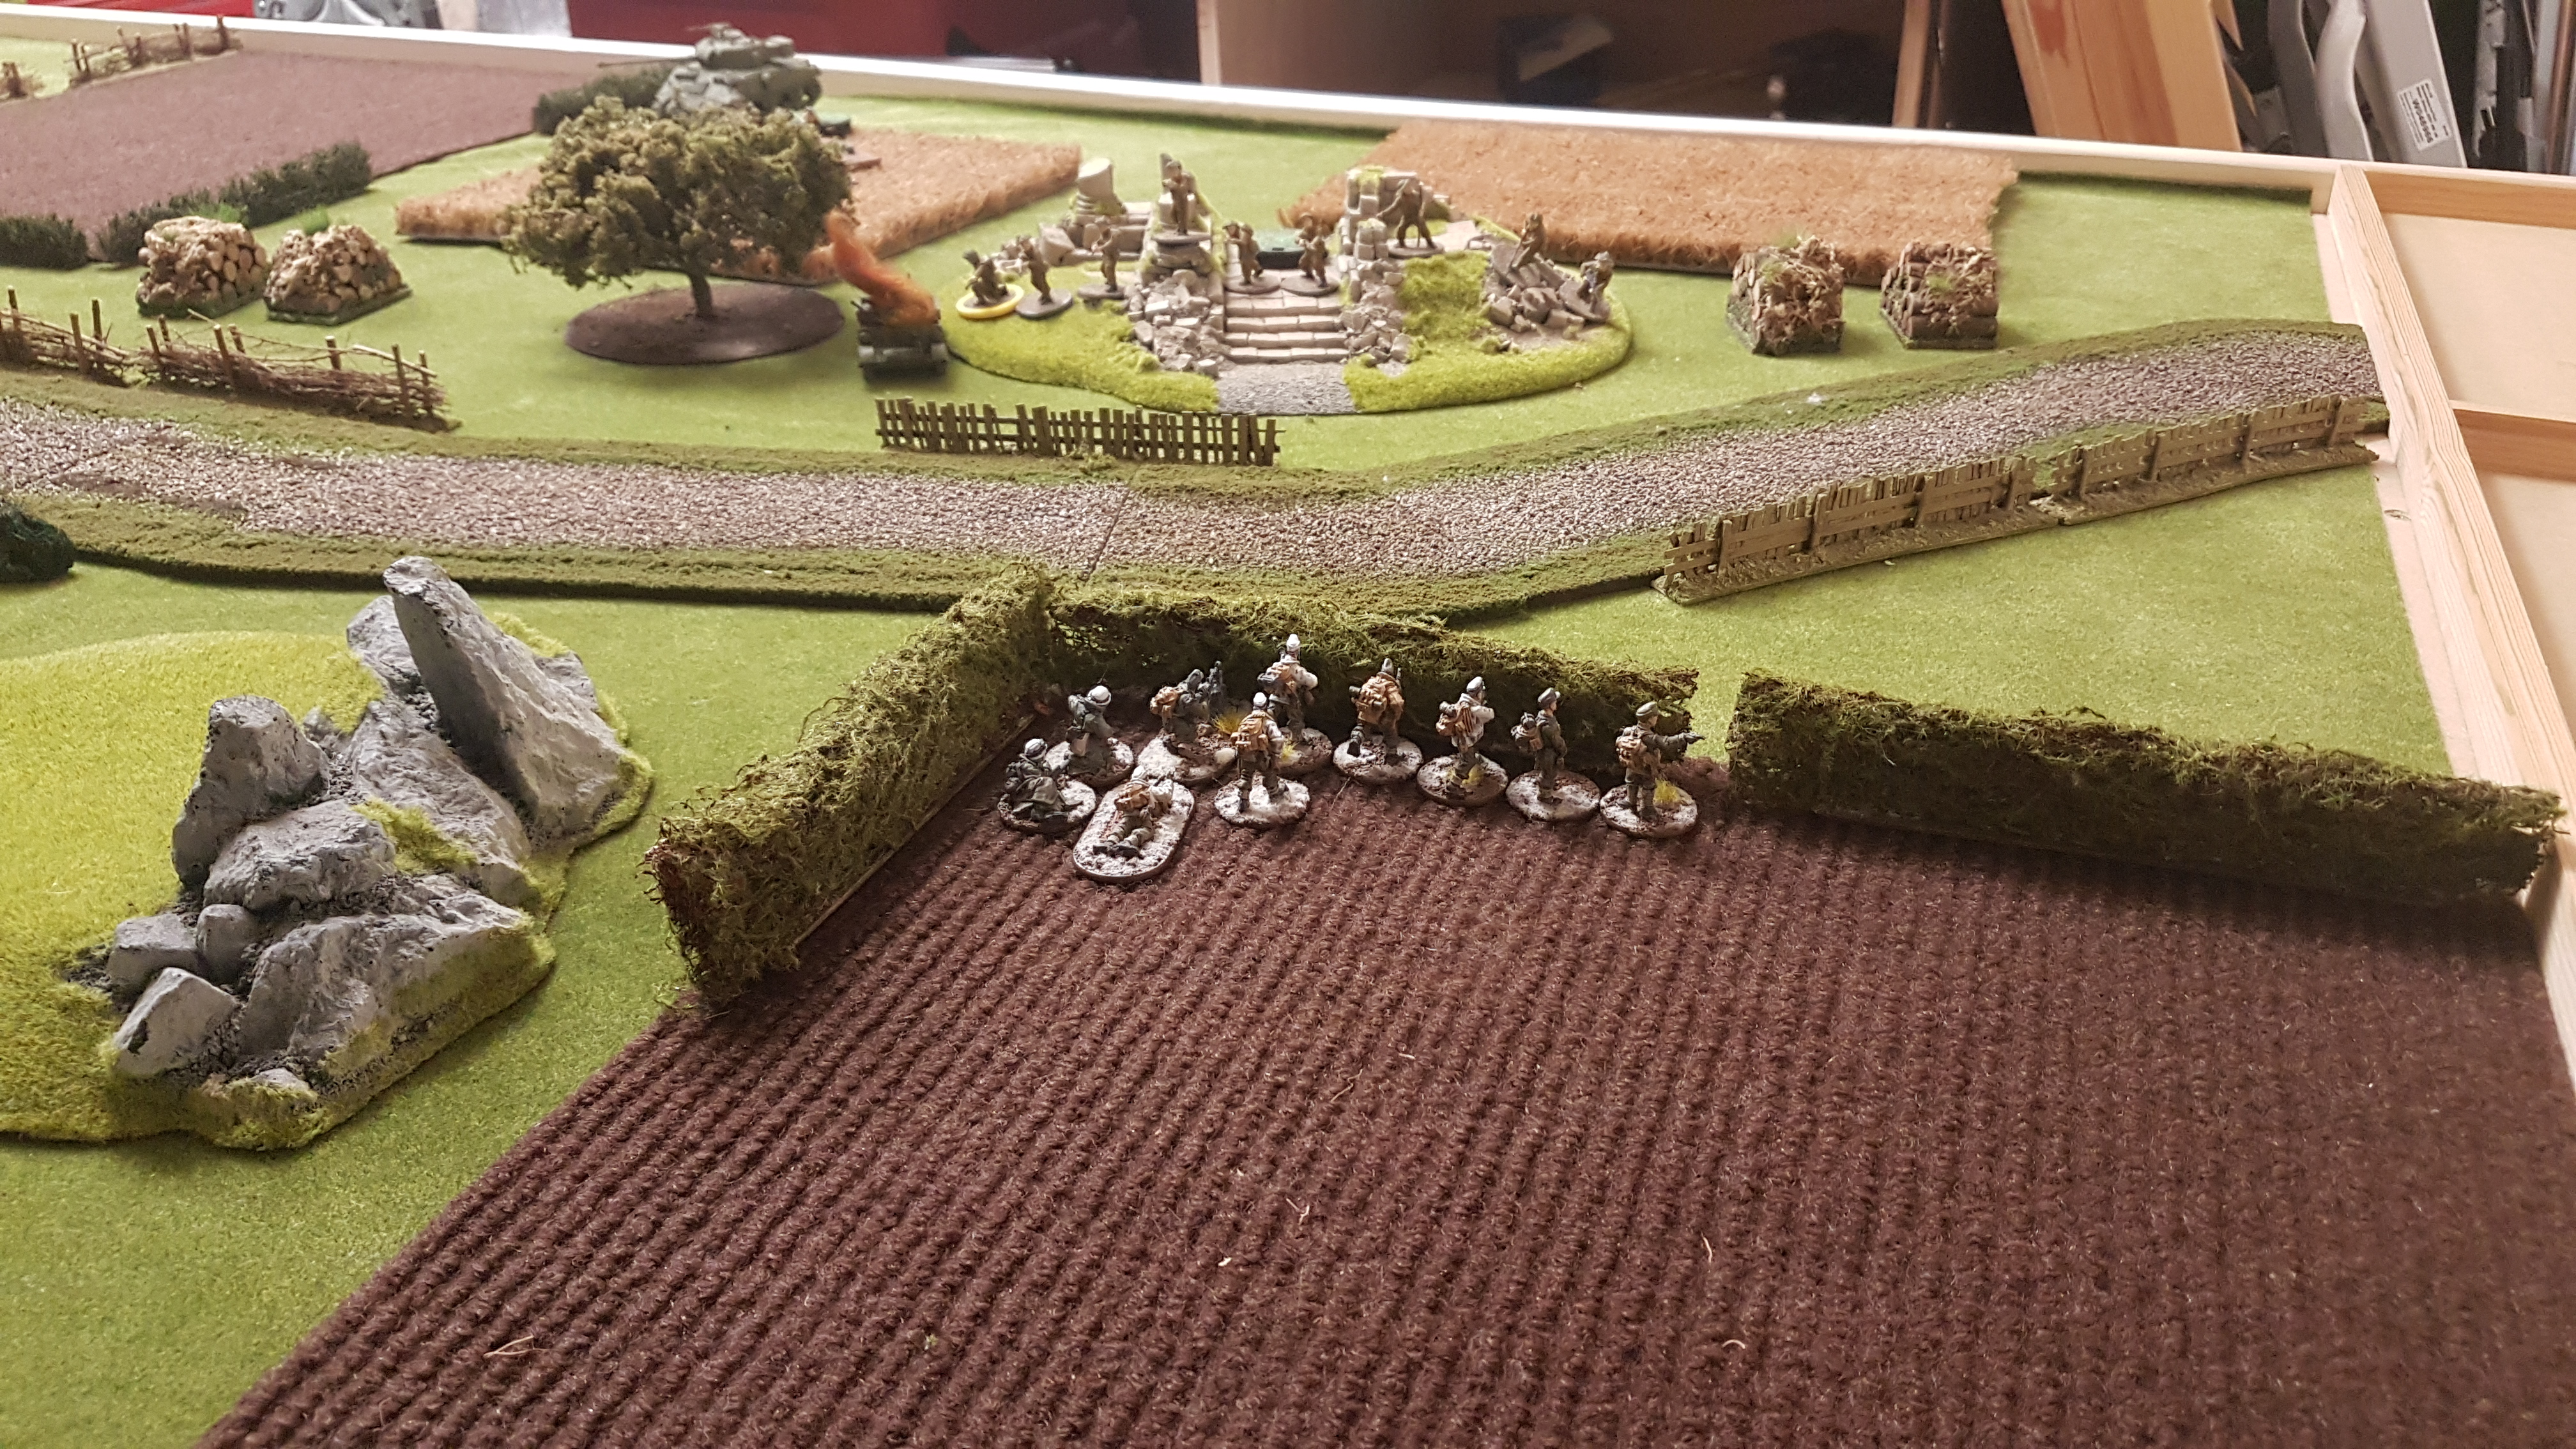
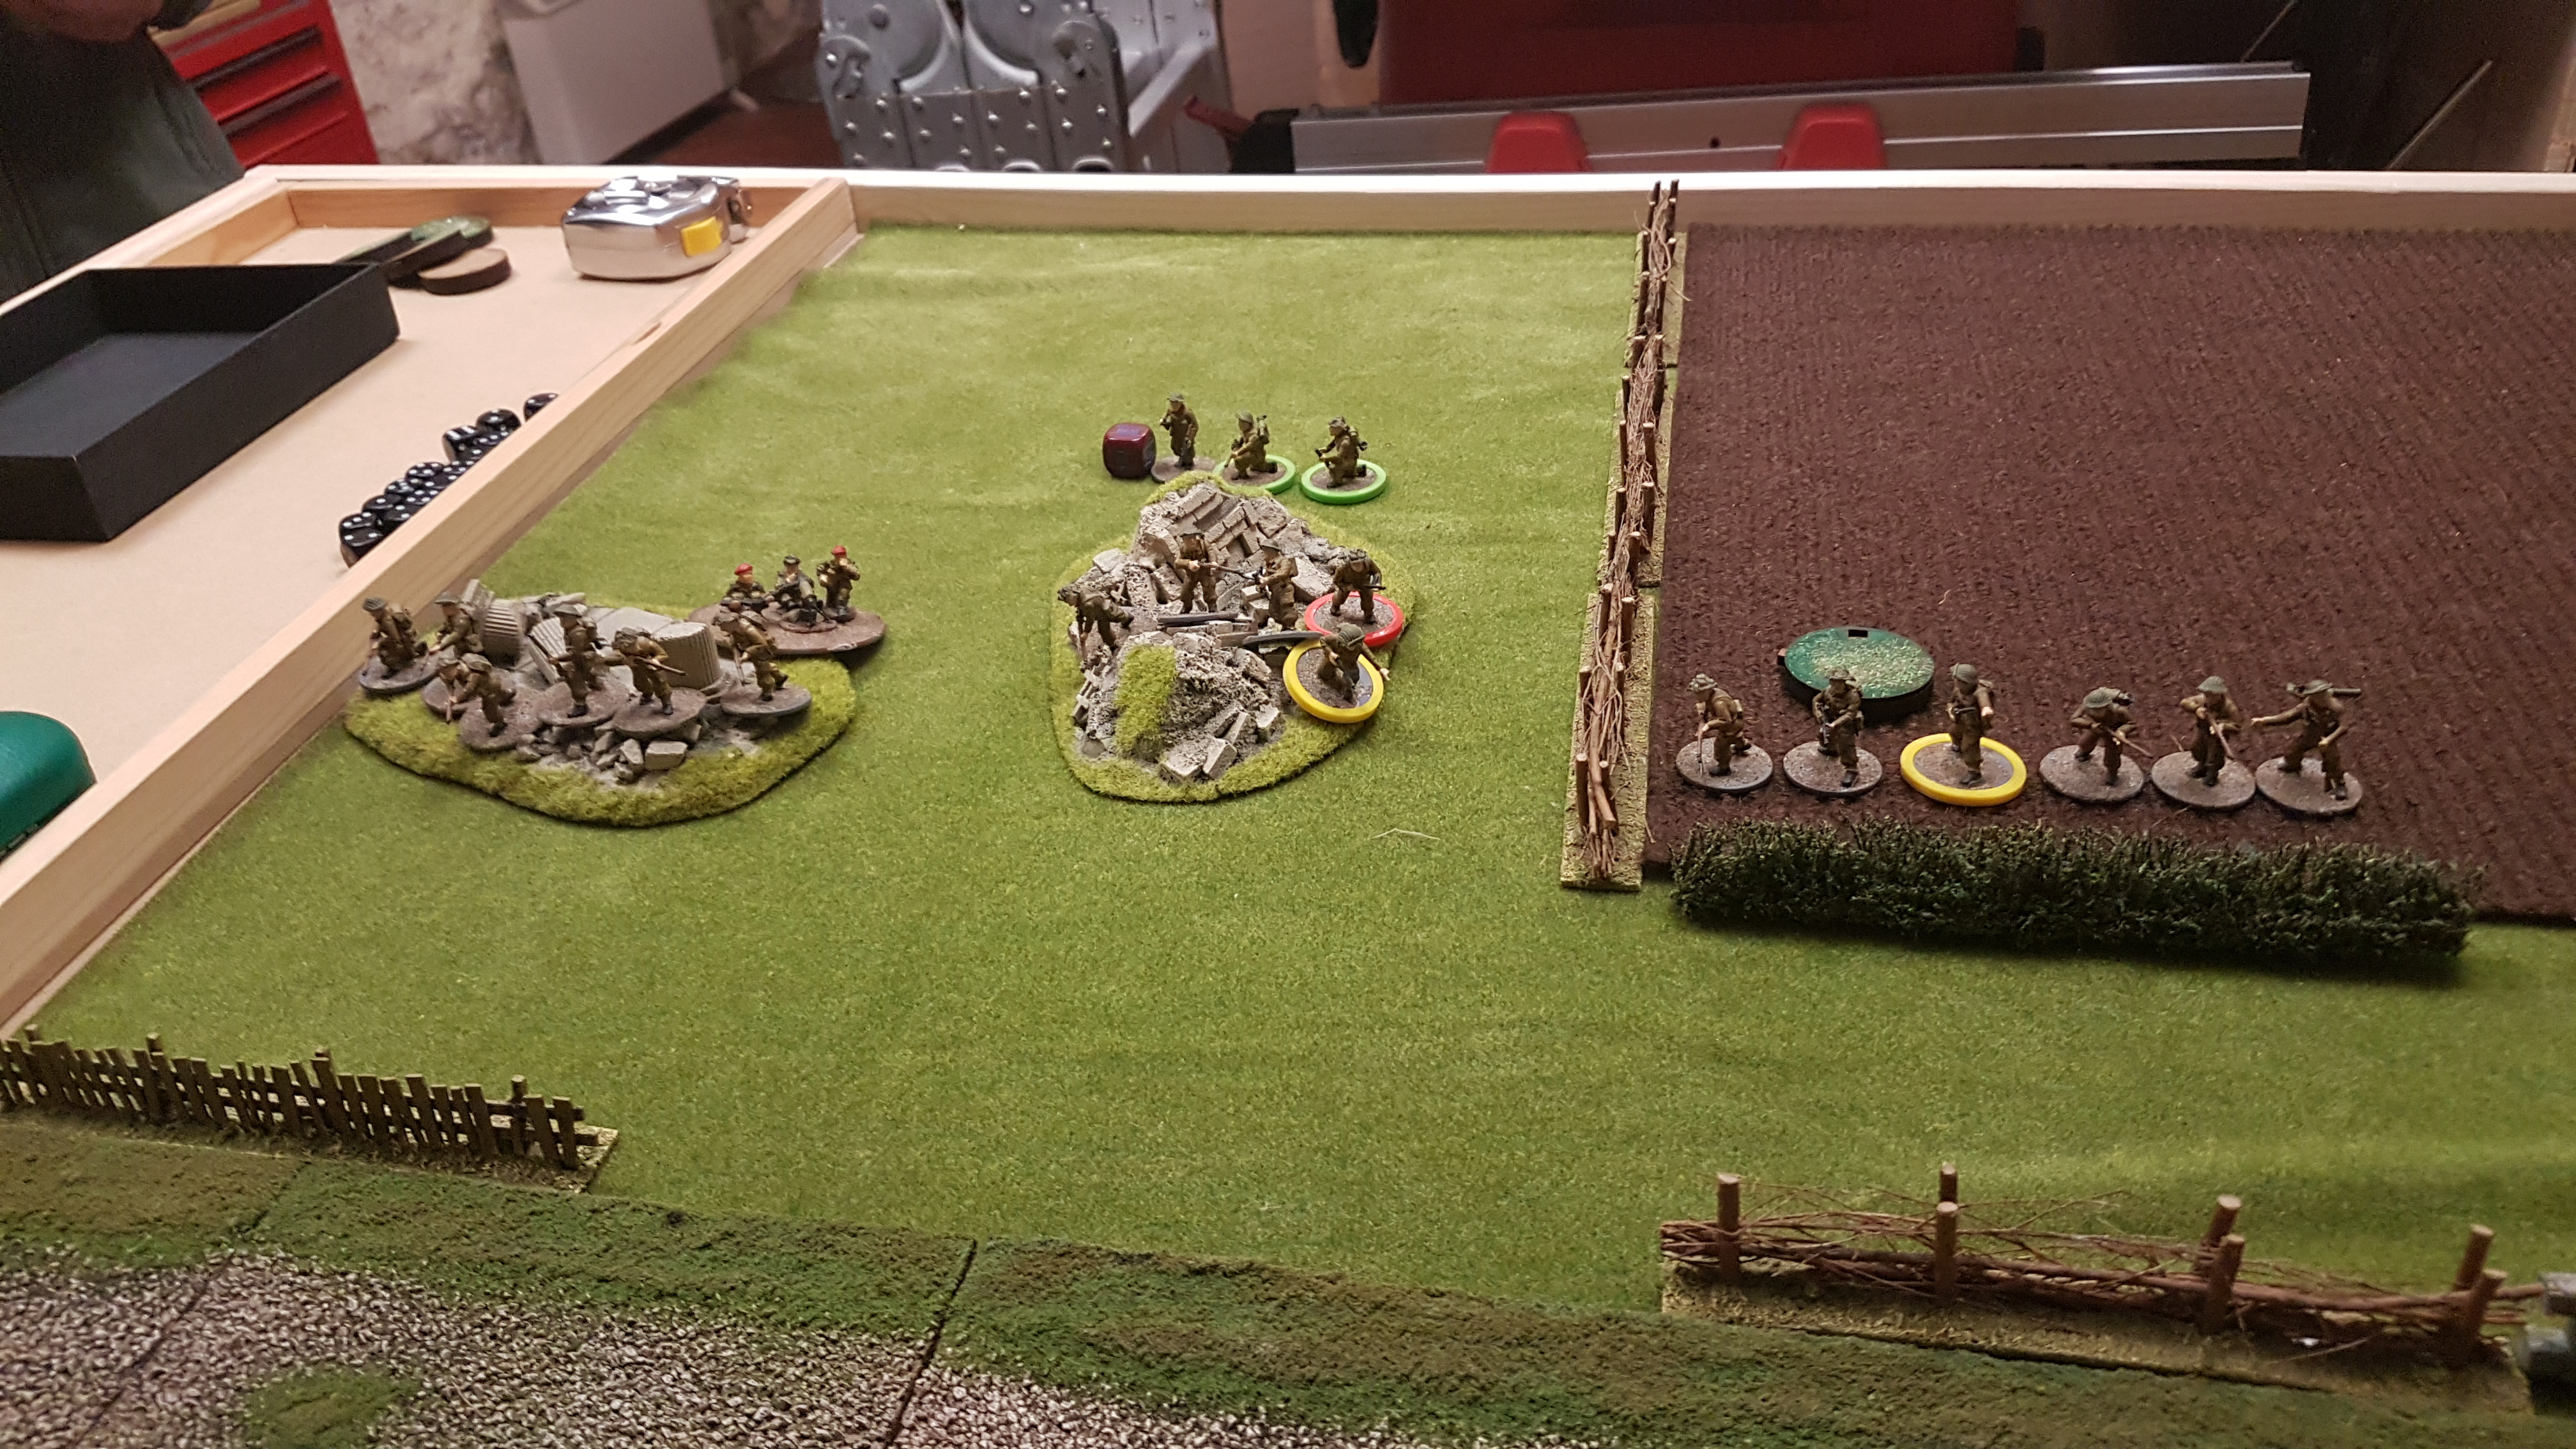
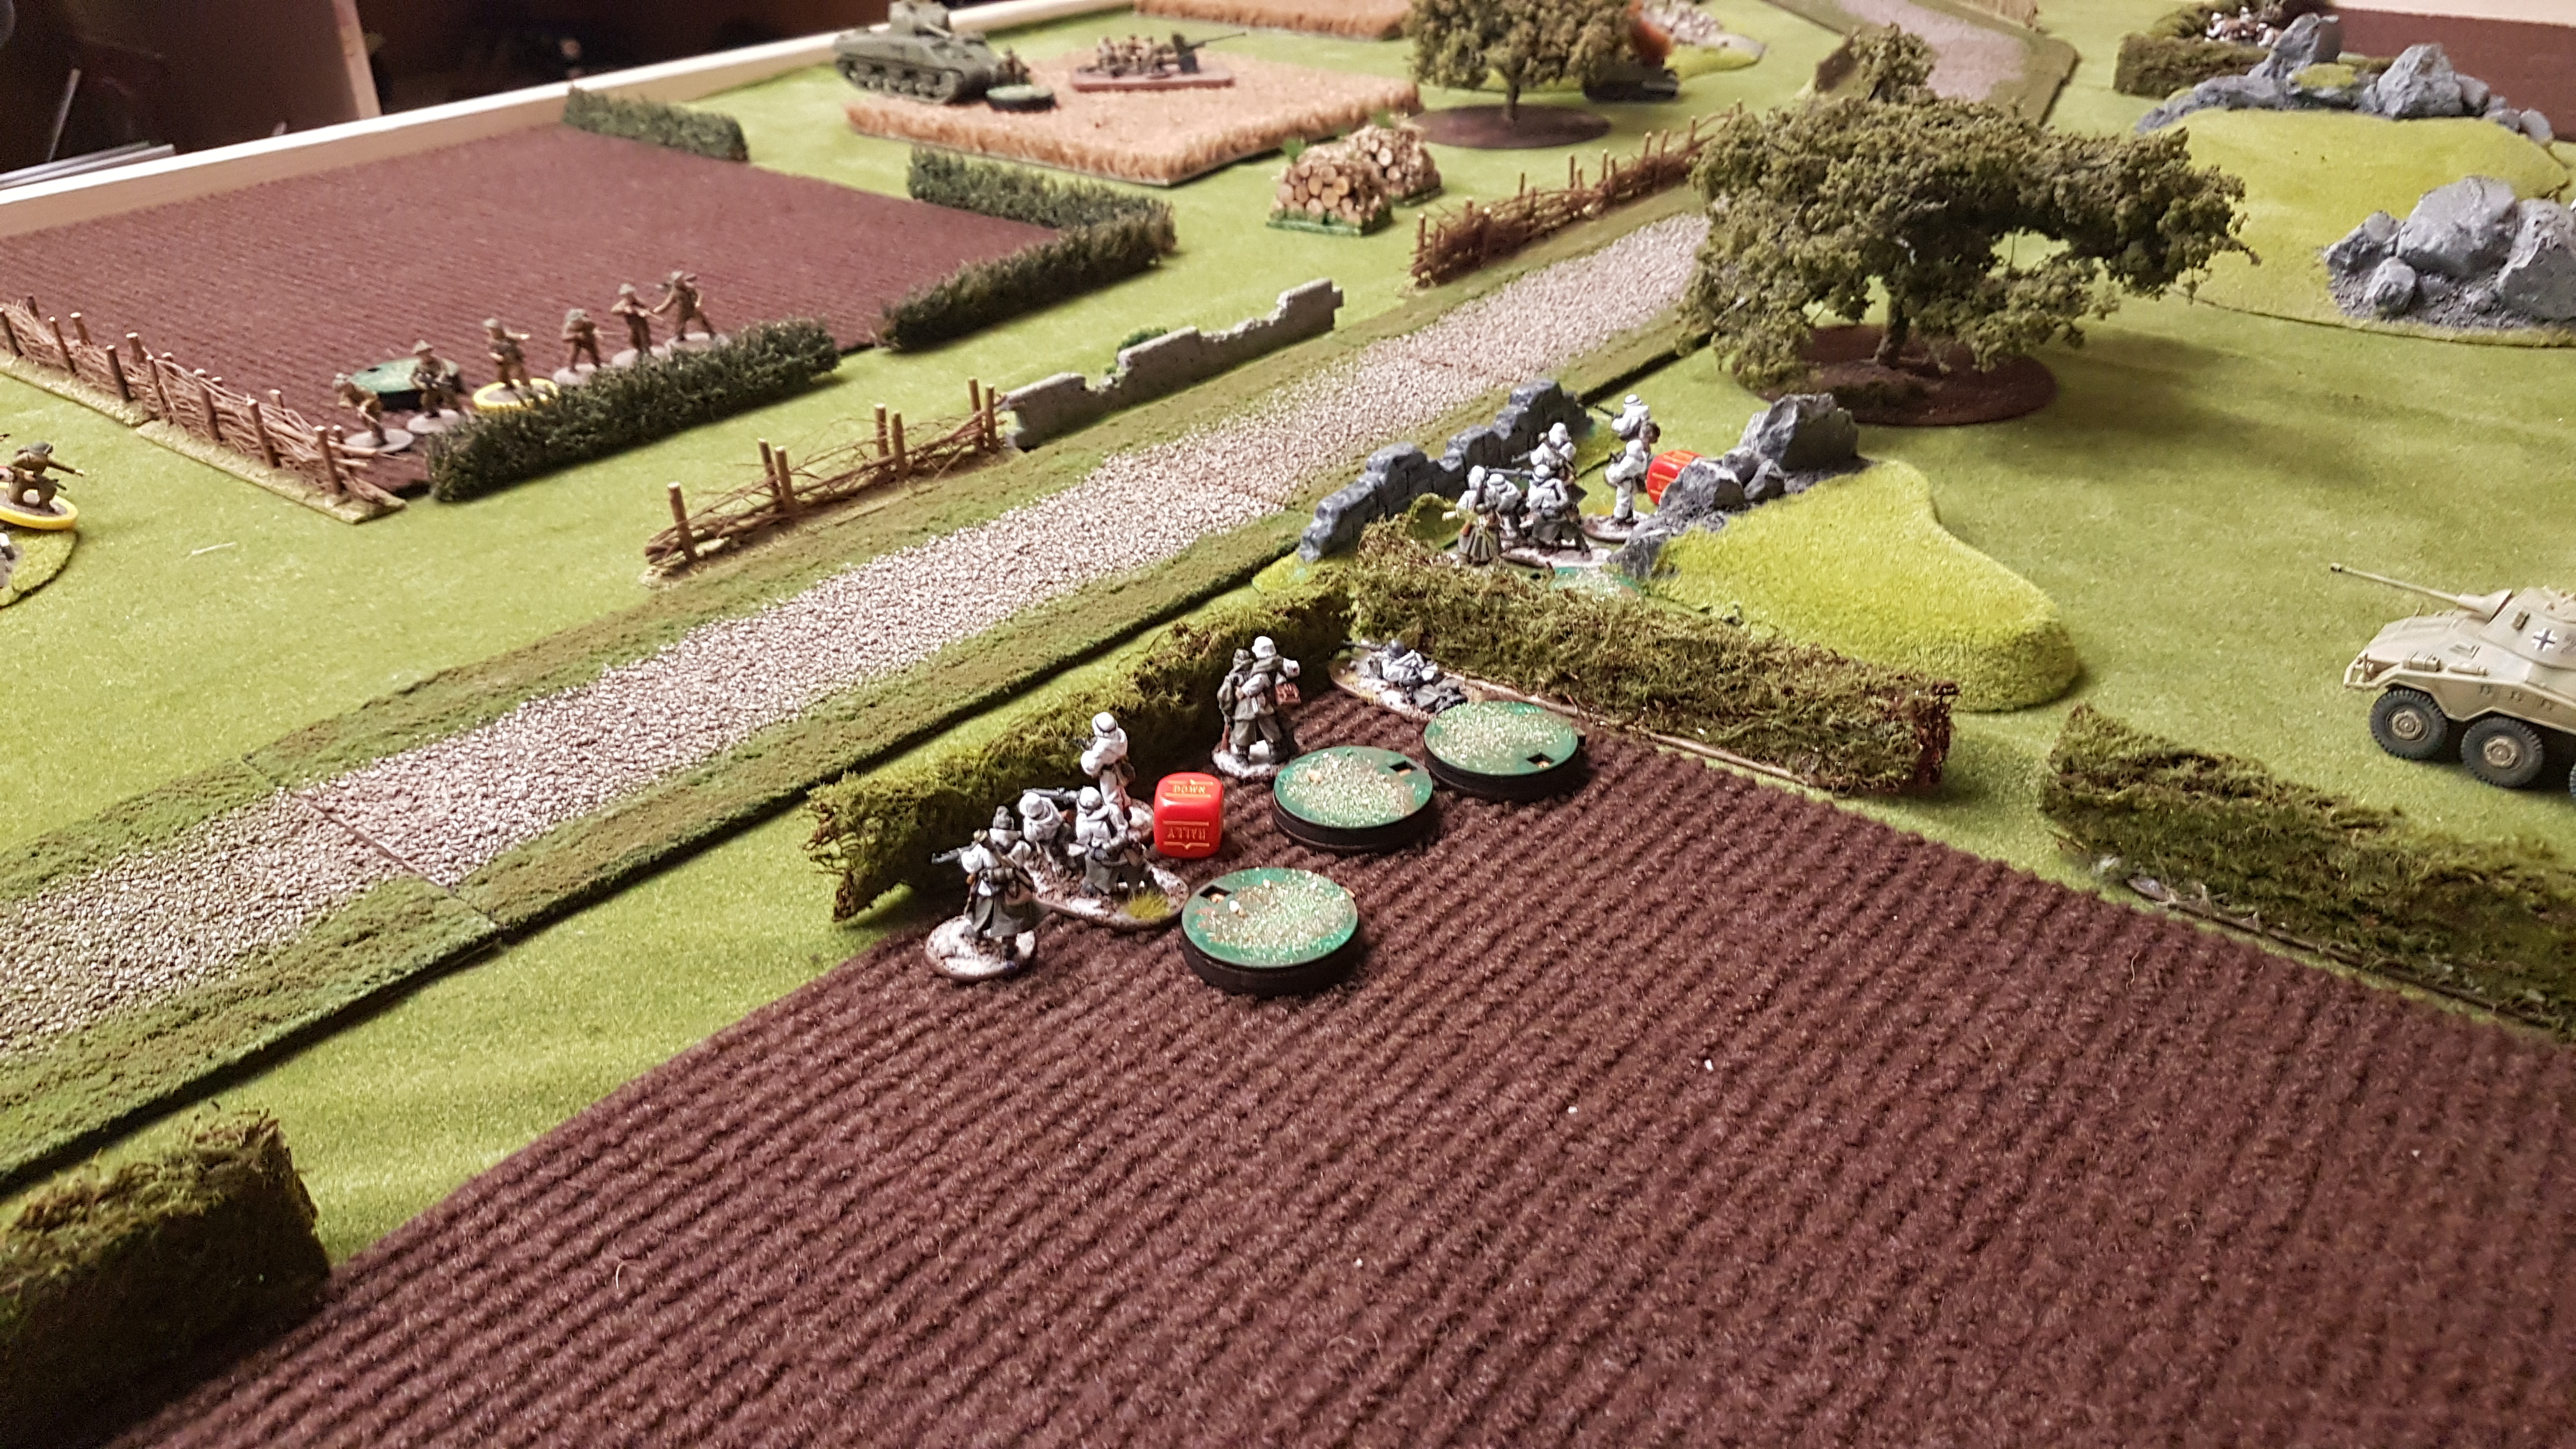
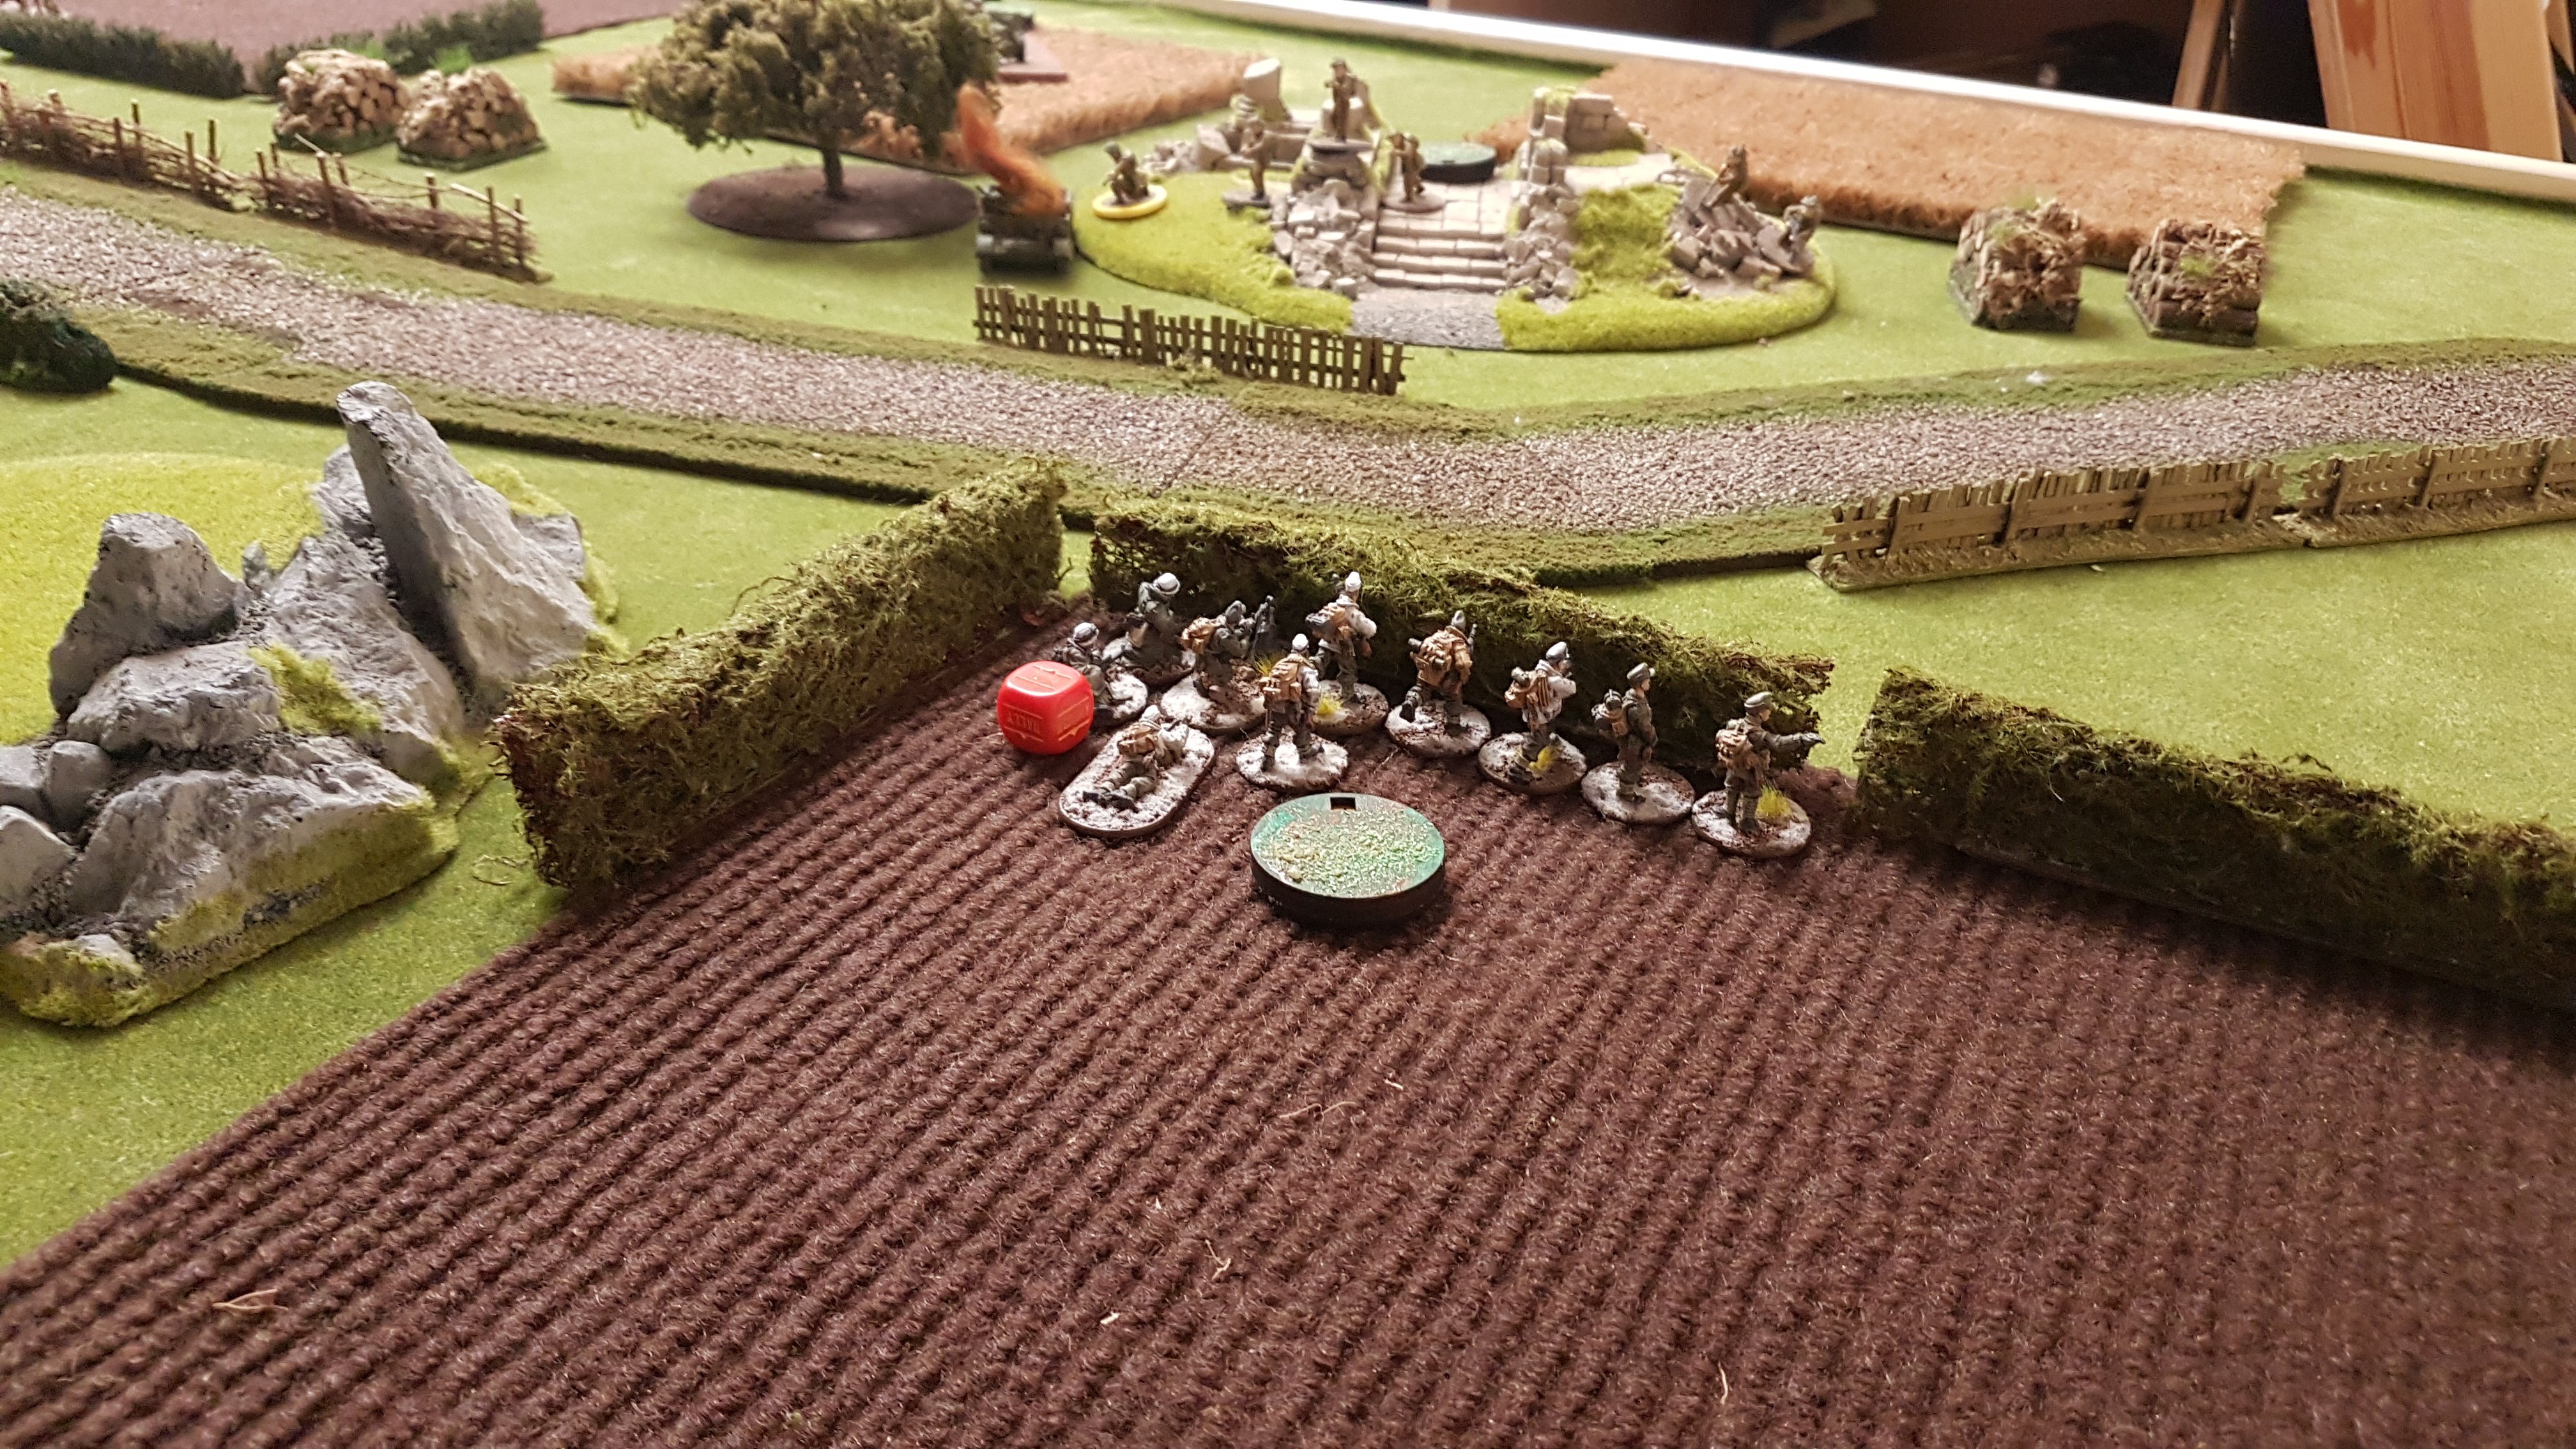
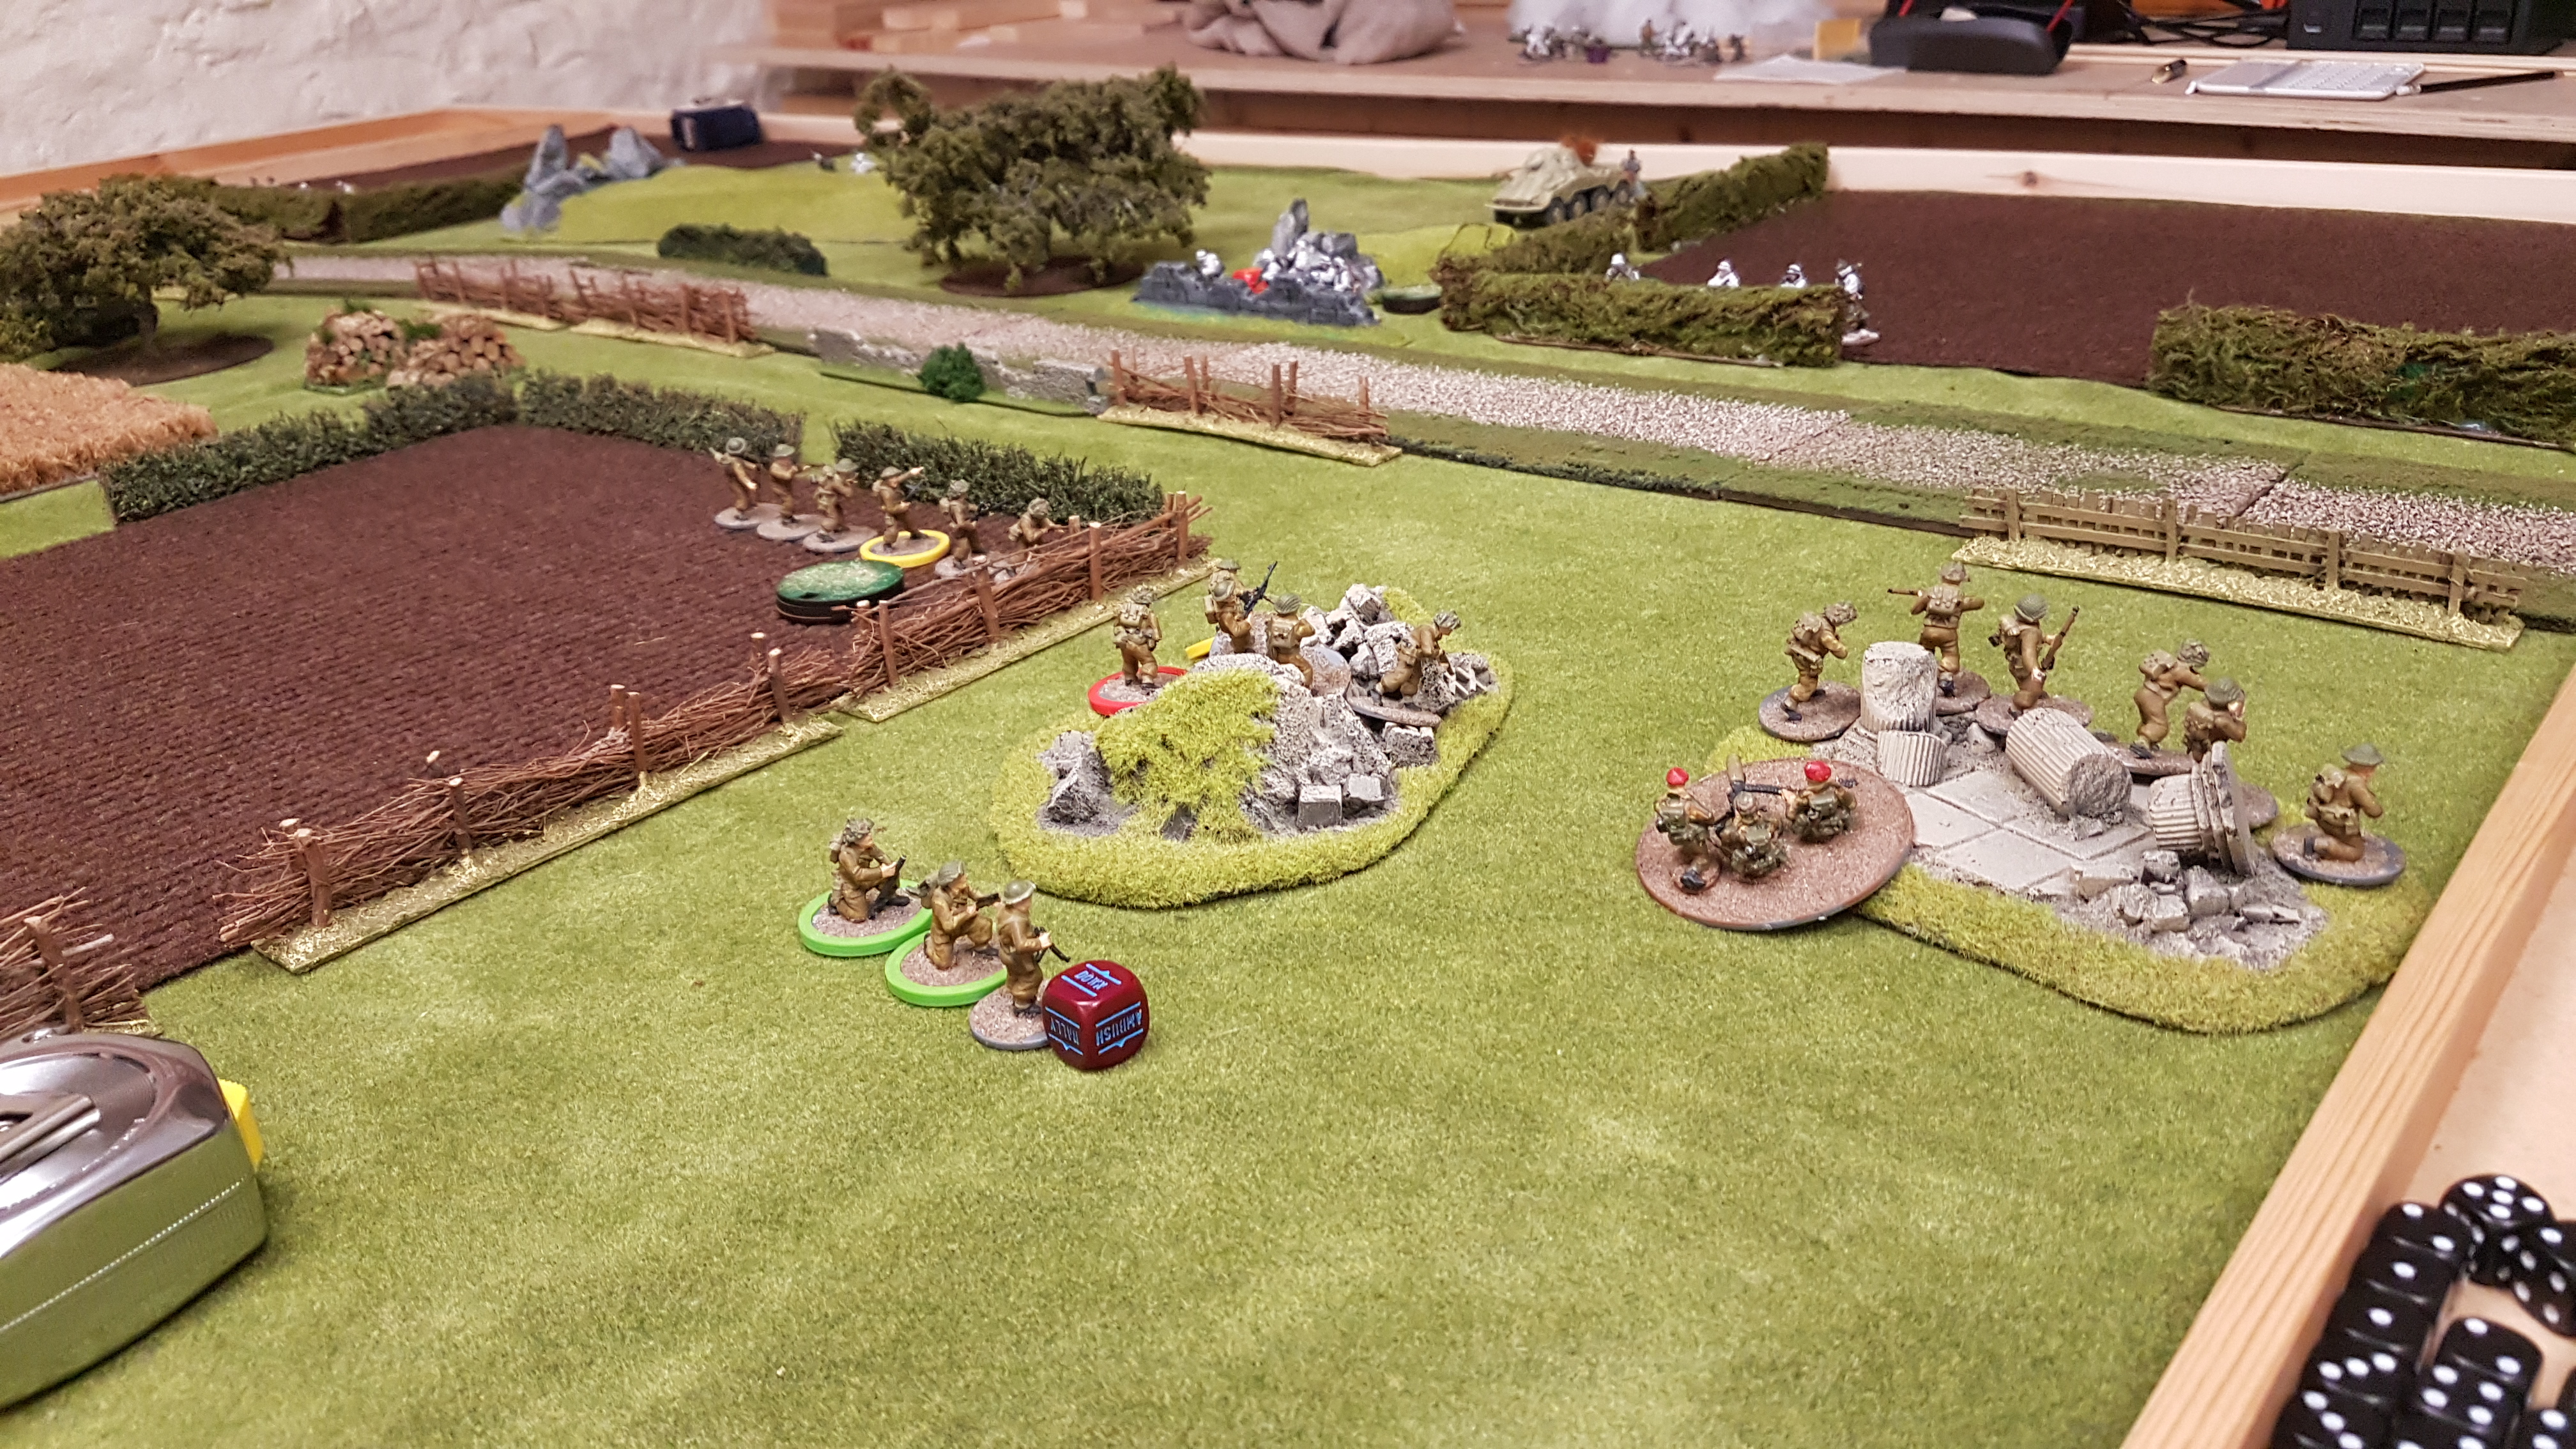
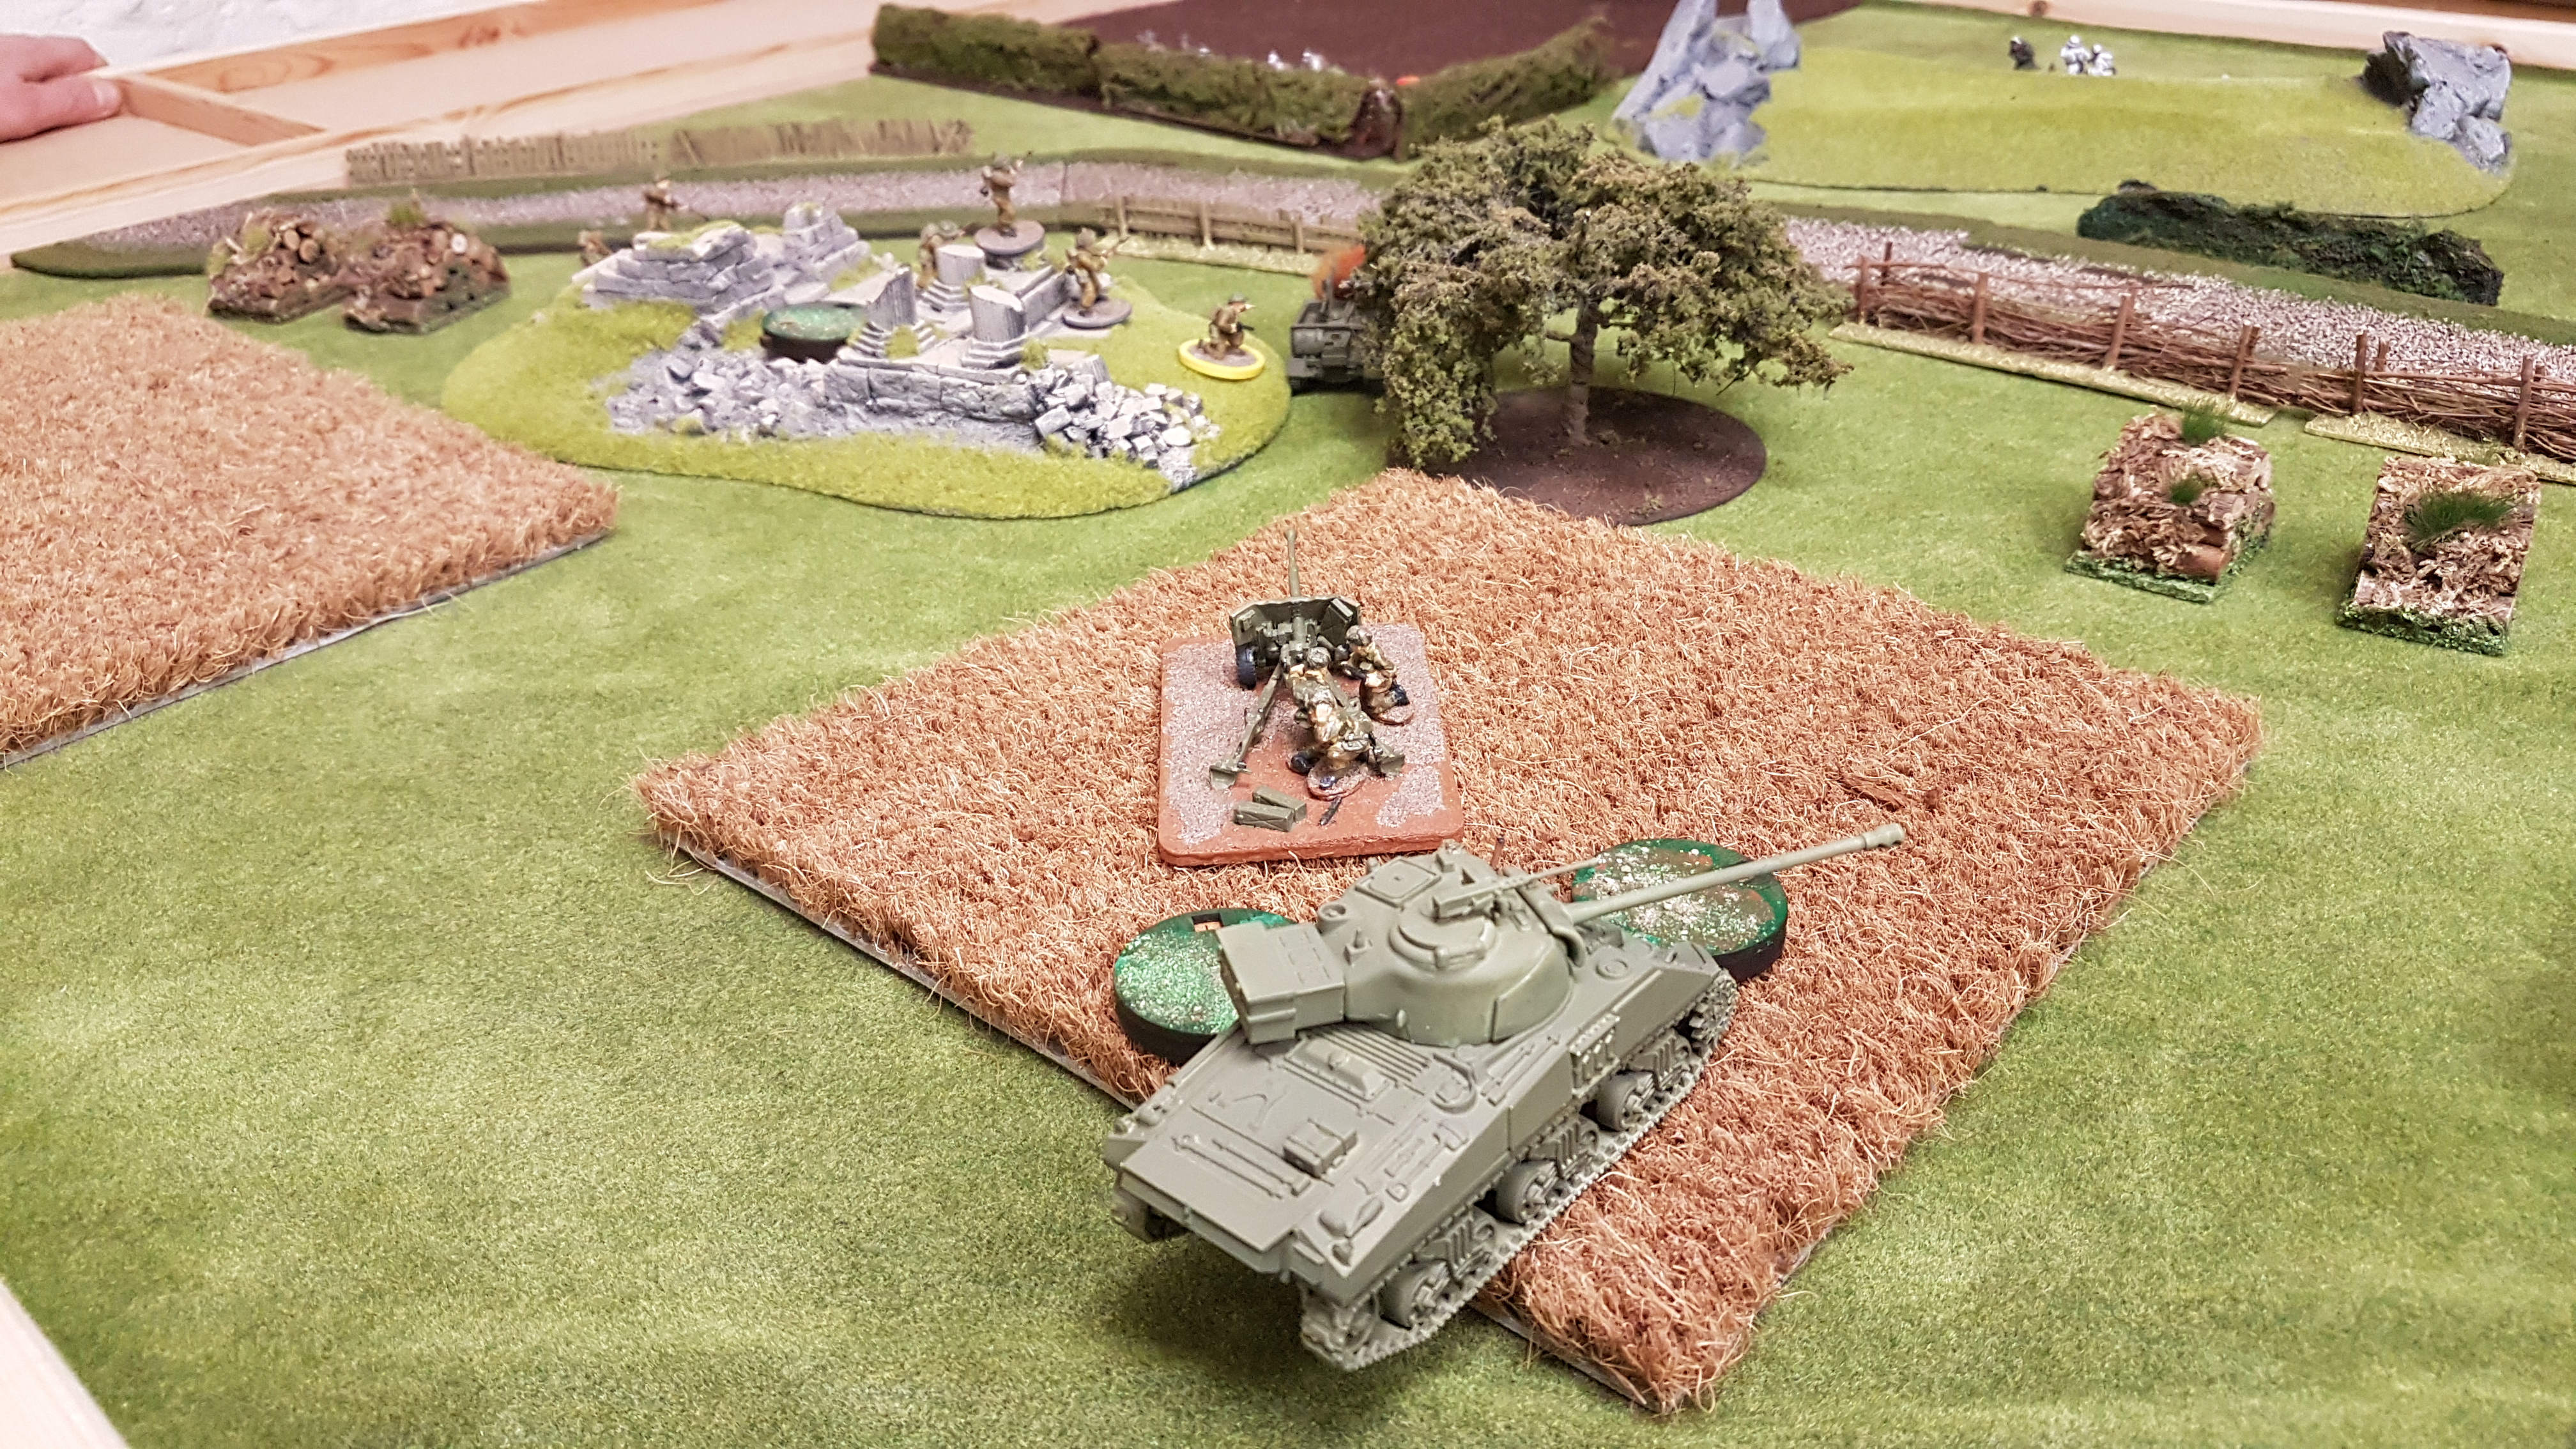
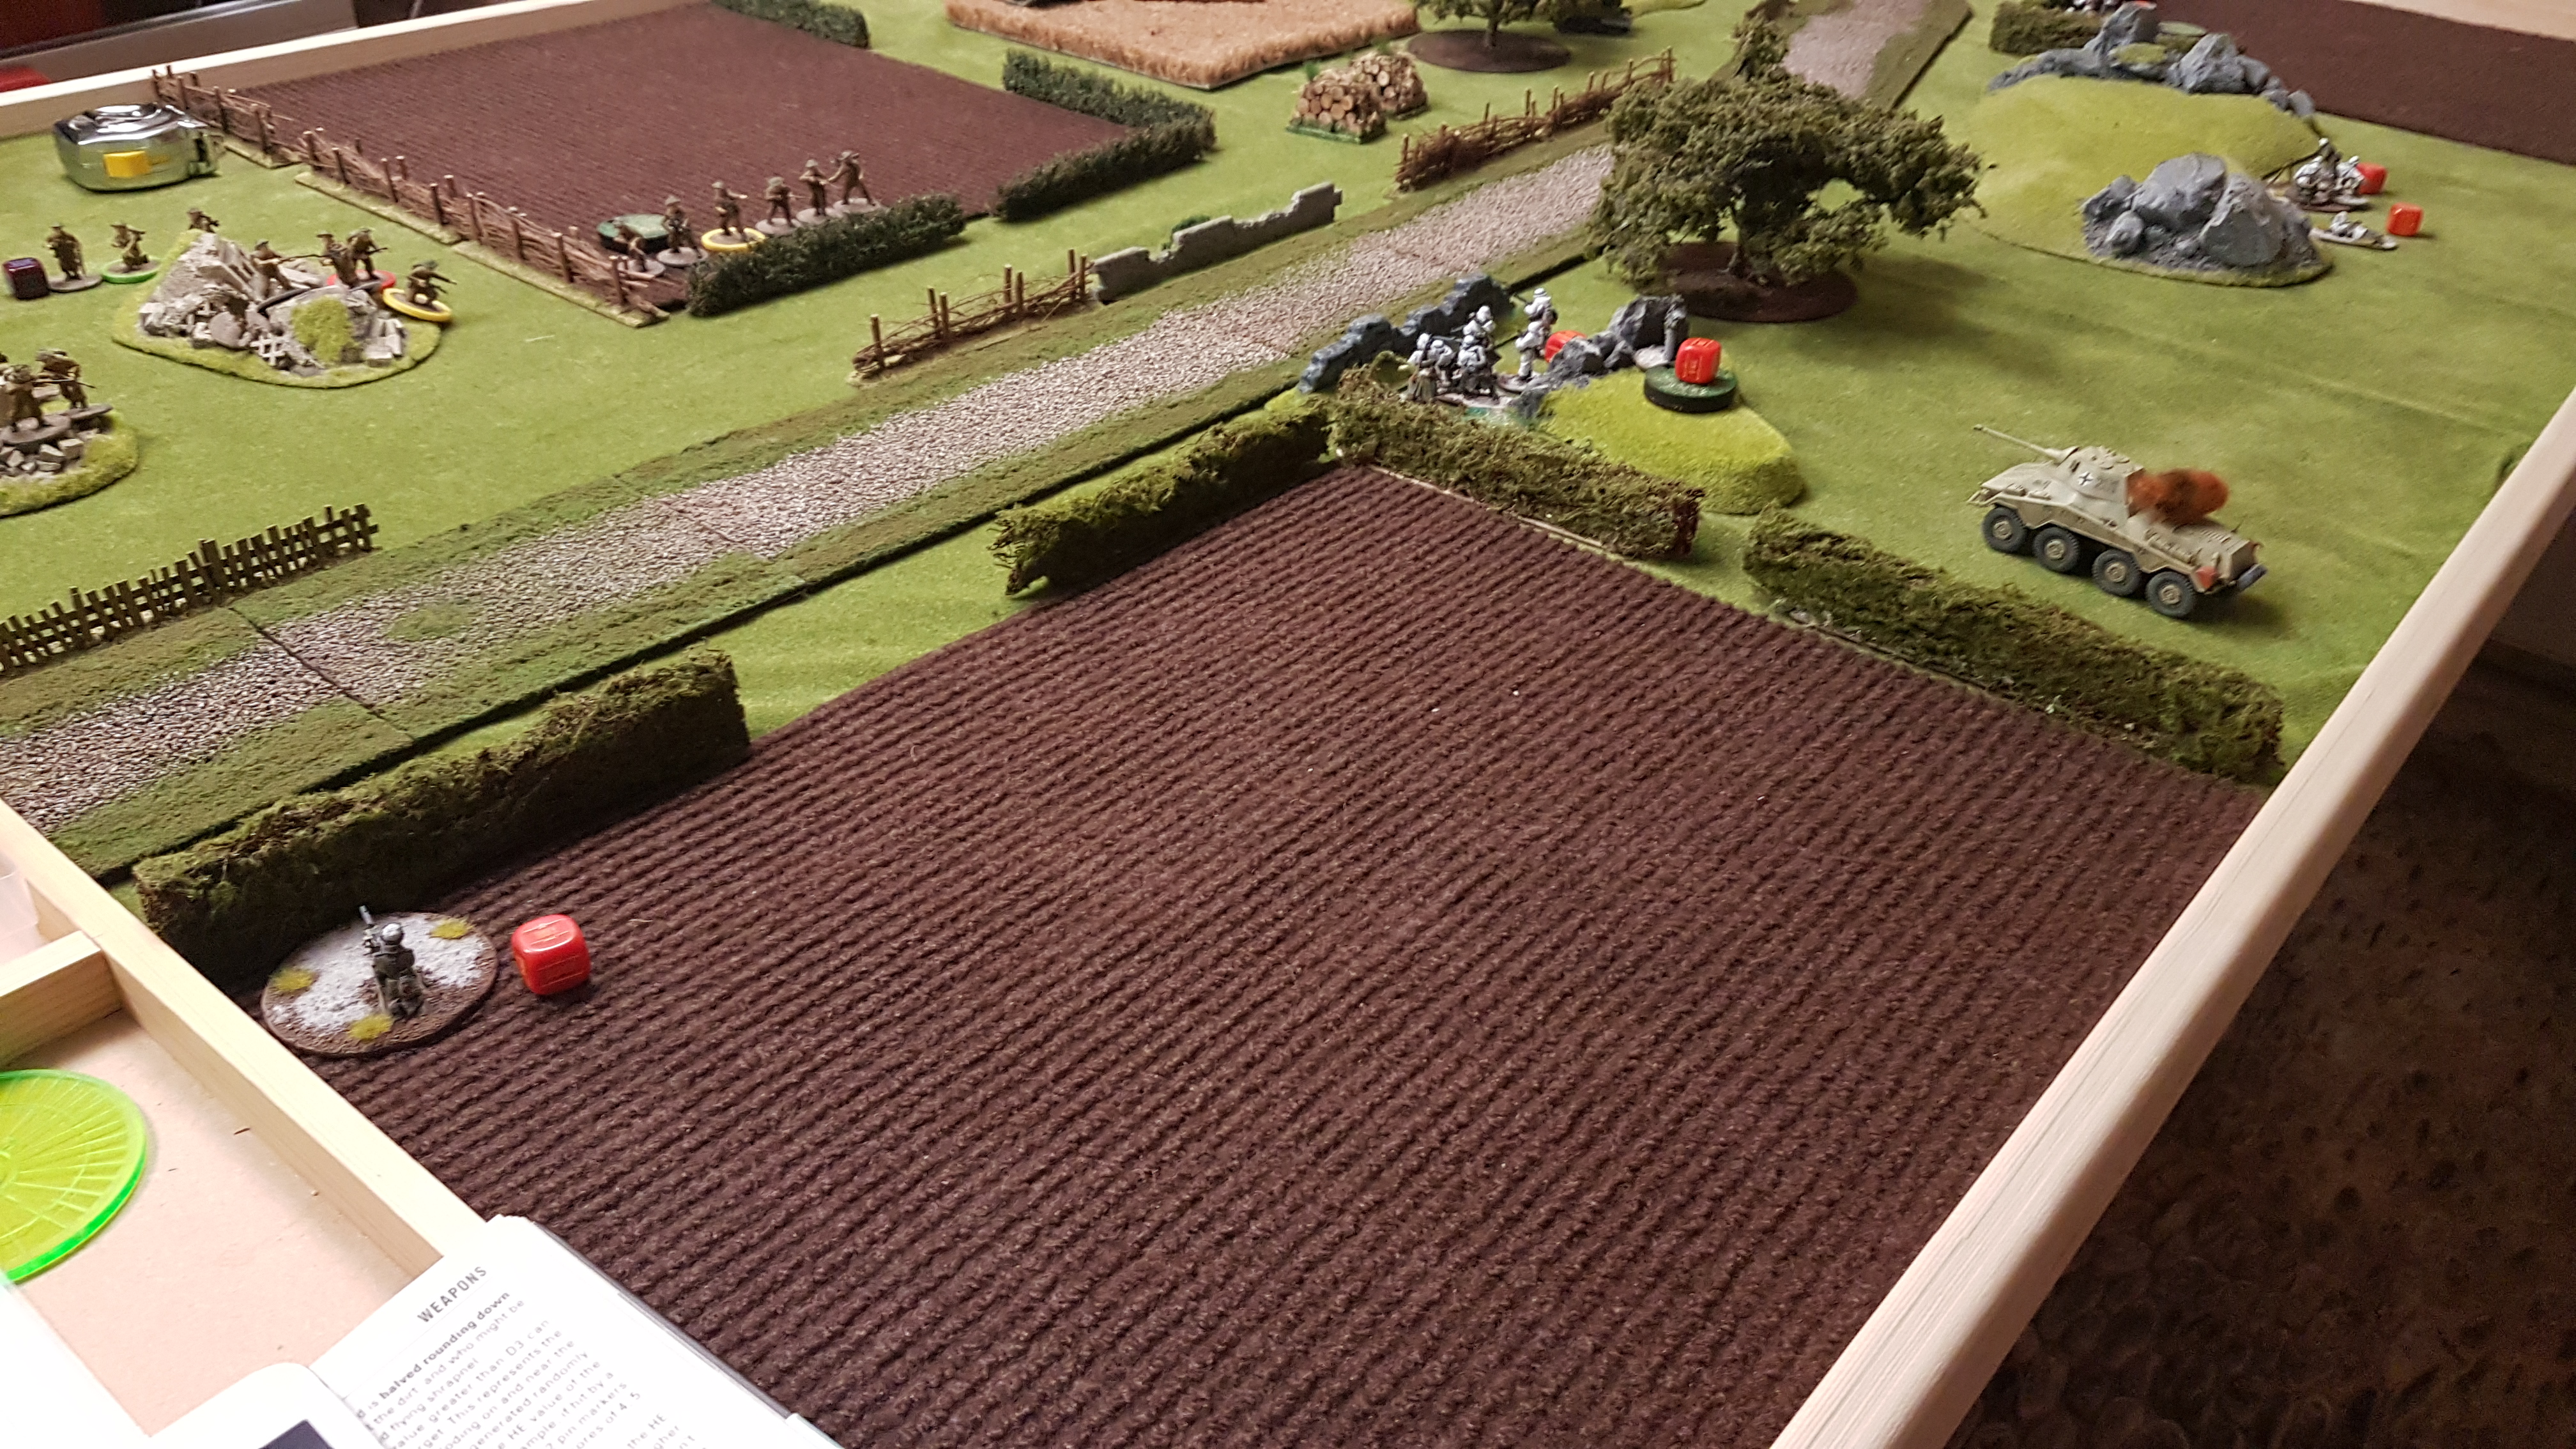
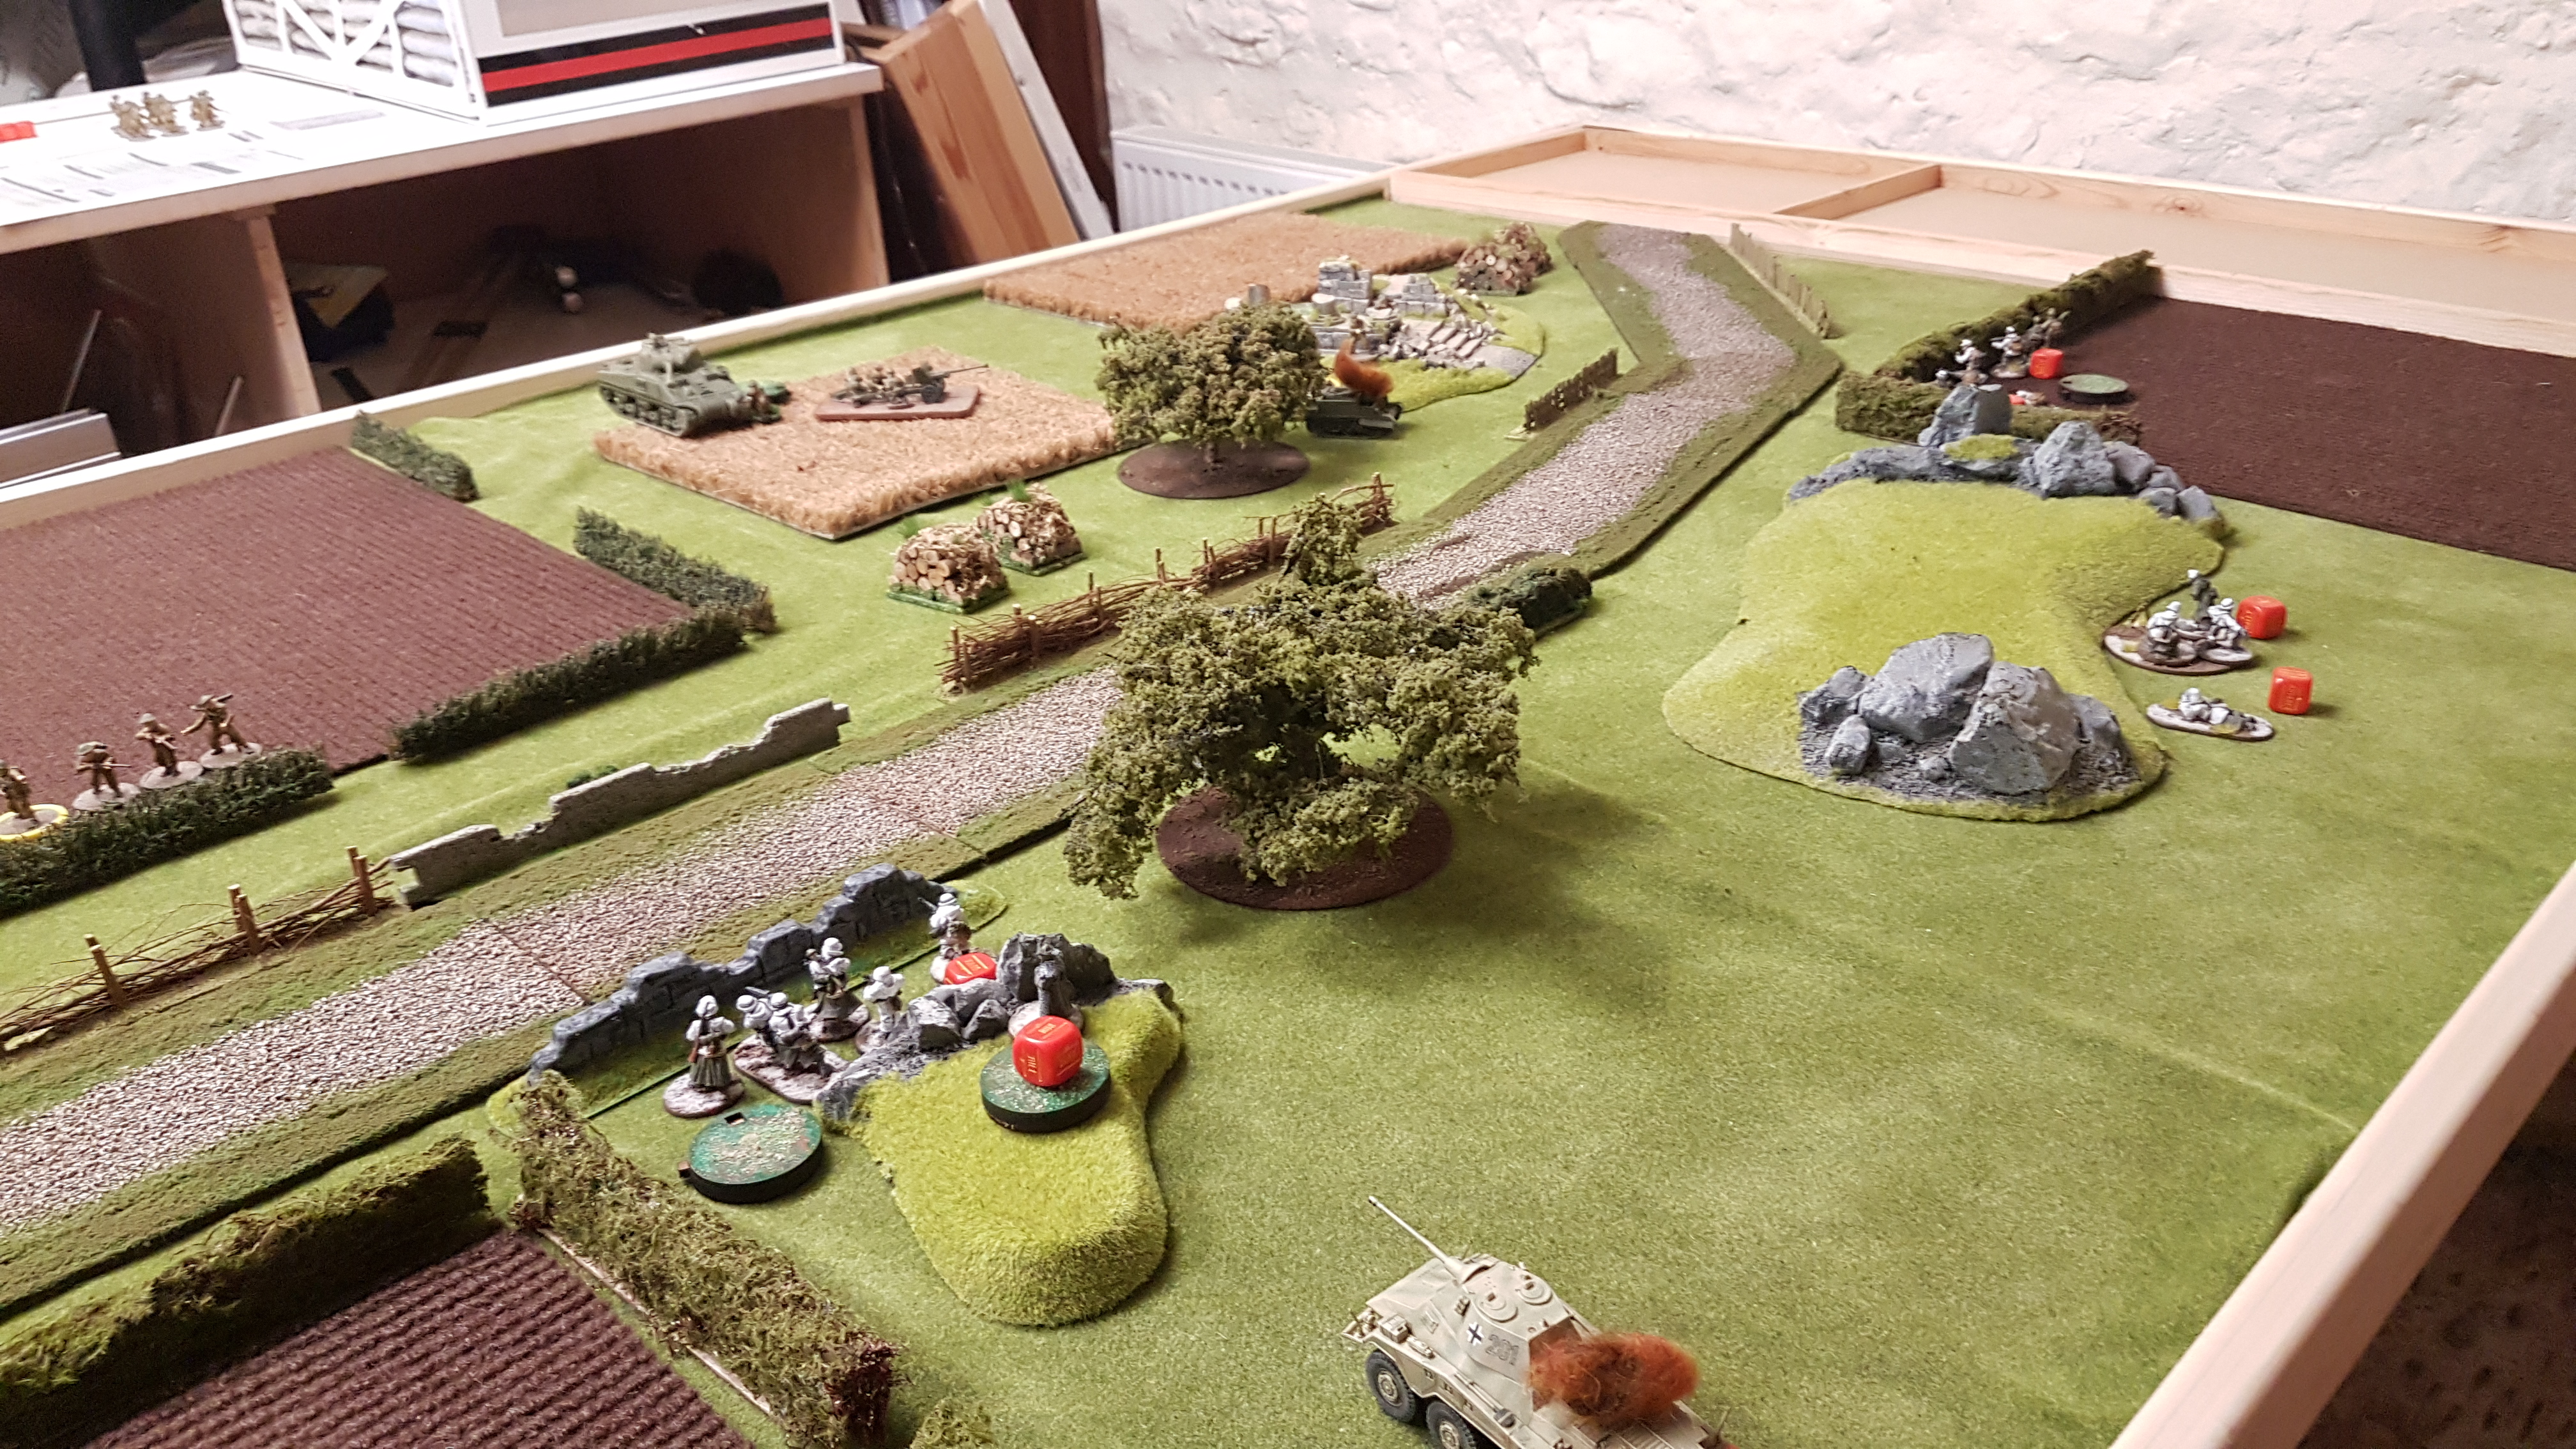
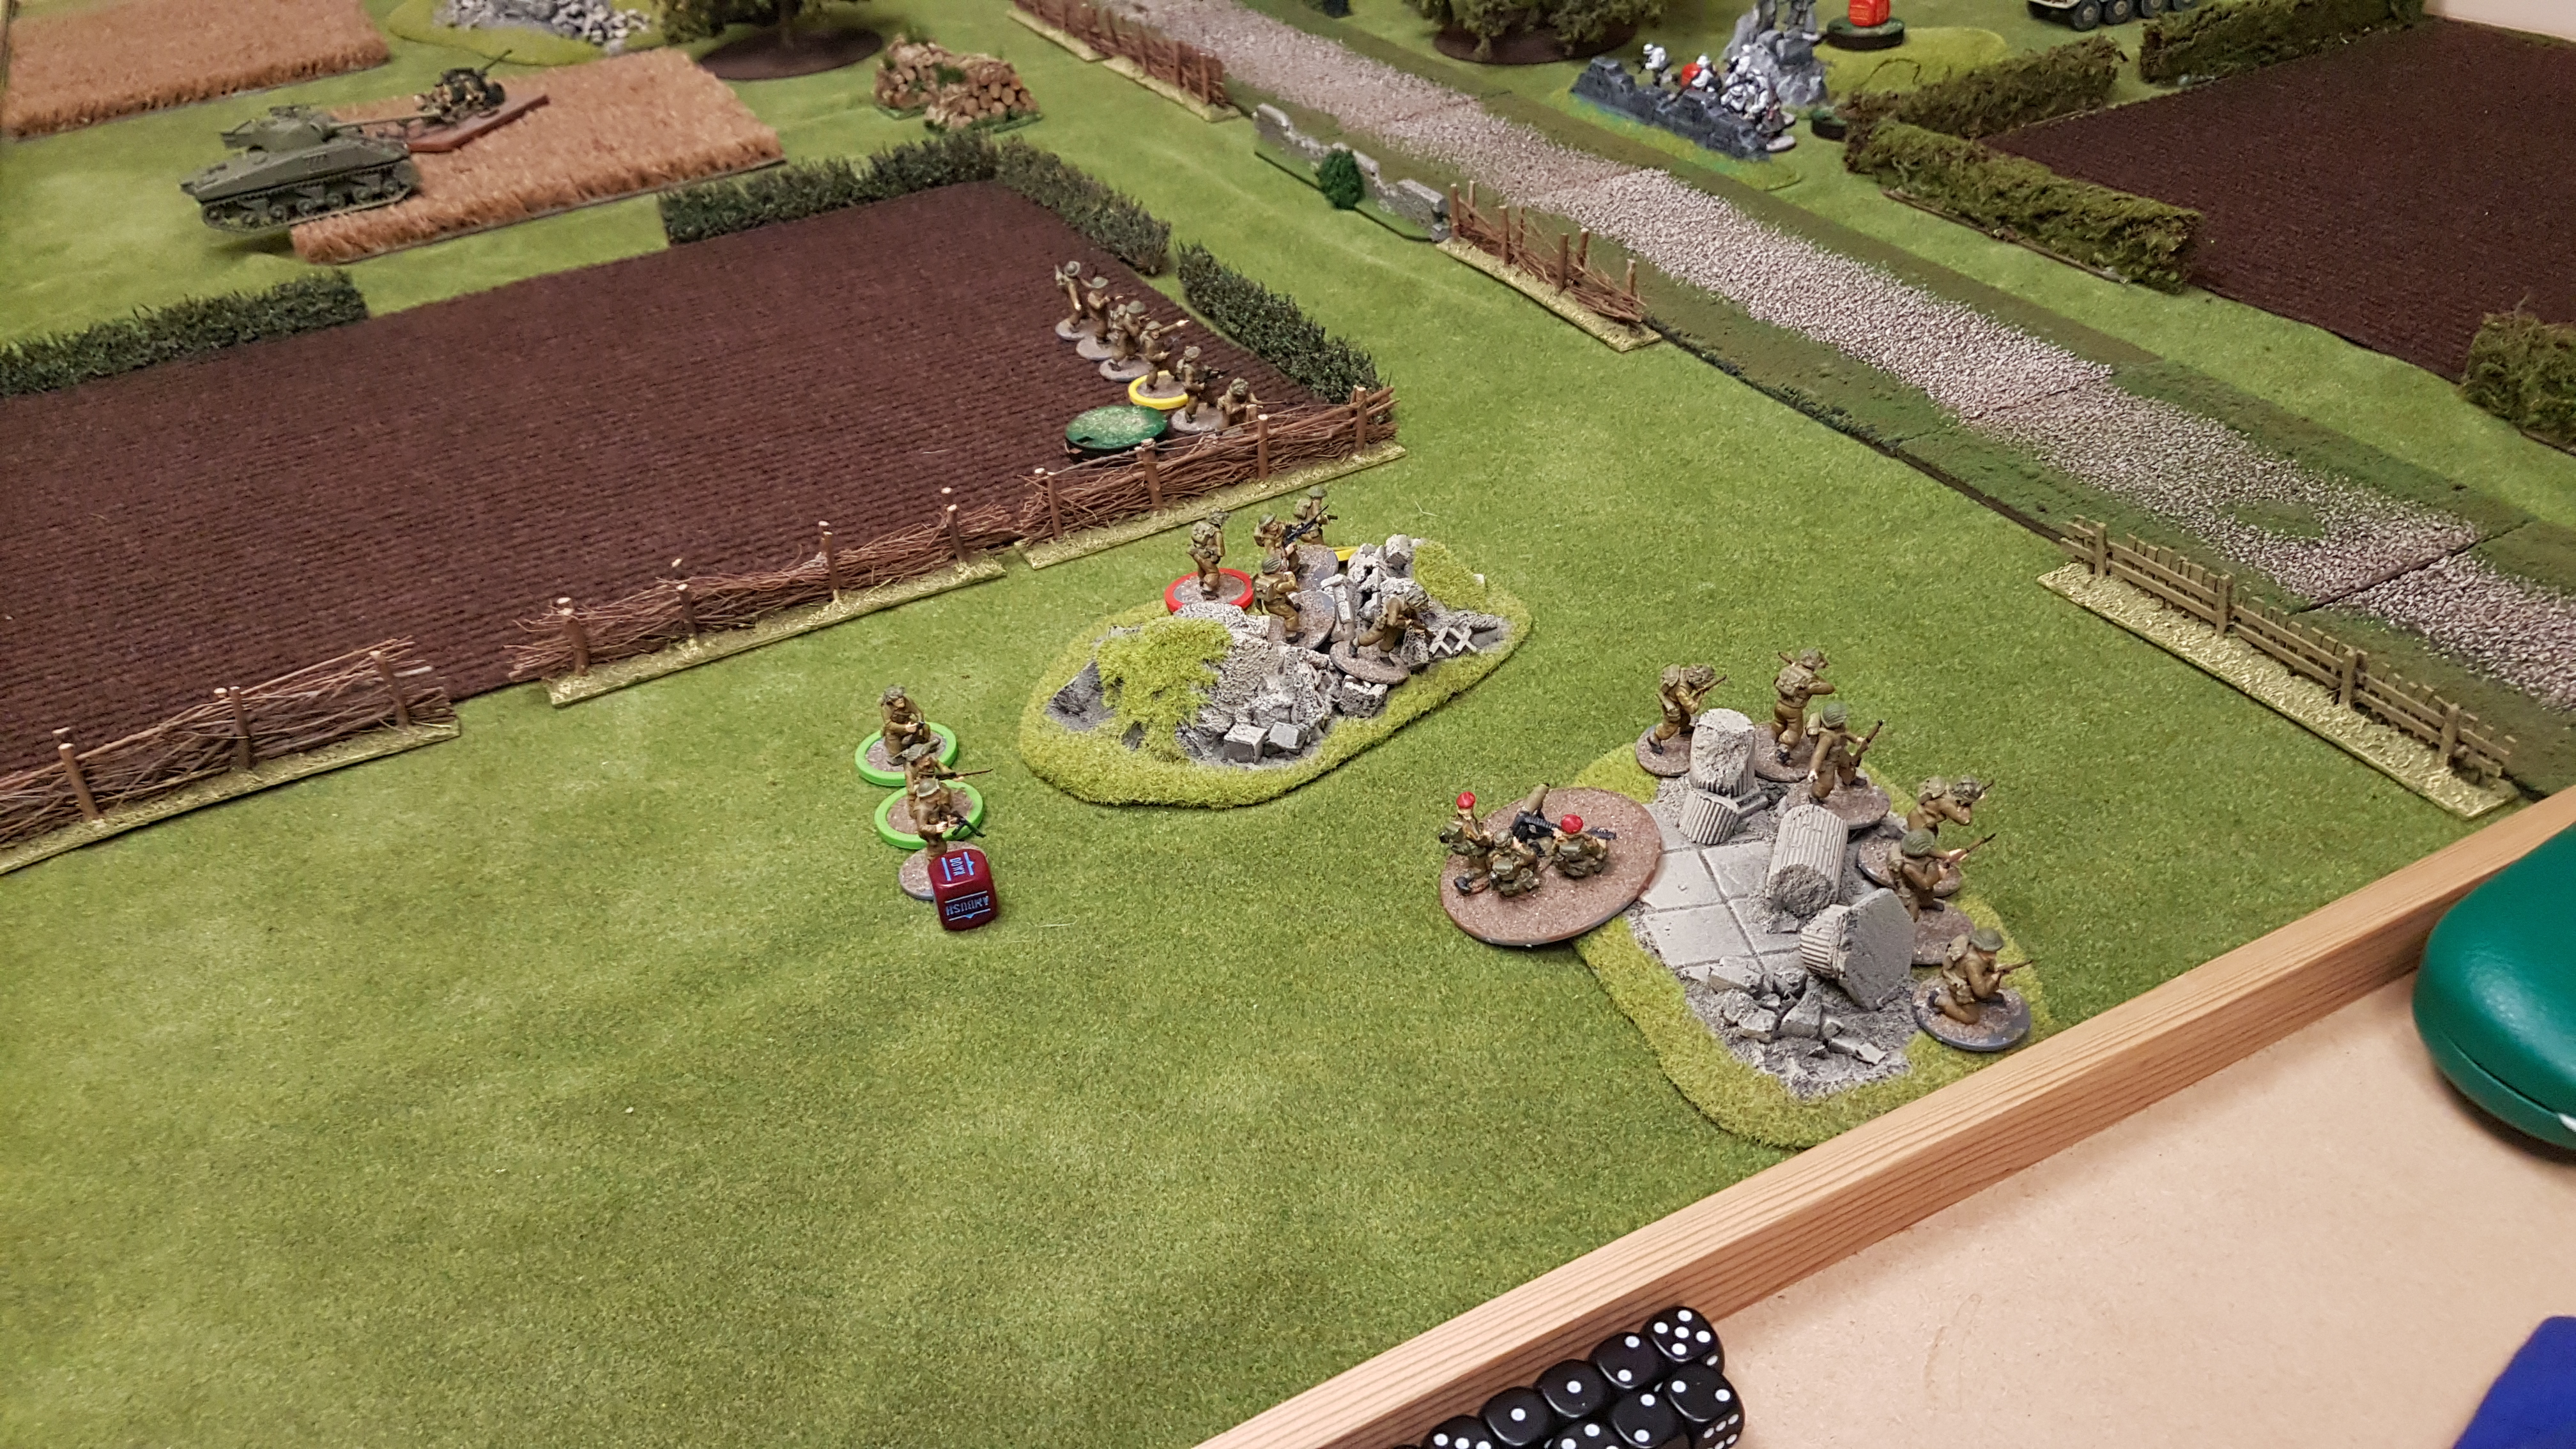
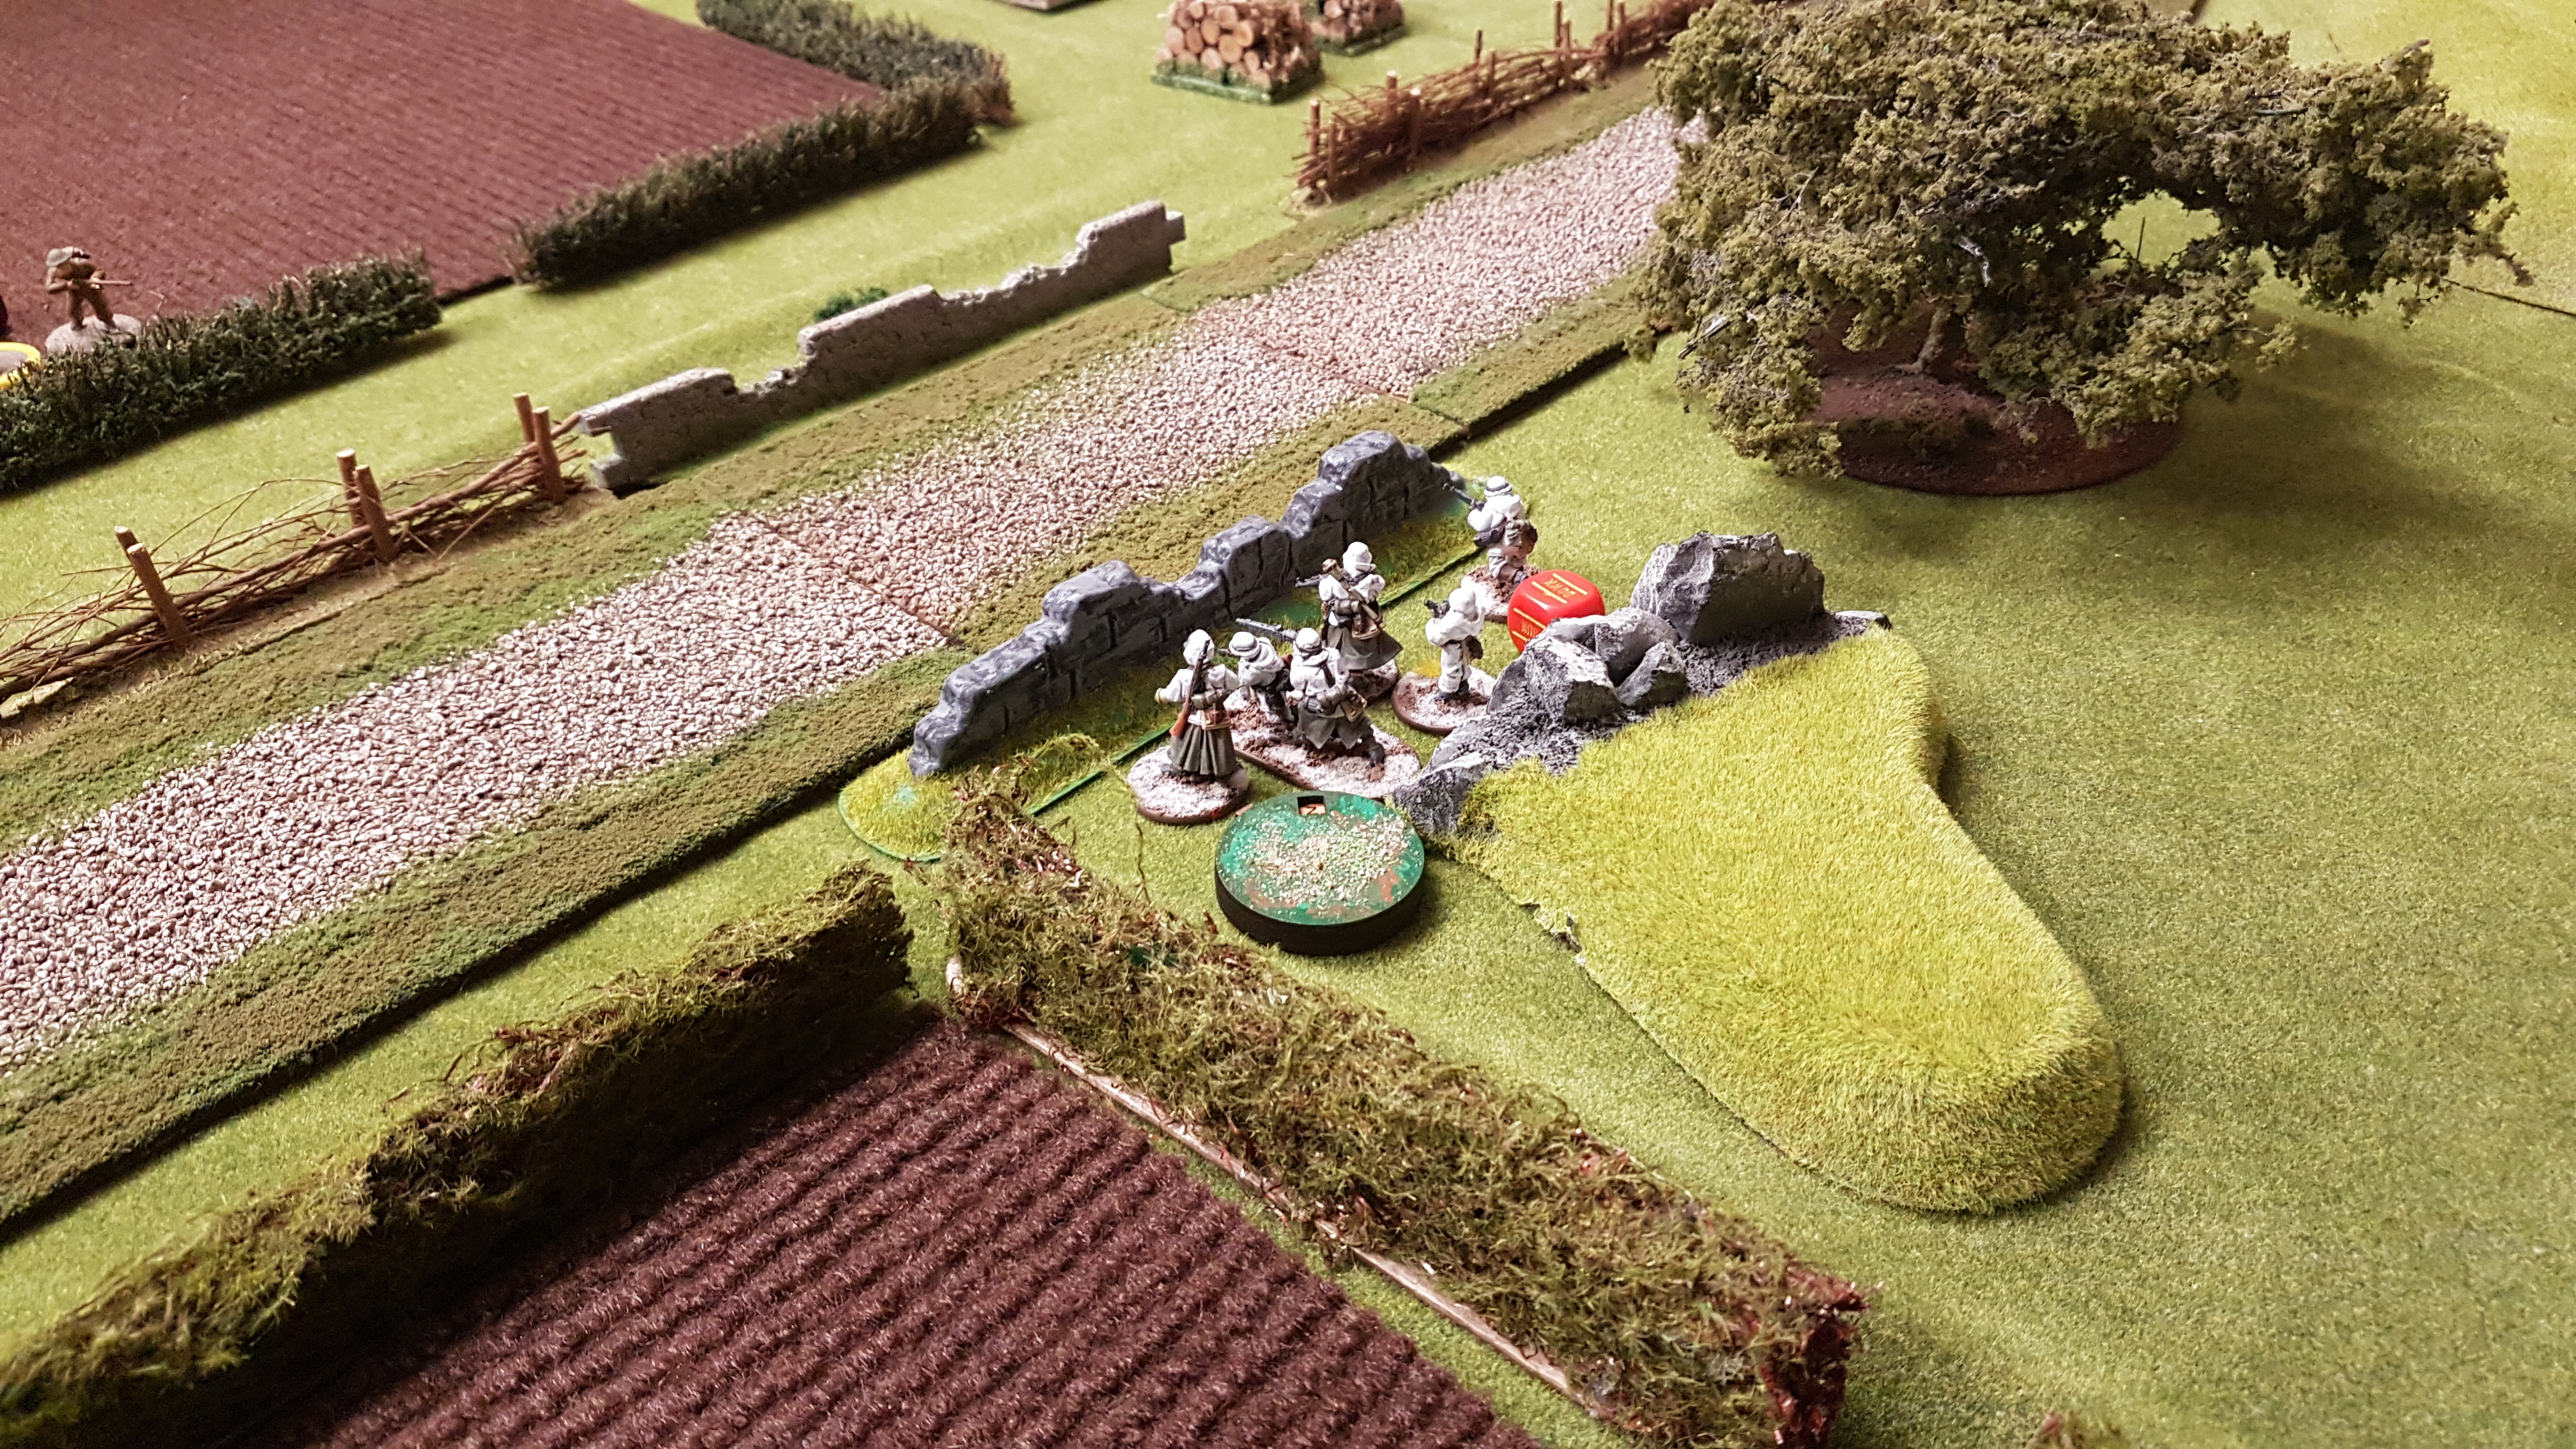
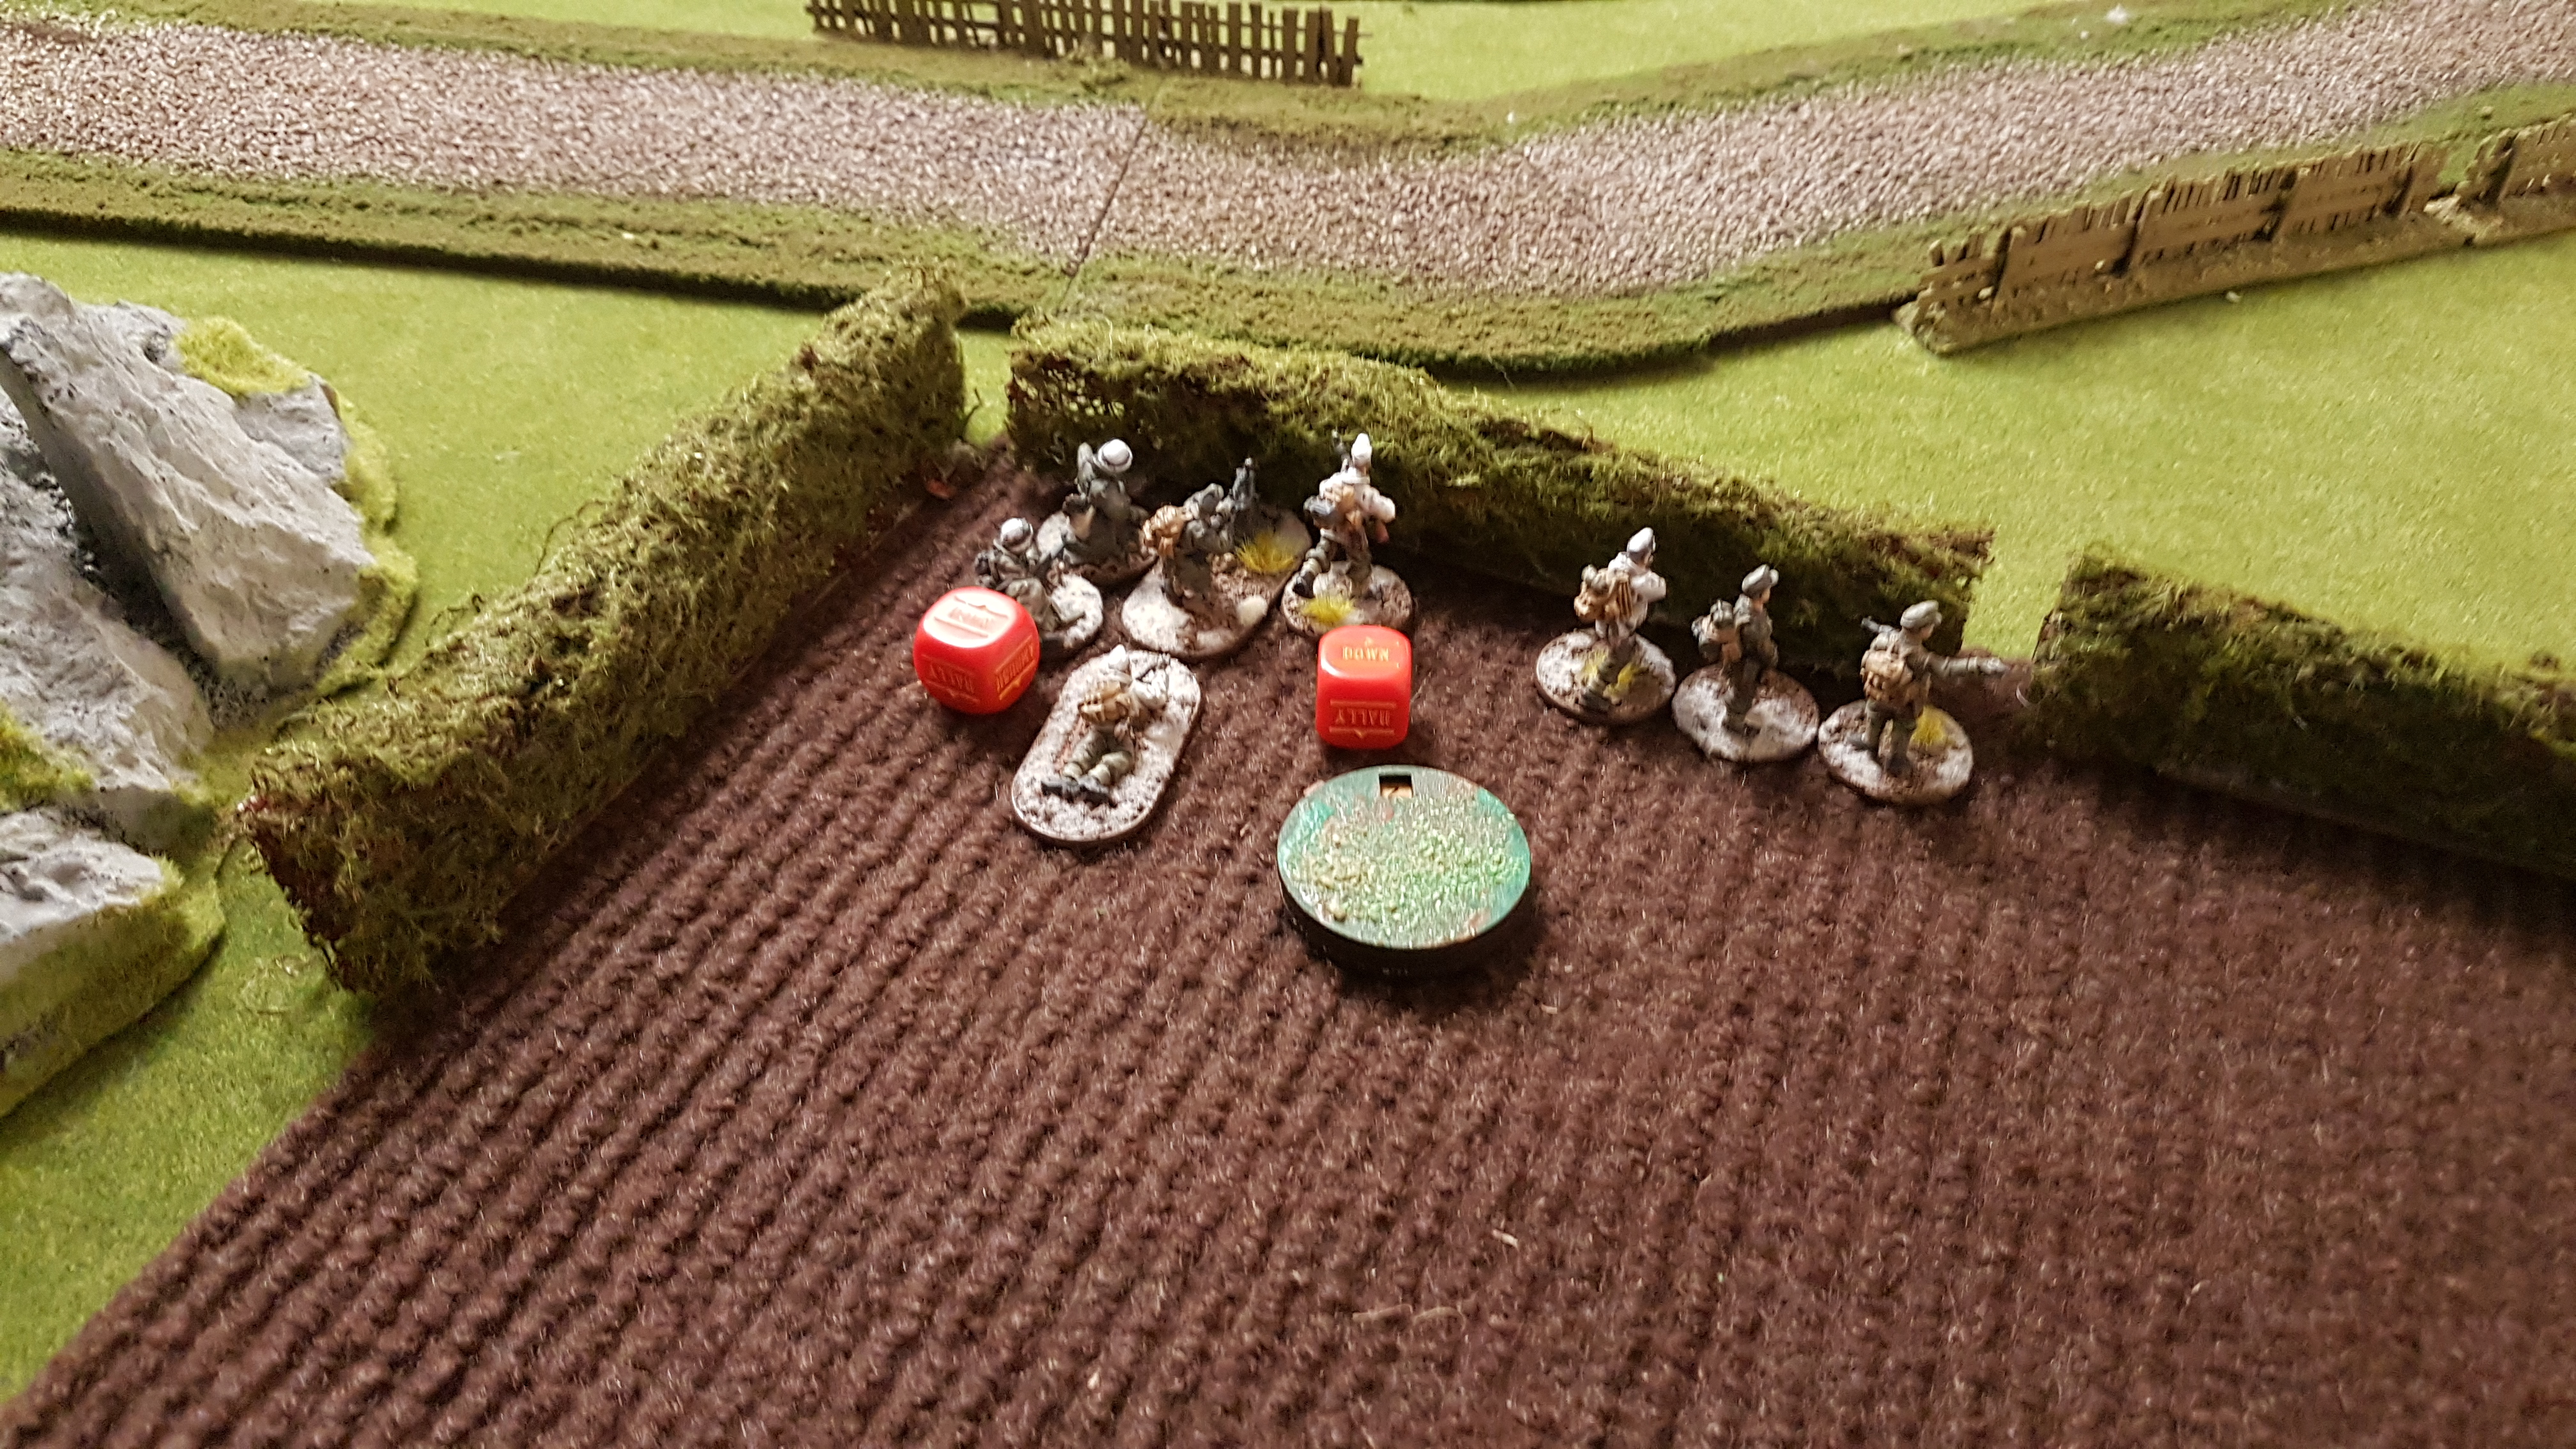
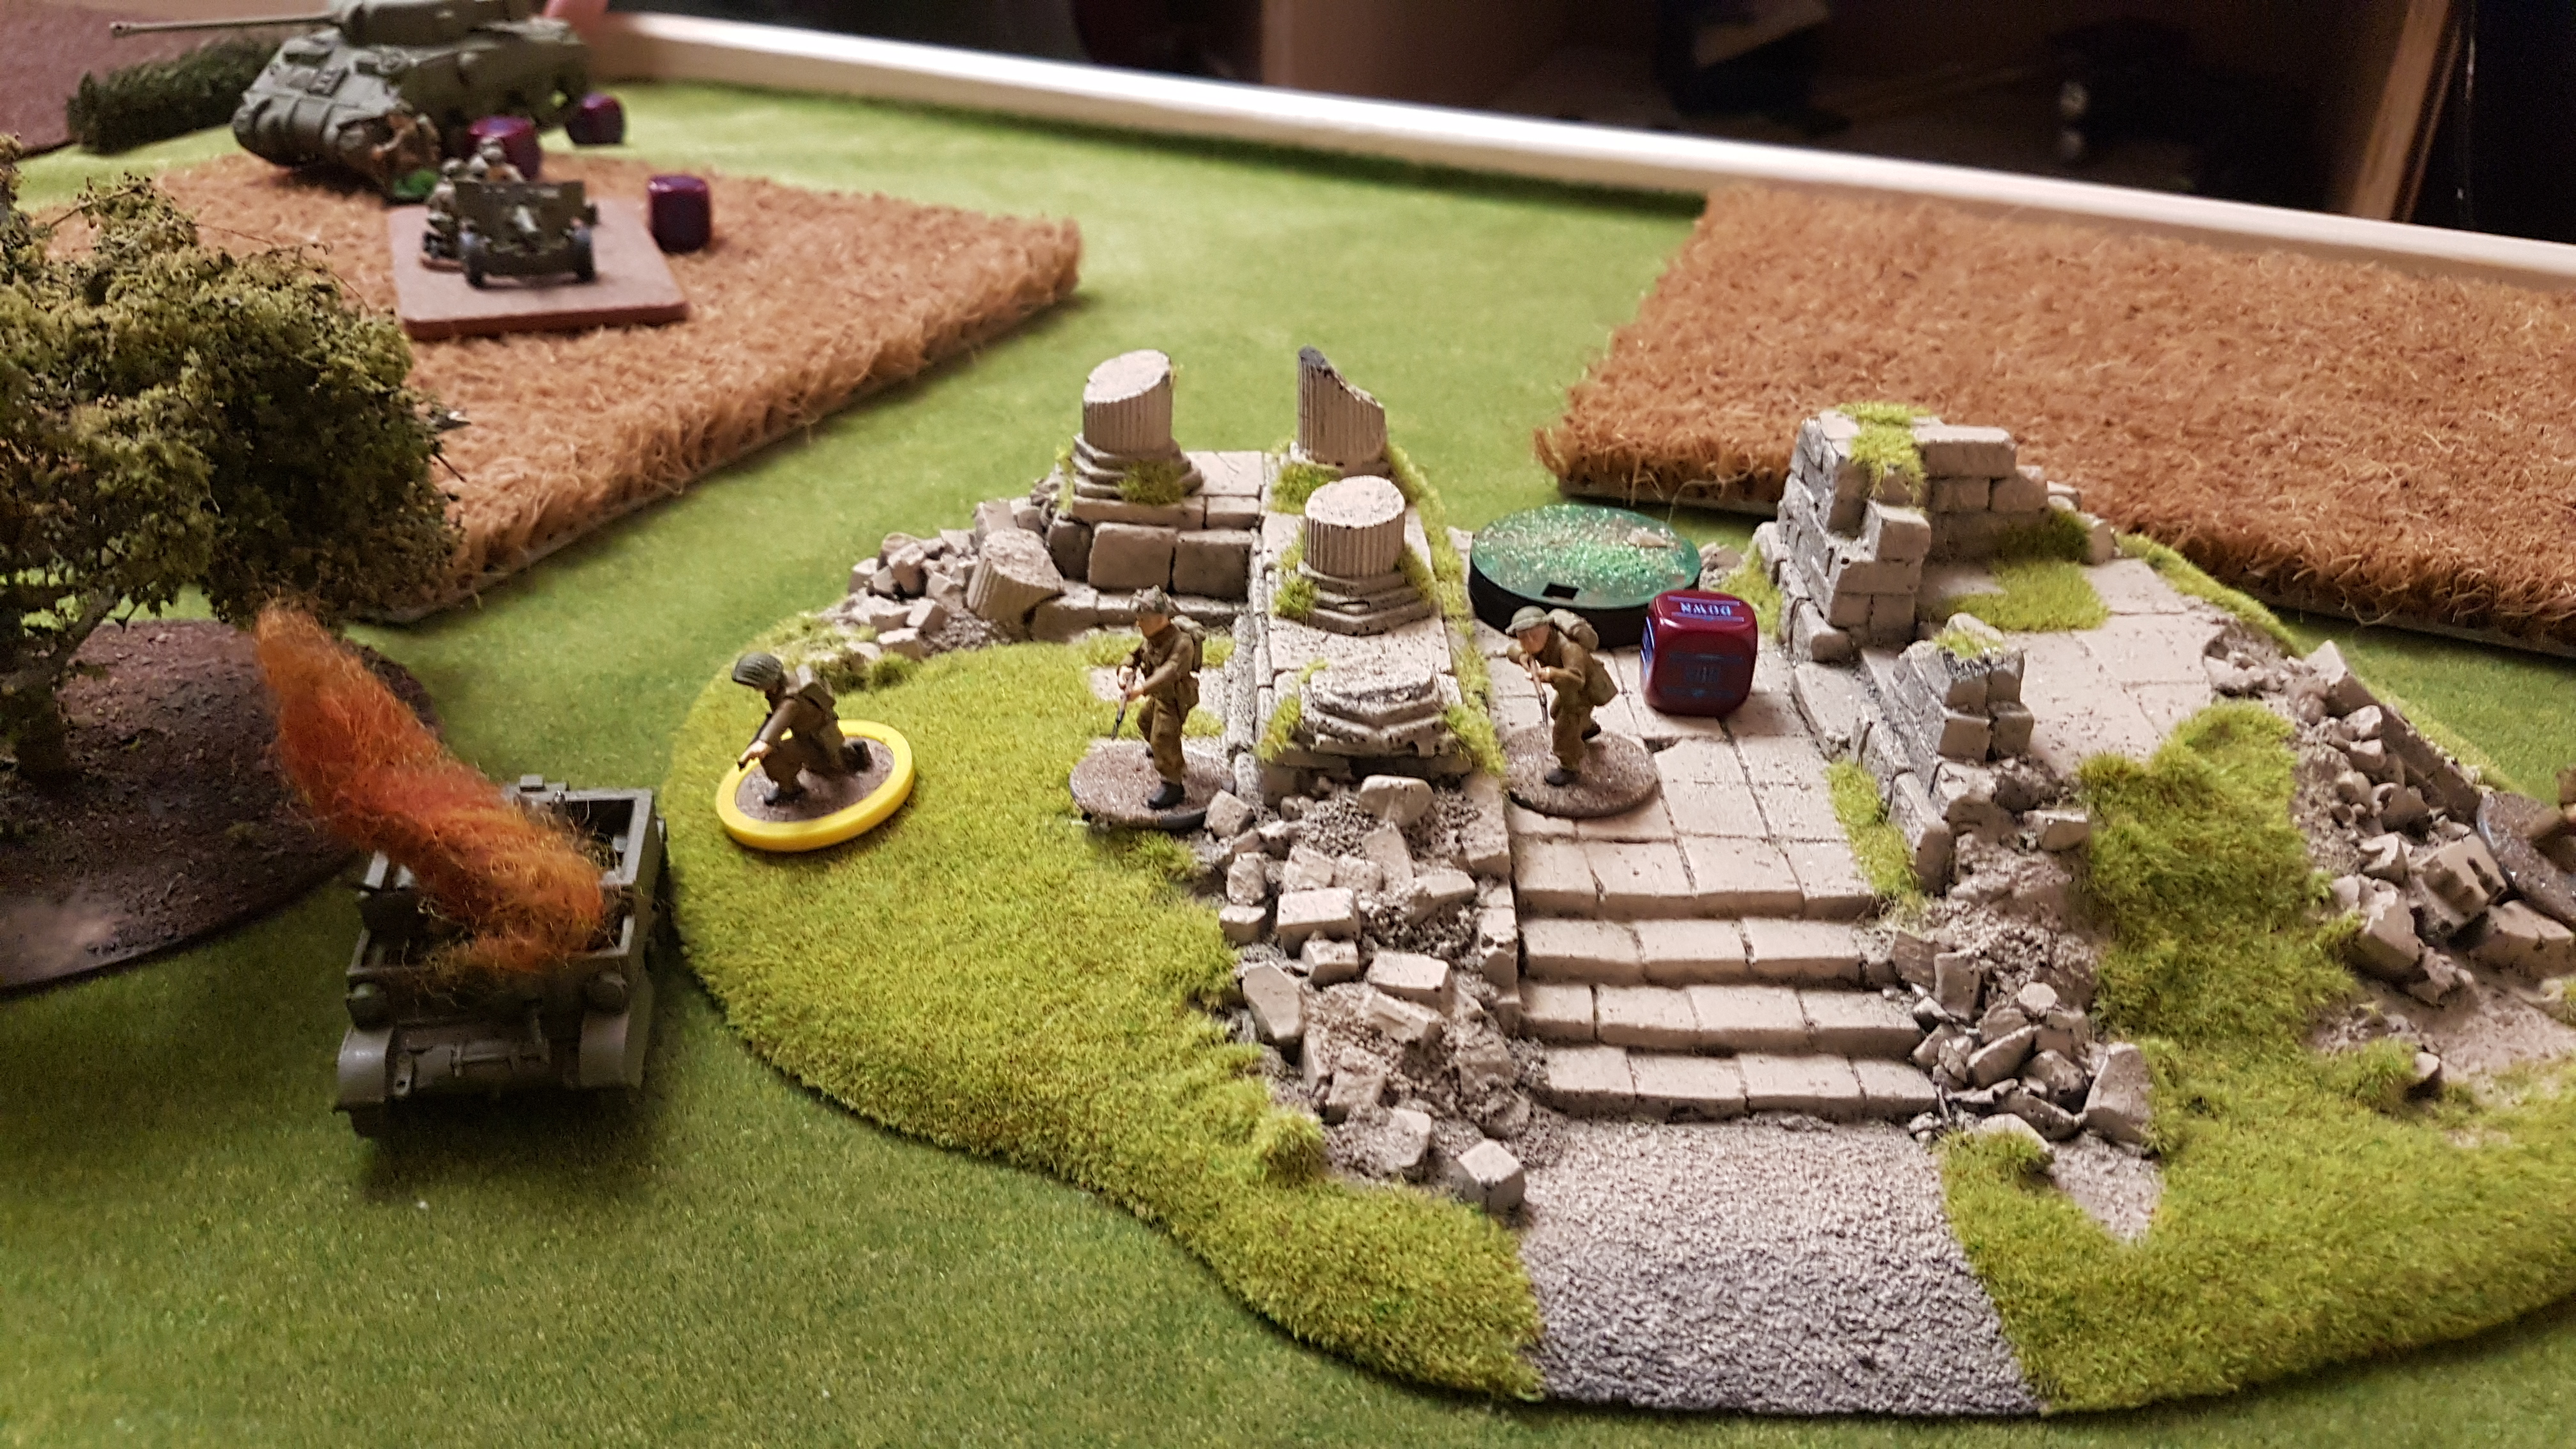
German Heer Platoon with supports.
My German Heer Platoon with supports.
Colin's British Infantry Platoon with supports
Colin’s British Infantry Platoon with supports

Turn 1 Deployments.

Turn 2
Turn 2
The German infantry and MMG team on the left flank take casualties and multiple pins from the British off table artillery bombardment.  Meanwhile the Puma and the Sherman exchange fire resulting in the Sherman having it's turret jammed (twice) and the Puma being knocked out.
The German infantry and MMG team on the left flank take casualties and multiple pins from the British off table artillery bombardment. Meanwhile the Puma and the Sherman exchange fire resulting in the Sherman having it’s turret jammed (twice) and the Puma being knocked out.
The German right is held by the German mountain troops and a flame thrower team.  The German artillery bombardment takes out the British Universal Carrier and cause pins on the infantry.
The German right is held by the German mountain troops and a flame thrower team. The German artillery bombardment takes out the British Universal Carrier and cause pins on the infantry.
The British infantry, light mortar and MMG team continue to poor fire in to the German left flank.
The 17 pounder and the Sherman fire in to the German infantry.  The Sherman's turret may jammed but it's gun is pointed in the right direction, for the British that is!
The 17 pounder and the Sherman fire in to the German infantry. The Sherman’s turret may jammed but it’s gun is pointed in the right direction, for the British that is!
Turn 4.
Turn 4.
The German infantry return fire but are becoming more and more pinned.
Things look a little better on the right flank as the Brits take more casualties.
The British Light Mortar team as weight to the British onslaught.
The 17 pounder and Sherman continue to poor HE rounds in to the German infantry.
The German MMG returns fire before it is wiped out!
The remaining German infantry try to hold out with the Medium Mortar team providing HE support against the British on the Right flank.
The British Light Mortar continues to provide support.
In the Centre the Germans hold on bravely but the loss of their Lieutenant things don't look good.
In the Centre the Germans hold on bravely but the loss of their Lieutenant things don’t look good.
The German Mountain infantry protect the Flamethrower team but due to it's short range it is unable to get in position and fire without it being a suicide mission.
The German Mountain infantry protect the Flamethrower team but due to it’s short range it is unable to get in position and fire without it being a suicide mission.
As the last dice are rolled the British manage to hold out and gain a significant victory against the Germans.

Leave a comment