by Dave Gardner
AAR Wednesday 13th March 2019
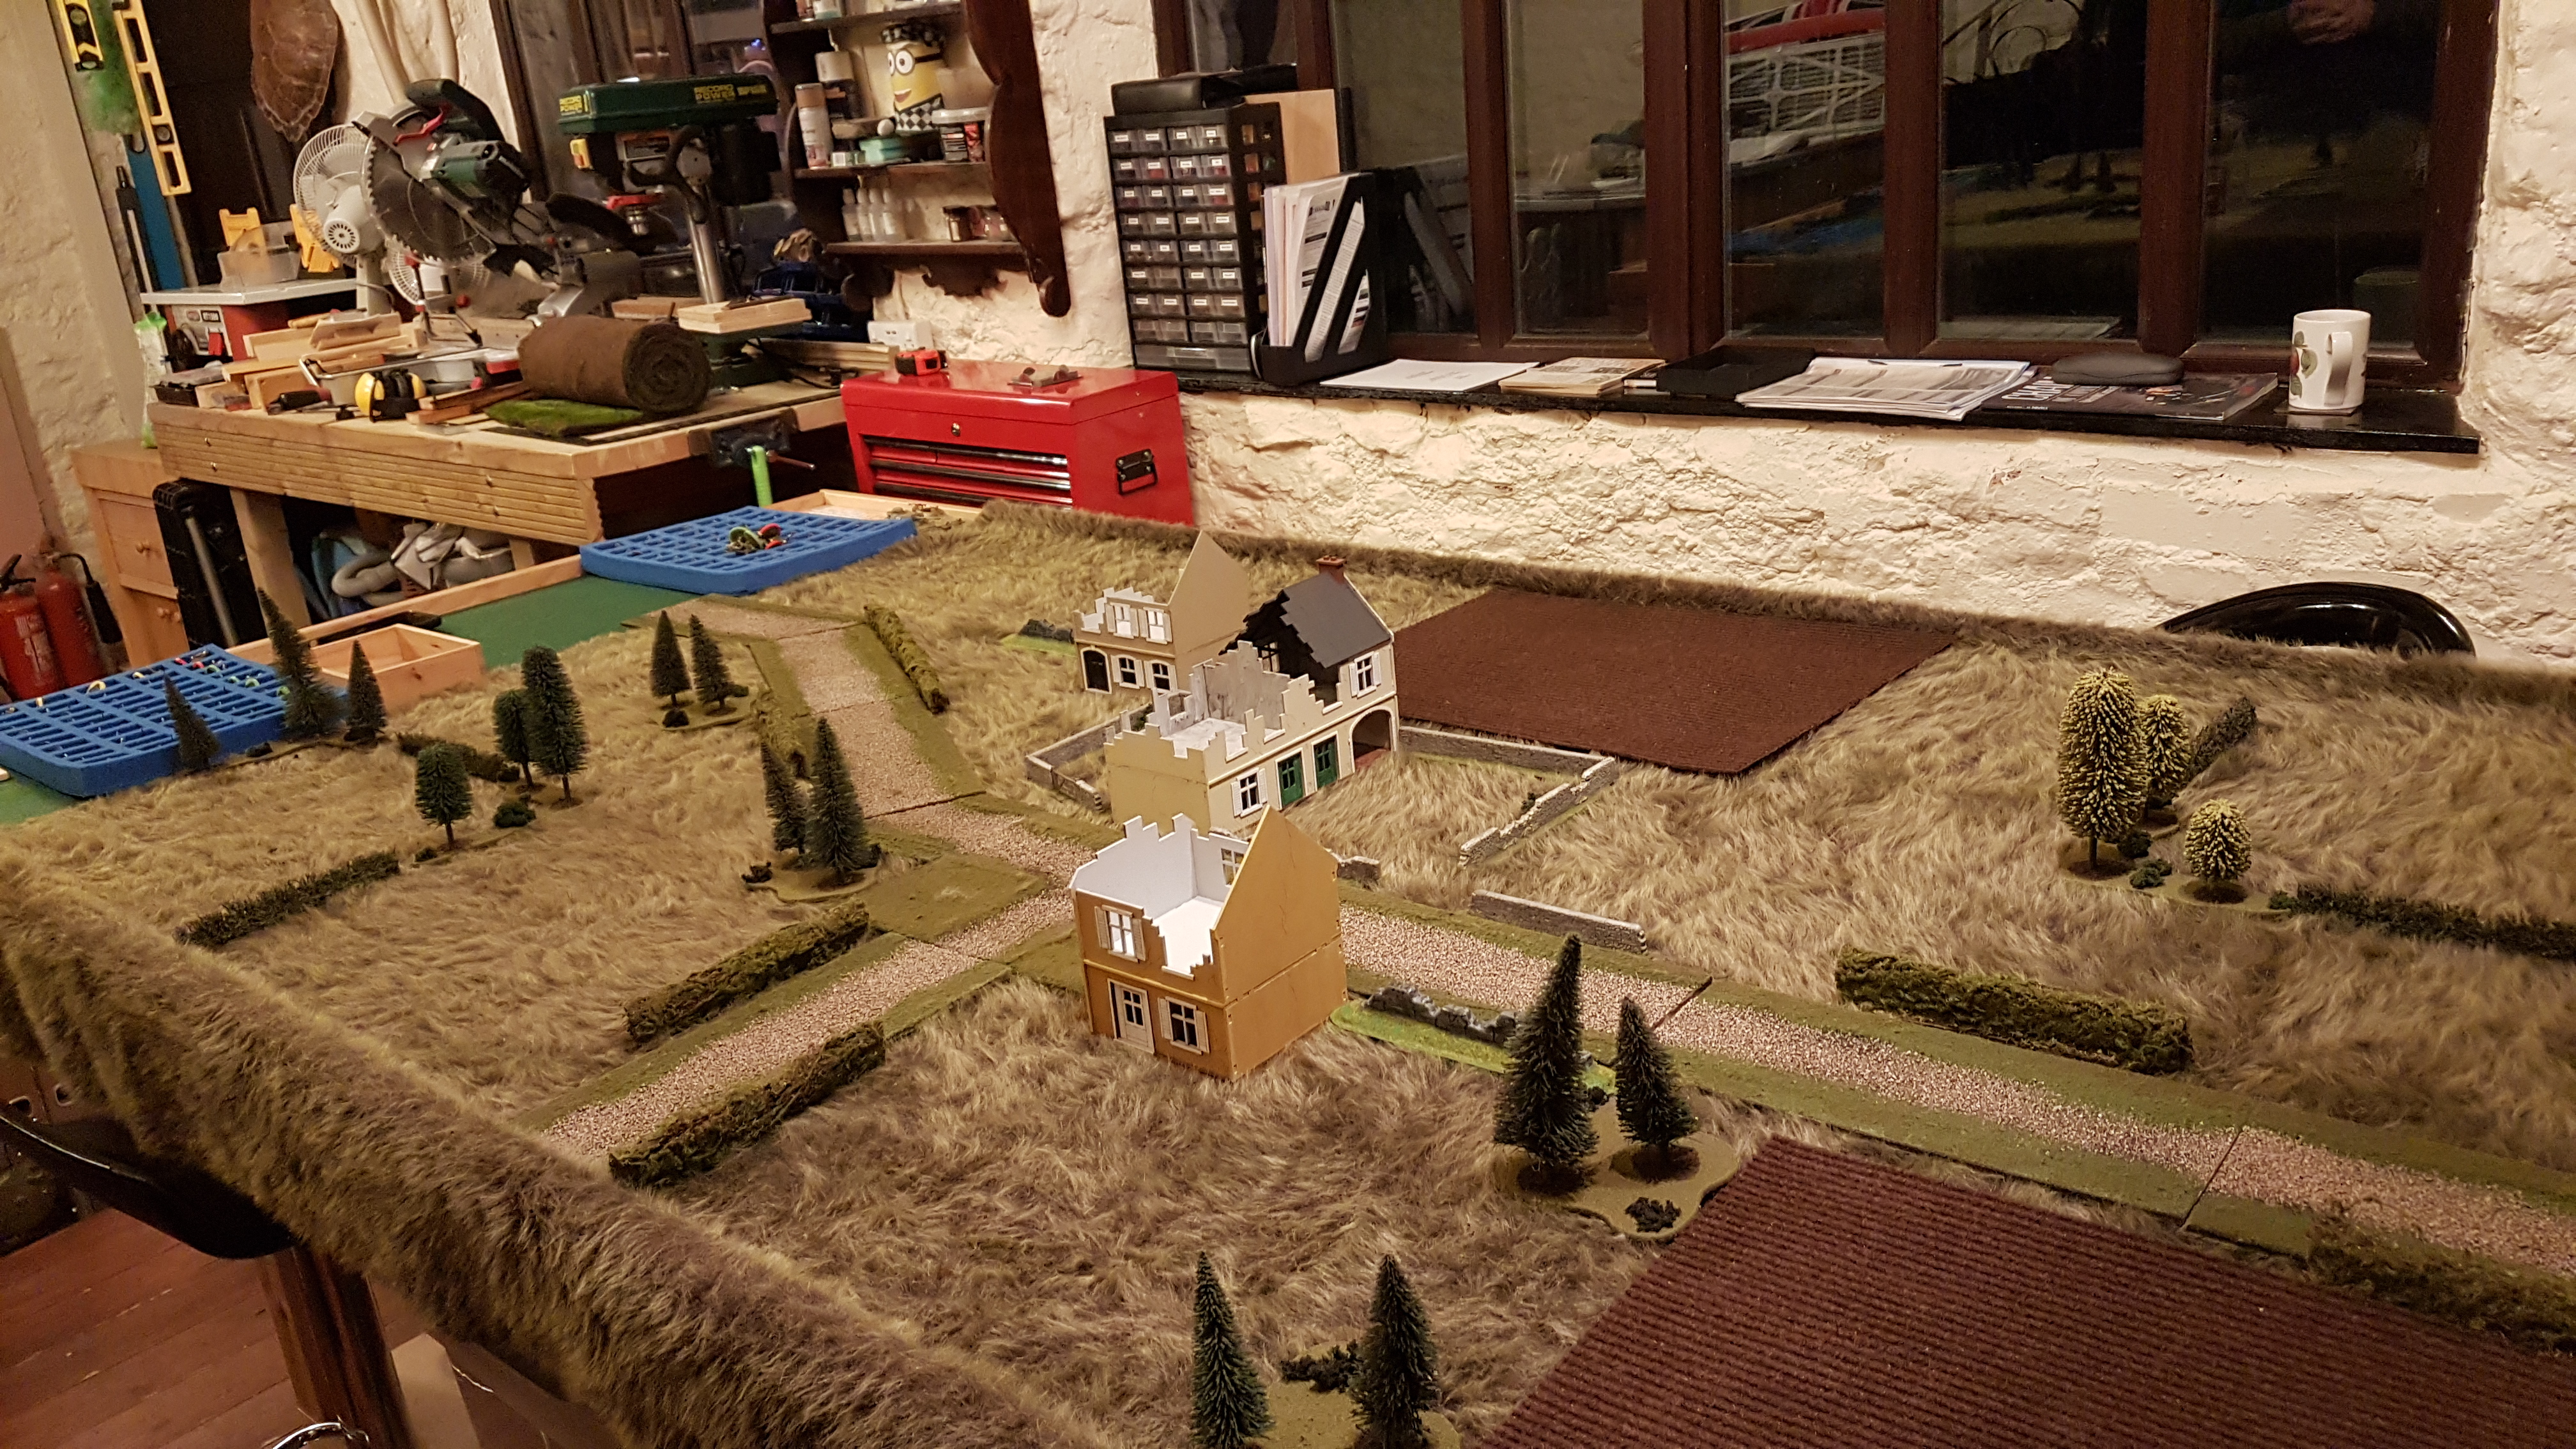
Battle 2 was the ‘Probe’ scenario, fought over a mixed terrain map which included 3 centrally located buildings, a road running across the battlefield, fields and wooded areas.
Support Options were chosen. The campaign said for this scenario that the Germans, as the attacker, had 25 support points. The Brits, as the defender got support 10 points plus their defensive FM difference of 3 support points to be used on lists 1-3
Ivan chose for the Germans:
2x Regular Infantry Squads
1 Panzer IV G/H
1 StuH 42
1 Senior Leader
Colin Chose for the British
1x 17 pounder Anti Tank Gun
1x Vickers MMG
He also brought with his 3 points from lists 1 – 3
1x Adjutant
2x Enchantments
Ivan had his Panzer III Flamm and a 250 Recon team that followed on from the last battle. Colin’s 2 PIAT Teams joined his side, all for free this game only
The Germans feeling good about winning the last battle lead the way into the patrol phase but only getting two moves before the Brits were able to respond. This surprisingly lead the British winning the patrol phase and dominating the centre of the table allowing them to deploy straight into the central most building.
The Germans found themselves pinned back with little room for manoeuvre. A great roll from Colin on his Force moral meant the plucky Brits had a starting FM of 11, the Germans under the command of Ivan, seemed to be more cautious with a FM of 9. Maybe they knew something we didn’t!!
After the Patrol Phase The Germans went first continuing the initiative they won from winning the last game. Ivan chose to deploy an Infantry section, Panzershreck team and Senior Leader in the centre behind a small building. Colin deployed two infantry sections, one into the big building in the centre of the map, and one on his left flank, in some wooden area
The Germans started to get more organised as a the first Squad moved into the building a second squad joined them taking position by the wall. The Germans were aware of roughly where the British were, but no line of sight meant no shooting could take place and so they went on Overwatch.
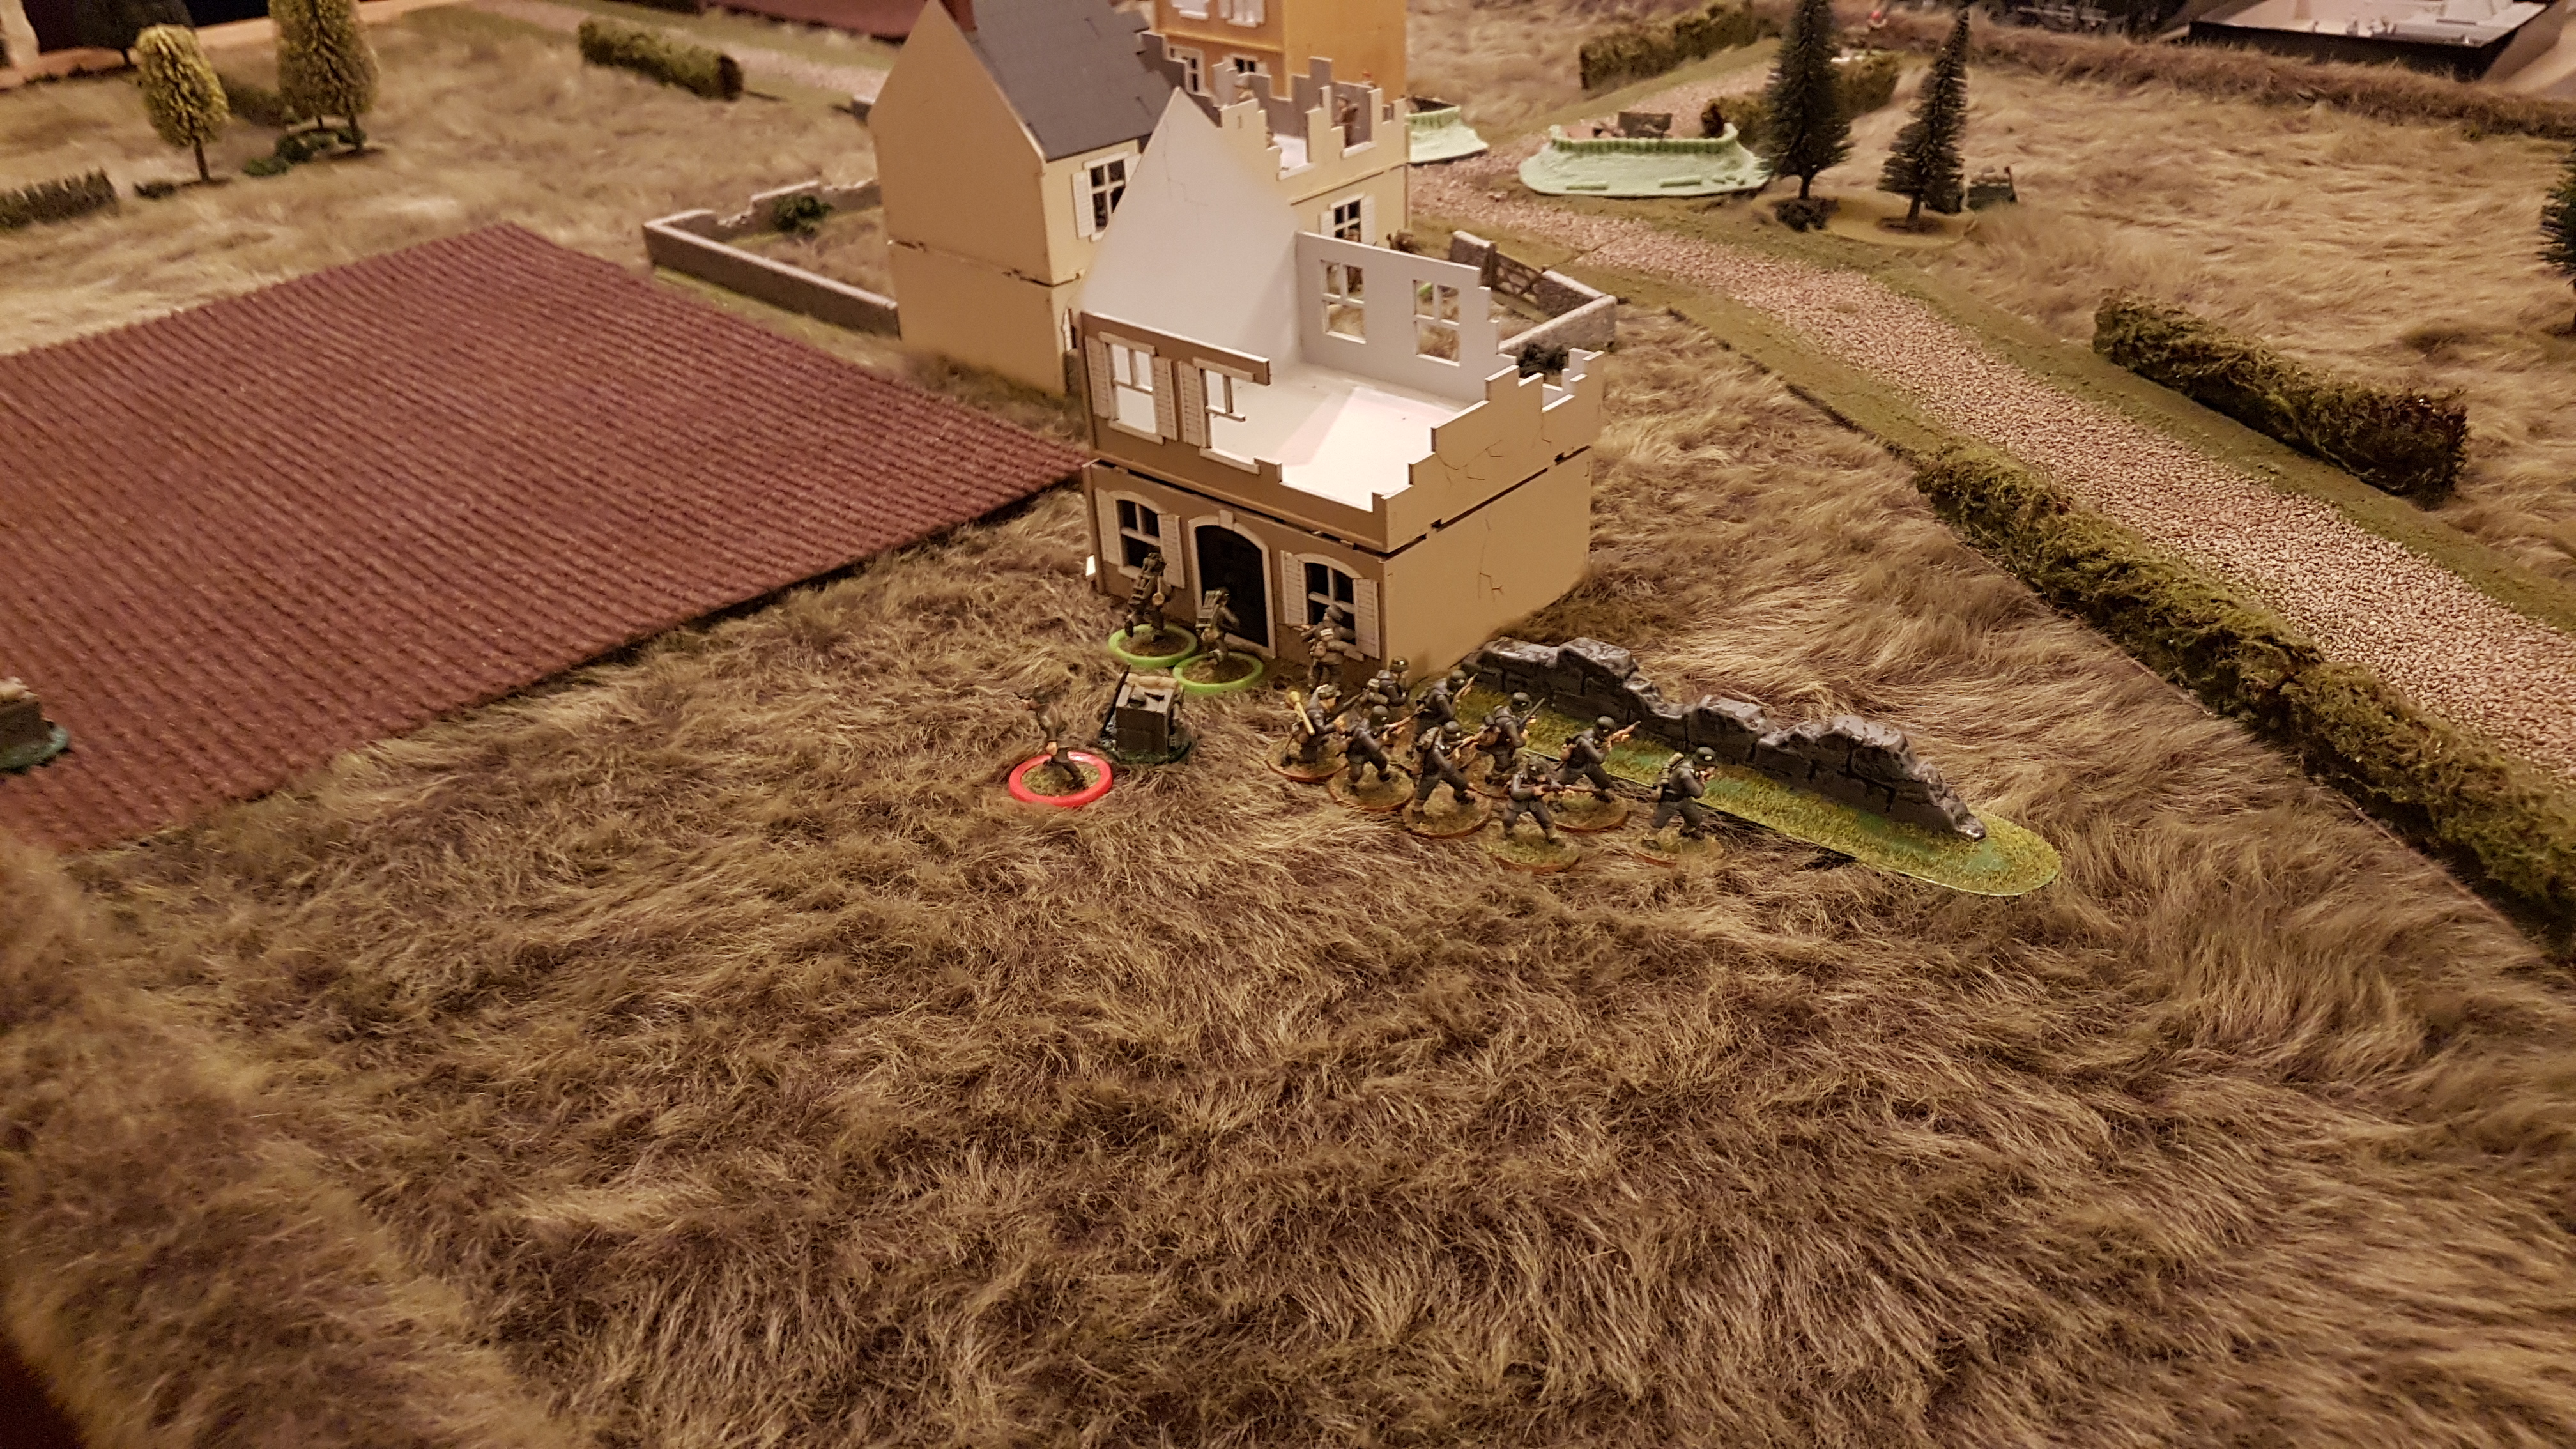
Colin’s next Phase allowed him to deploy his Vickers MMG team with an Entrenchment. This was set up on the road Junction allowing the team to dominate the centre area with options of turning to cover each flank whilst enjoying Hard cover. The British also deployed another Section into the central building. The first Section took position on the first floor giving them good fields of fire. The Section on the Left flank moved up to probe forward, however this tripped the German Overwatch and a round of shooting took place with the British taking 1 dead and a number of shock.
The Germans were able to deploy their Panzer 3 Flamm and StuH 42. These arrived on the German right flank opposite the British Section that had just come under fire. The Germans chose to put the StuH 42 on over watch and fire the Panzer 3 Flamm. The devastation was enormous! The British Infantry section suffered 3 more dead and their J/L was wounded resulting in a Bad thing happened test with a result of -1 FM. The inflicted shock was doubled (caused by a flame weapon) and the team was pinned. The British Left flank was looking very weak in the wake of the German onslaught.
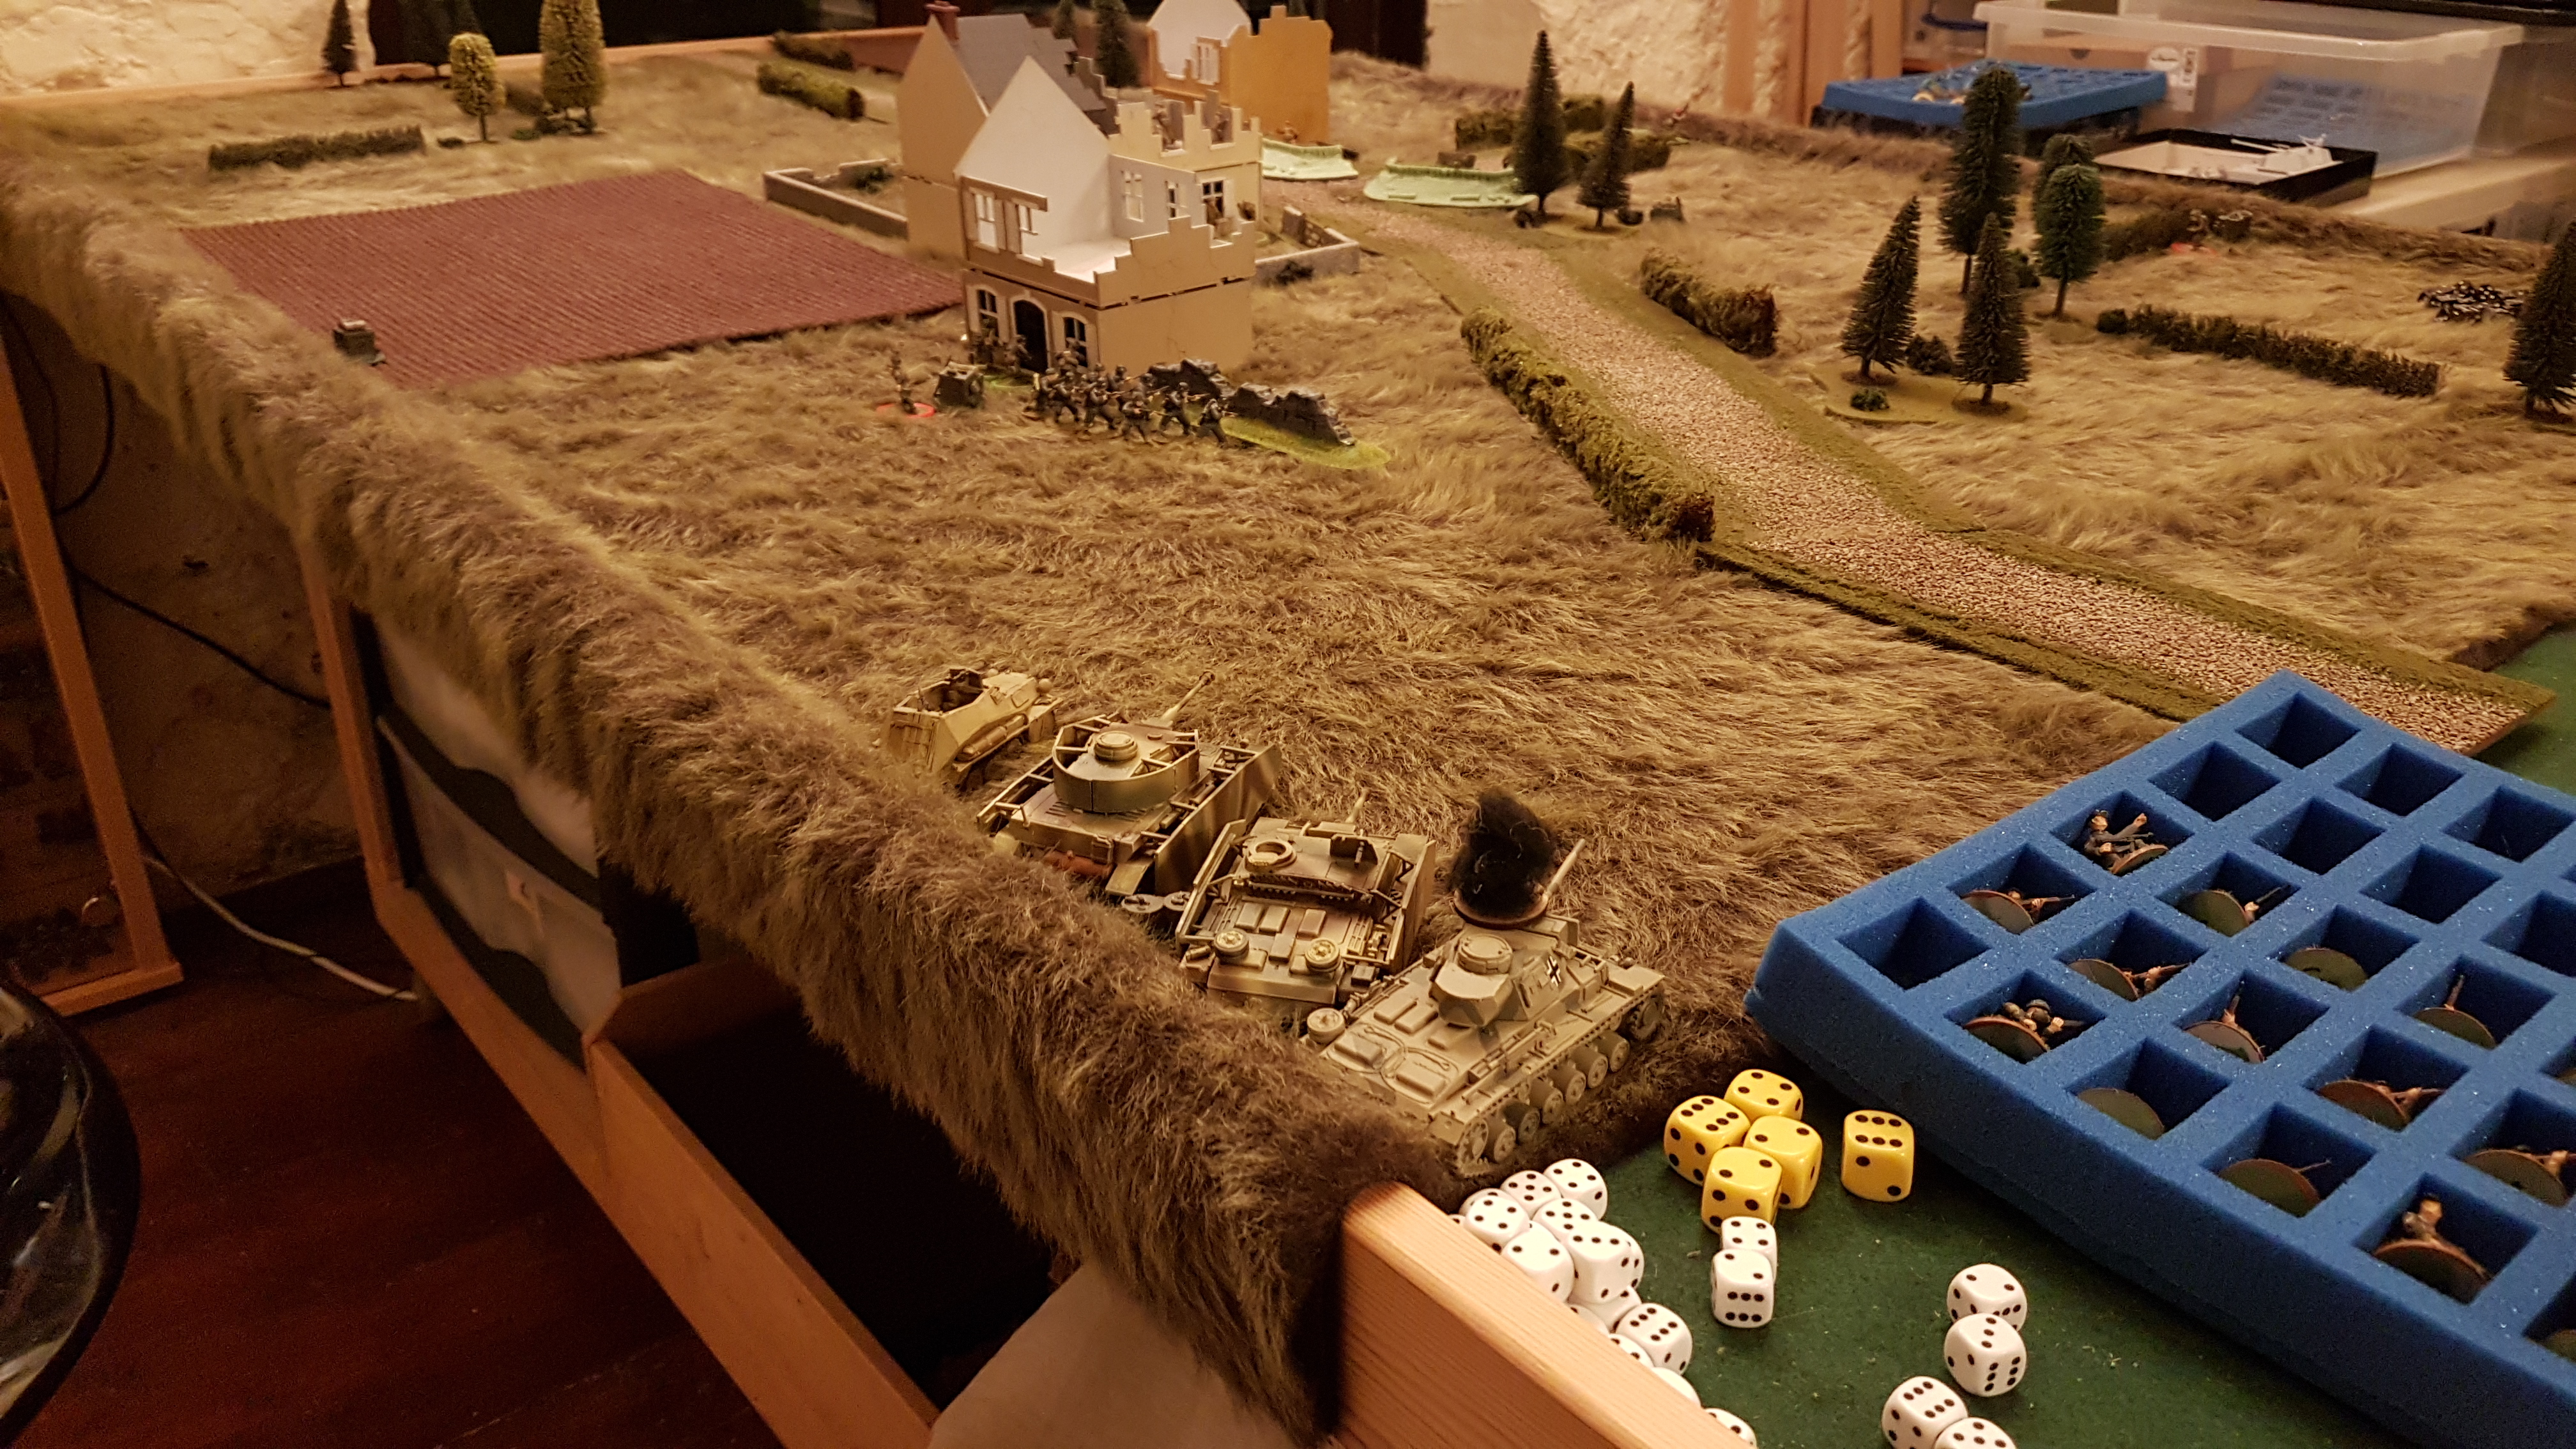
The British decided that the Panzer III Flamm was their main target and deployed both a PIAT team in the woods and the 17 pounder with another Entrenchment in the centre plus a S/L near the beleaguered section on the left flank. The 17 pounder took a shoot at the Panzer 3 Flamm but missed! They were probably rushing the shot. Unfortunately the PIAT Team deployed to far away to be able to take a shot. The StuH 42 having seen a 17 pound shell fly past decided to fire back using its Overwatch. Unlike the Brits the HE hit and Killed a crew member of the 17 pounder and caused shock to the rest of the crew
The next German phase saw no movement however the Panzer IV G/H turned up and the Stuh 42 fired again at the 17 pounder killing one more crew member and adding more shock. The British were in danger of losing the left flank and the centre to the shear amount of fire power at the Germans disposal.
One of the German Sections and the Panzer IV G/H fired into the British causing more shock, this resulted in the Section breaking and the test on the broken unit brought down the Allies FM a further -2 down to 8.
Seeing the desperate situation the British second S/L came on to shore up the Vickers and 17 pounder teams. He deployed so his command range could activate the PIAT team as well as the Vickers and the AT gun. He used his Command Initiatives to take shock off of the AT gun crew and directed the Vickers team to fire at the Germans in the building. This resulted in 1 dead and some shock. The 17 pounder fired again at the Panzer 3 Flamm this time Hitting it, finding a weak spot. The explosion was reportedly seen miles away! The Germans FM was reduced by -1 meaning both sides were now on 8. Further PIAT teams were deployed in to the Middle building which was fast becoming the British stronghold.
Seeing how deadly the 17 pounder was, both the StuH 42 and Panzer IV G/H targeted it with HE the Dice were with Ivan as he Killed all but the J/L breaking the unit again forcing a FM test that resulted in another -1. The British were now down to 7. Seeing that the PIAT team was now all on its own both German Tanks fired their Machine guns and killed the PIAT Team. The unlucky Brits had a very bad roll and lost another -2 on their FM (Colin’s freakishly good dice rolls had finally deserted him for this game) the poor Brits FM was now a dangerously low 5
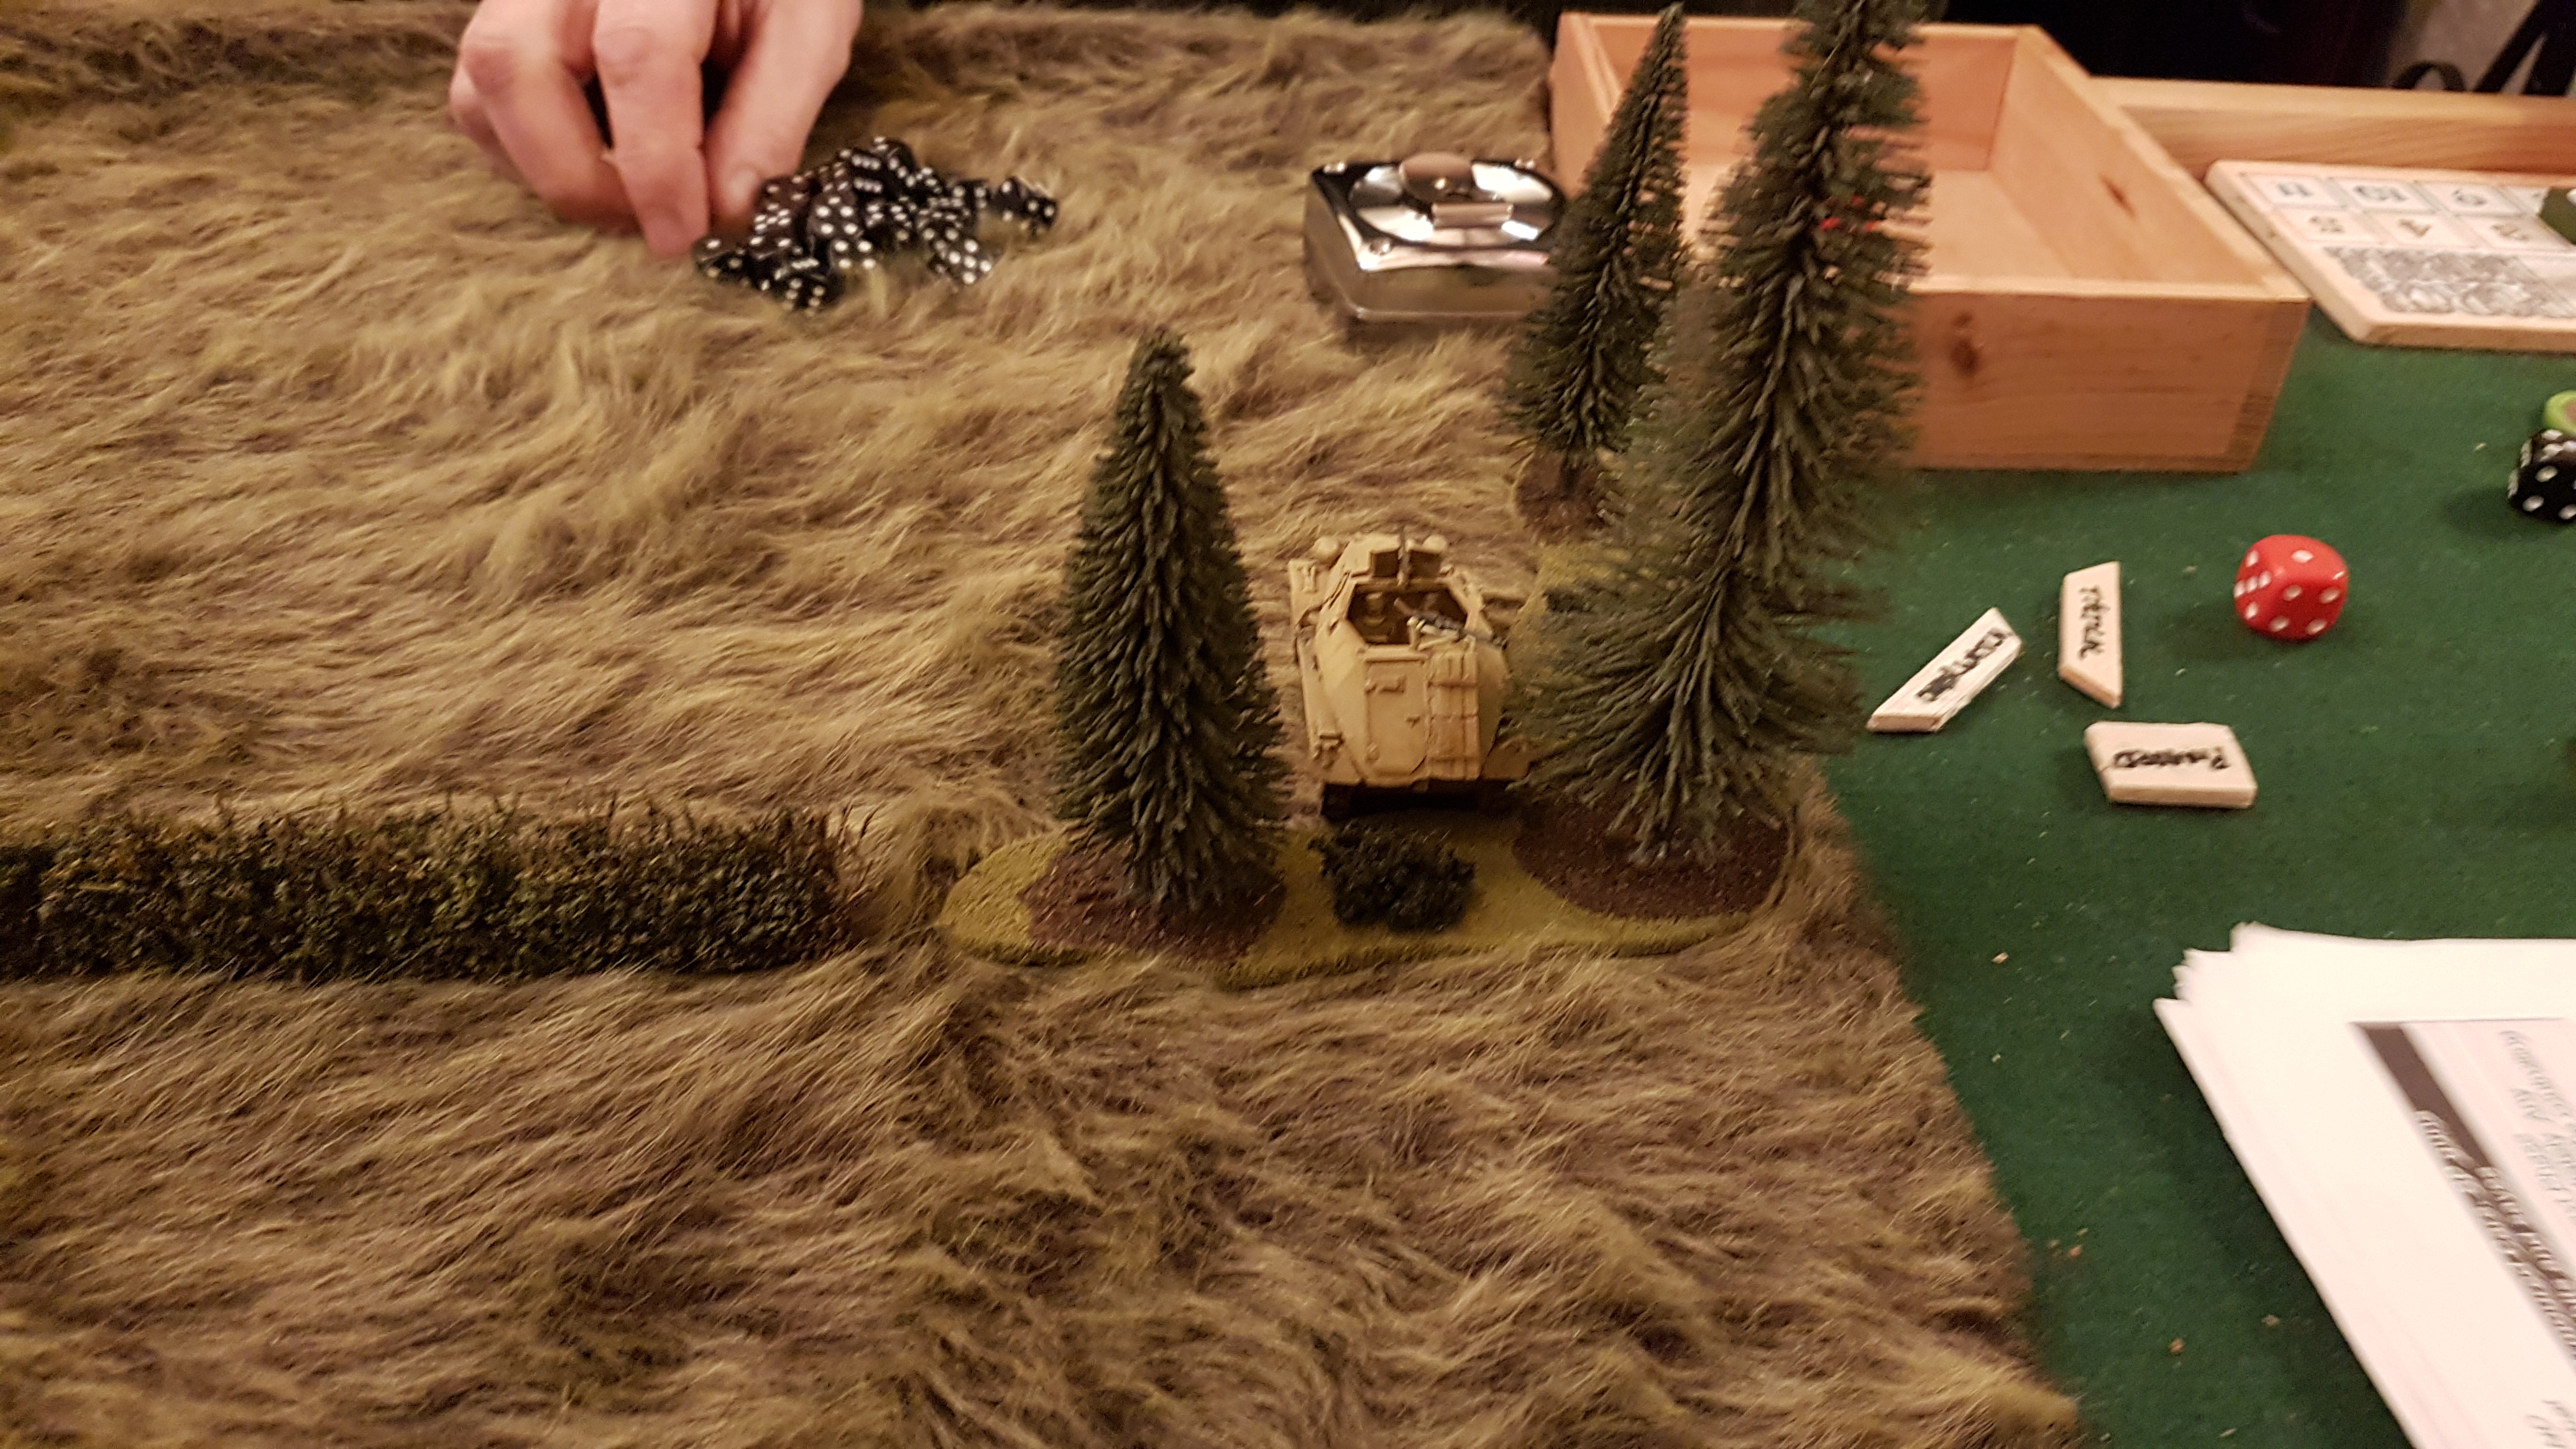
The Germans also decided to bring on the Recon 250 which passed the dice test to see if they turned up
The British found themselves fighting for their lives as they continued to fire the Vickers into the centre building but apart from causing a few shock it wasn’t that effective. They placed all other sections and PIAT Teams on over watch and removed some shock off of the Vickers team.
The Germans rolled a 3 6’s double phase and ended the turn. This caused all Overwatch to be removed. This was the beginning of the end for the British, the Lone Vickers team became the new target for everything and ended up breaking with the J/L Killed outright. These two things dropped the Brits FM by a further -2. They now had a FM of 3 this meant they lost 2 command dice and a JOP.
The German in charge of the 250 decided to make a suicidal run for the far table edge (which would give the Germans a decisive victory) as it was double phase he managed to get within range of victory moving twice in the two phases.
The British last roll of the dice activated a PIAT Team which was just within range of the 250 however after working out all the modifiers it was unable to even attempt a hit knowing the next activation would see the 250 drive off the table and win the game Colin decided to pull out giving the Germans a victory.
Conclusion
The Germans won this battle, pushing the British back to the next rung on the campaign ladder. This next run will be a Attack and Defend game with the Germans having the initiative.
This next battle will be fought as a Big chain of command game using the surviving Core Infantry platoons from the last battle and the fresh Armoured platoon from each sides order of battle.
The Germans have the following free Support units they can bring, Dicing to see if they arrive.
1x Panzer IV G?H
1x StuH 42
1x senior Leader (no dicing needed)
For the next battle they will have 25 support points to spend
The British have the following Free Support units they can bring
1x Adjutant
For the next battle they will have 10 support points and the 3 defensive points to use
Casualties
The British have 2 dead rifleman that are permanently lost, 1 that returns straight away and 1 that will return in game 4. One of their sections is down 3 rifle men (the Platoon commander can reorganise the loses to be spread out across the platoon).
To sum up
The British faced a overwhelming force but looked to gain the initiative after the patrol phase. What really swung the battle in the German favour wasn’t really their forces it was the dice gods giving Colin a lot of bad luck, especially on the FM tests. Once he was down to 3 command dice he was very limited in what he could do.
Although the Panzer 3 Flamm only shot once before it was blown up, it was instrumental in breaking the British left flank allowing the Germans to dominate and pick on targets at will. The British never recovered from losing their 17 pounder which was their most effective if not short lived units. Colin has stated he would have probably deployed it differently, as without an infantry section to share the hits with it was very brittle against the HE fire from the StuH 42.
This battle was very interesting and well fought by both sides. Sometimes its just down to the dice gods!

Reblogged this on Rory Crabb Games and commented:
Another excellent game at my local club!
LikeLike